How to build up a mosaic image to capture a wider field of view
There are some occasions when my camera or telescope do not give me a wide enough field of view to get a target in one frame. This is often the case with nebula's as they are considerable in size, equivalent to many full moons in width.
Here I will show you how I build up a mosaic in order to capture a wider target.
Here I will show you how I build up a mosaic in order to capture a wider target.
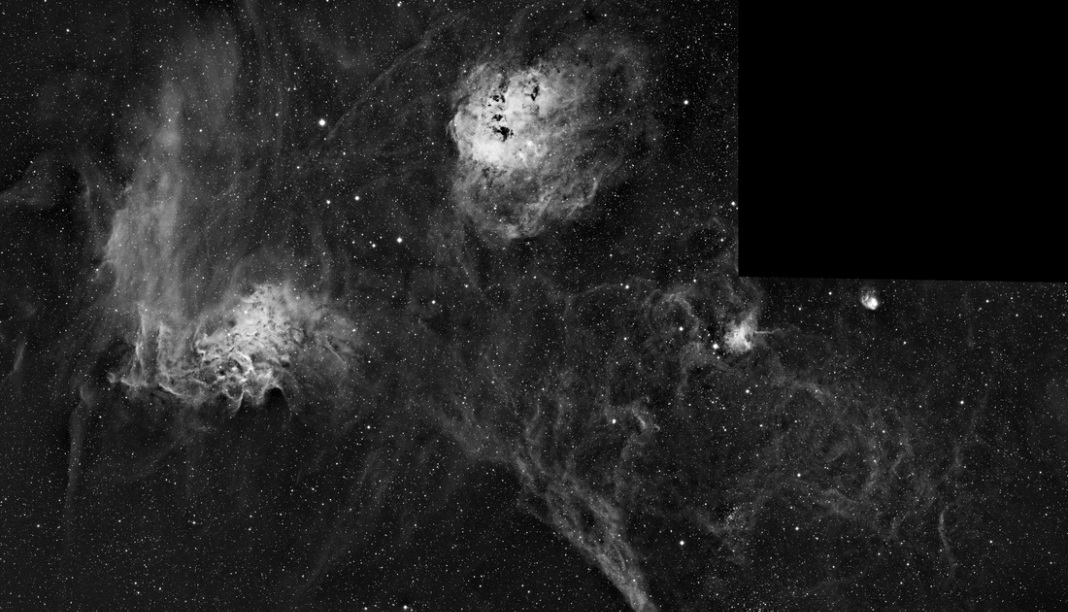
Examples of mosaics
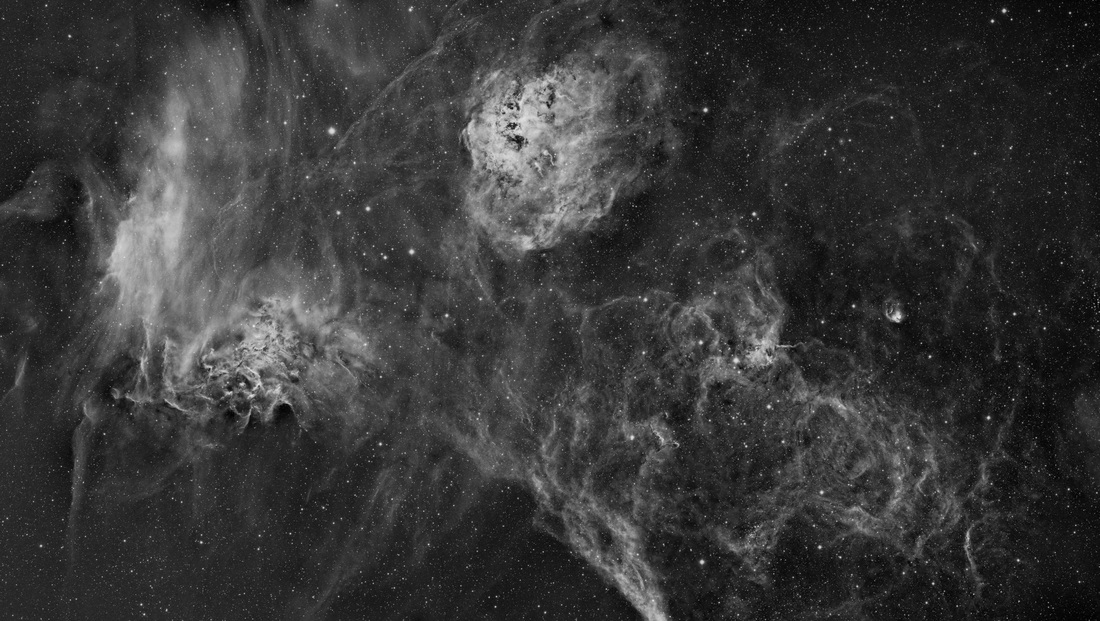

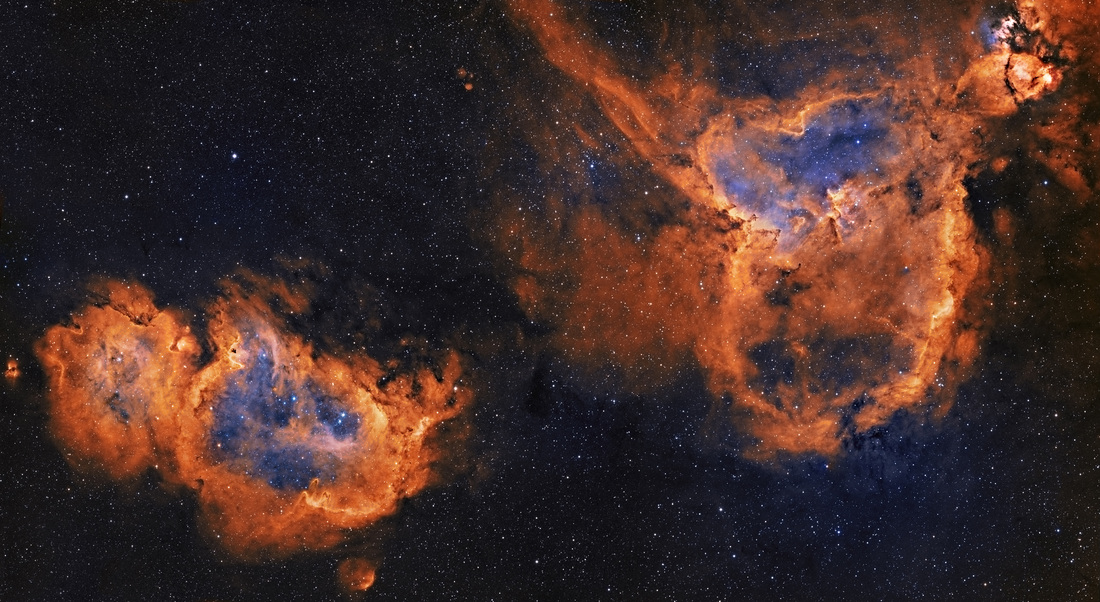
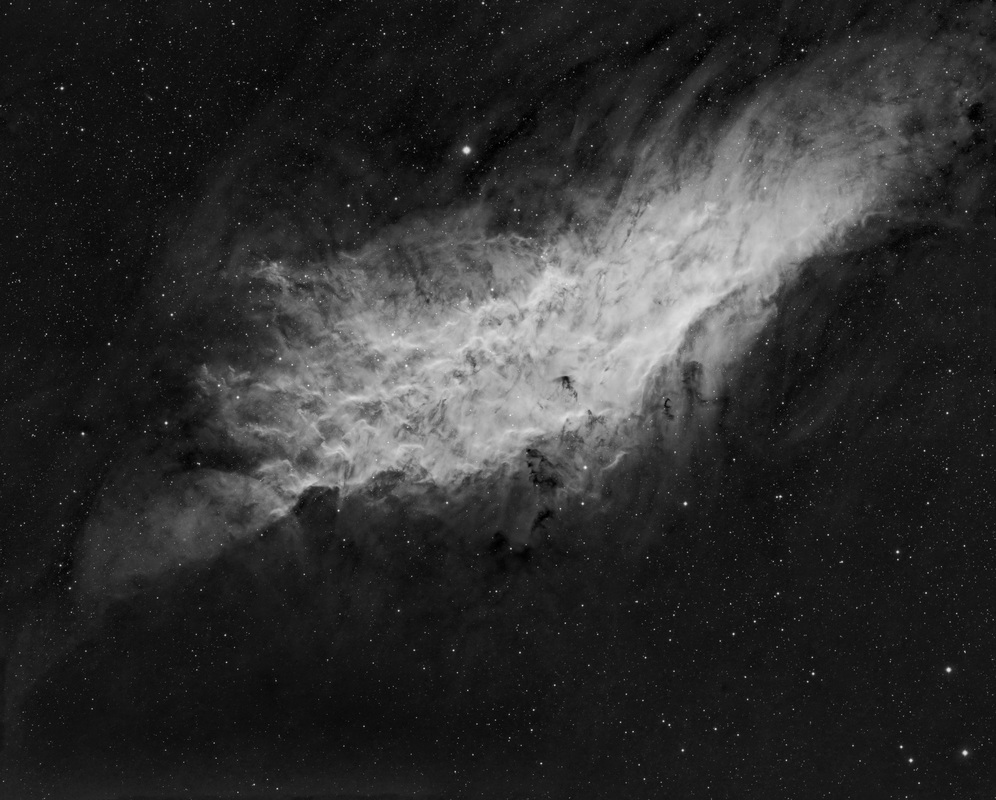
If you hover over the above examples it shows you how many panes there are in each image, each one done as the targets were too big to fit into one frame.
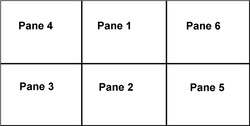
This is the basis for the 2x3 mosaic, the first image above. There is no limit to the number of panes in a mosaic, except perhaps sanity! There is no method to the order of the panes either. As long as you remember the order, that's all that matters as you will need to use each one to determine the position for the next one.
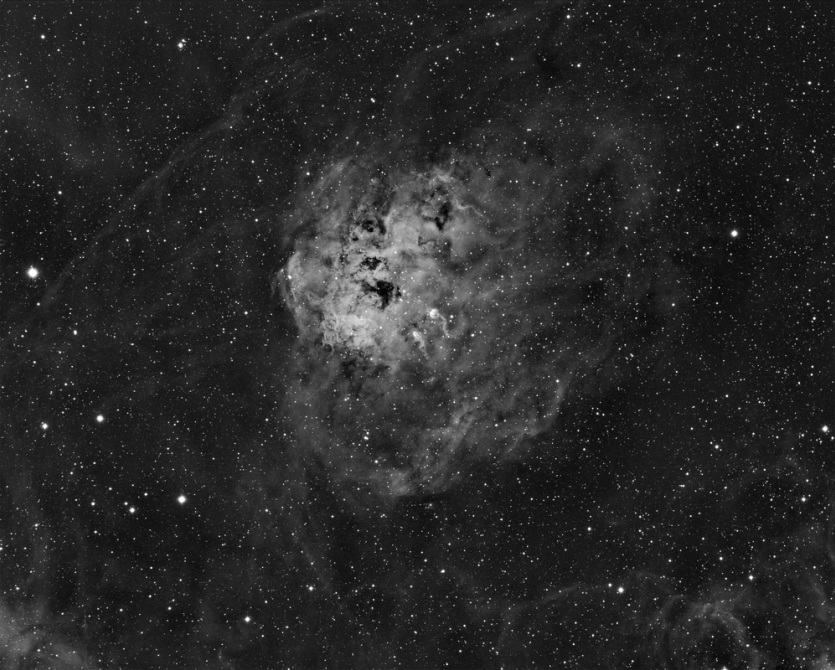
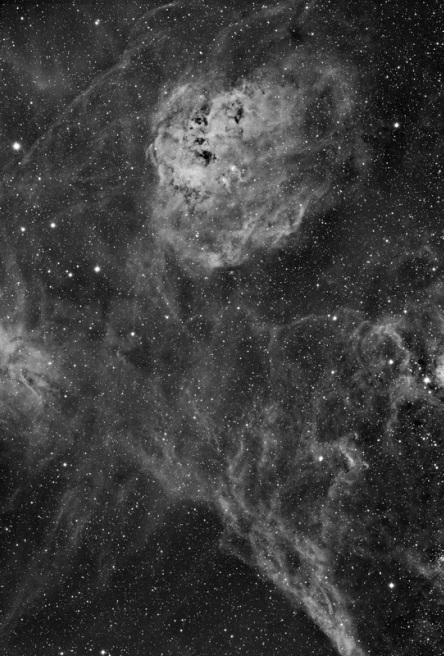
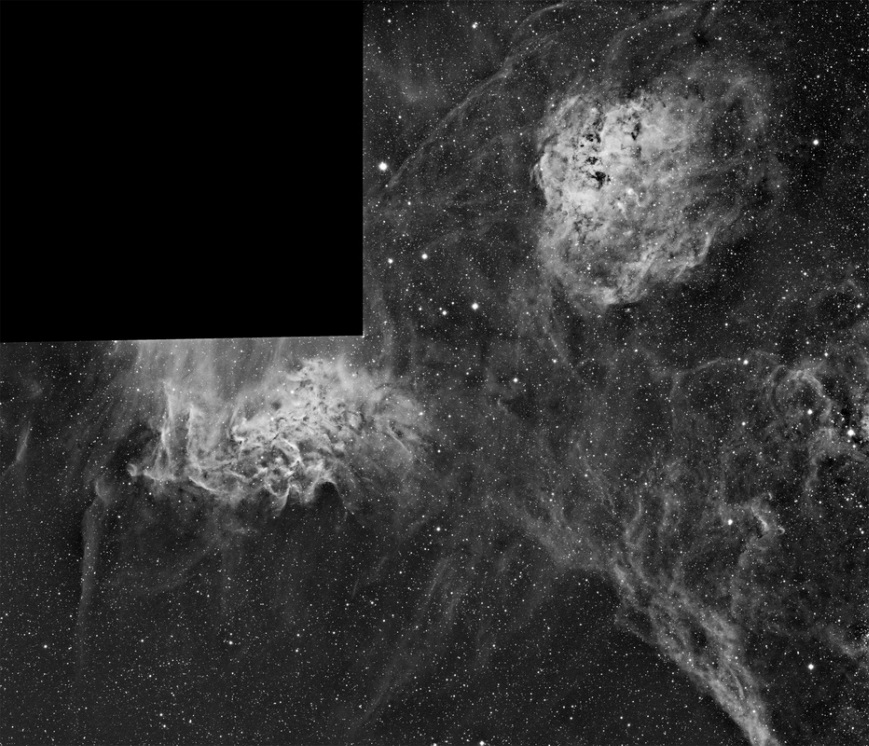
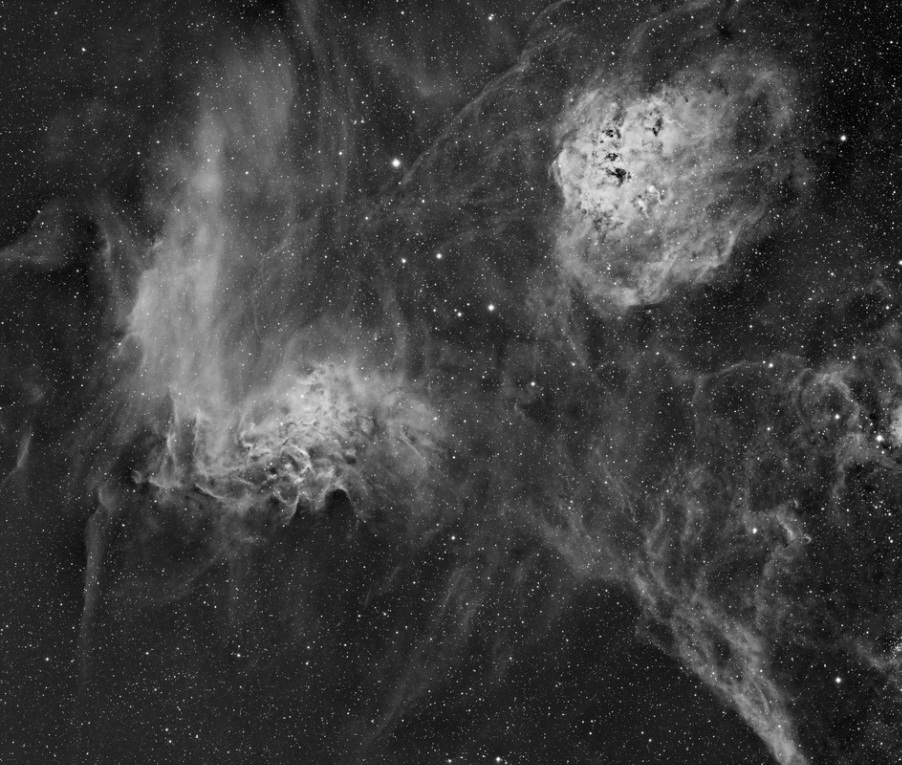
Below in order ... Pane 1, Pane 2 etc ........ shows how the image has built up from night to night adding each additional pane.
Below in order ... Pane 1, Pane 2 etc ........ shows how the image has built up from night to night adding each additional pane.

Mosaic overlap
Below is an example of a 3 pane mosaic that I have just completed. Each pane has been stretched and no other processing has been done. They have been placed on the mosaic board as they fit together. You can see the stars that have been used to fit the mosaic together. The two circles joined with the line give you an idea of the overlap used in this case.
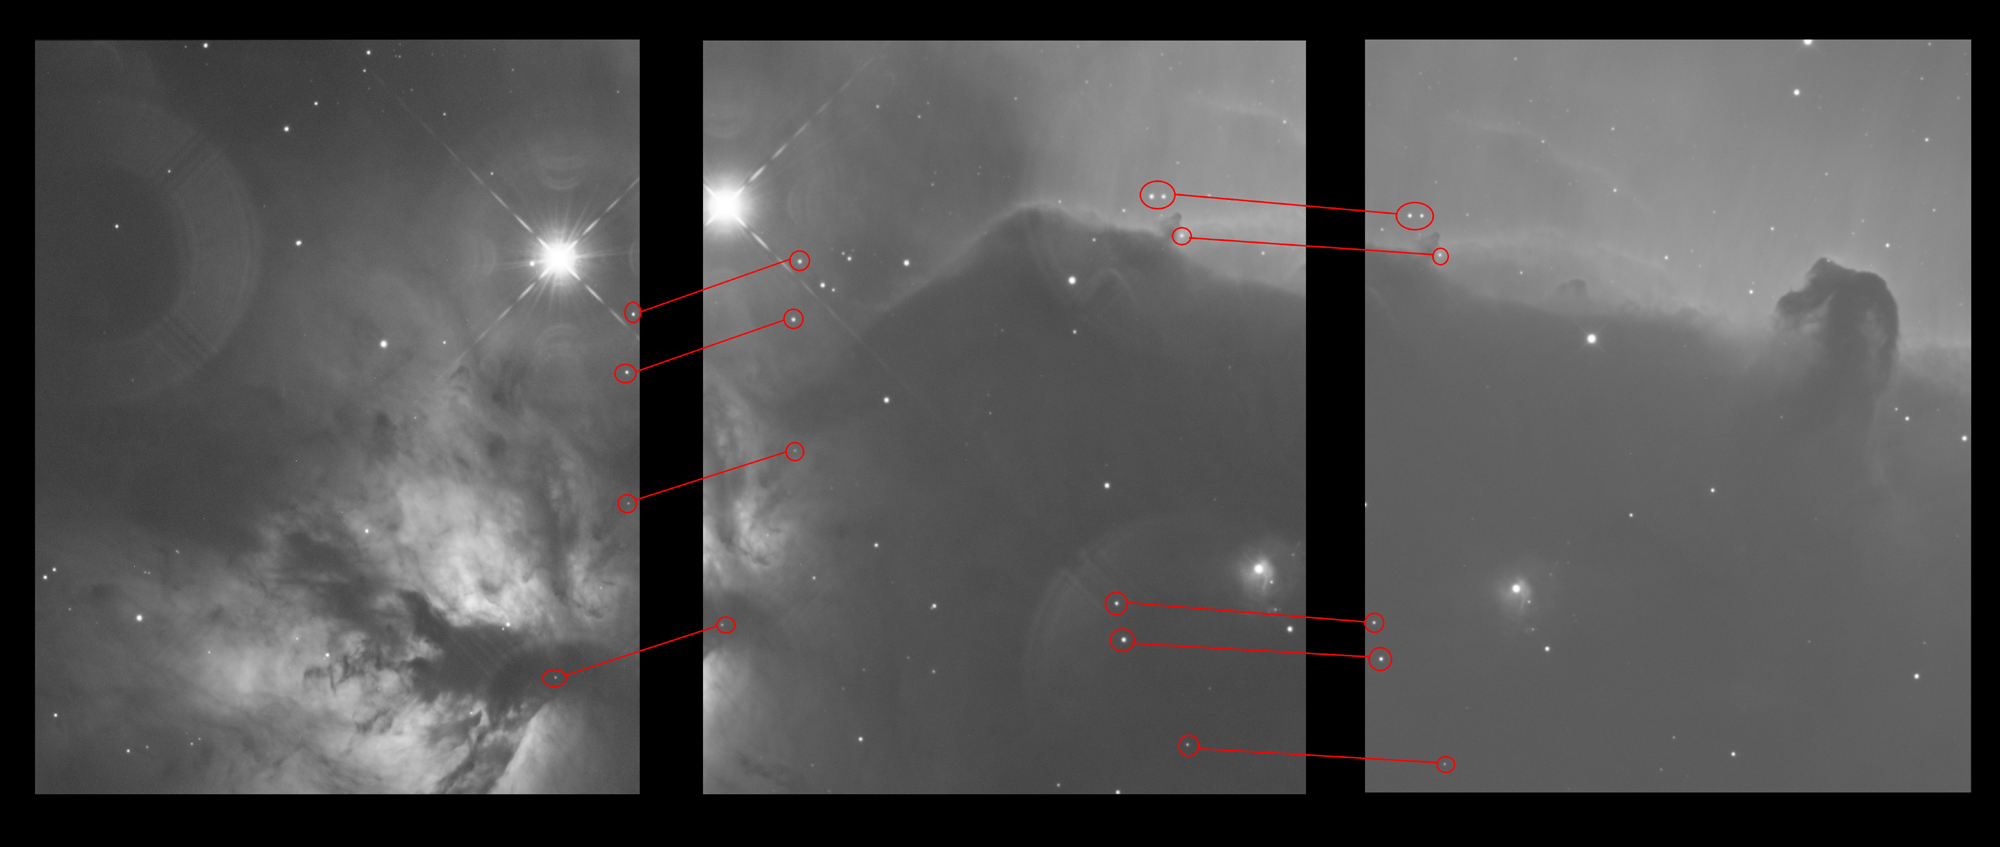
In order to then stitch these together I used MSICE - Loaded the images into the GUI window and it linked them together creating the merged image that I could then work on.
The difficulty with this mosaic is that due to it being taken at a long focal length, there are not many matching stars. I had to stretch each pane individually at first, ensuring that the backgrounds were exactly the same and then it would stitch. Normally I am able to use a linear (unprocessed image) and the gradients and background equalisation is done by the software.
The difficulty with this mosaic is that due to it being taken at a long focal length, there are not many matching stars. I had to stretch each pane individually at first, ensuring that the backgrounds were exactly the same and then it would stitch. Normally I am able to use a linear (unprocessed image) and the gradients and background equalisation is done by the software.

Some things to remember when constructing a mosaic
1) You need an overlap between the panes. This will allow stars to be picked by software to act as a reference for the joining. You will never have too much of an overlap, but you can certainly have too little where there's not enough reference stars to join together.
2) Stack each individual pane together - do not stretch them yet.
3) MSICE is a great piece of free software (http://www.snapfiles.com/get/msice.html) that will allow you to easily create a mosaic. Just add your unprocessed individual panes to the software and it will create your mosaic.
4) From there you will need to process the image as normal. There may be some gradients where the panes have joined, but MSICE does a good job of removing them.
