Observatory Mk1
I reckon it was about 2014/2015 when the idea to have an observatory was born. We had a perfect flat roof for it and while it was small it was perfect for what I wanted. You can see the build on the Observatory page.
|
|
This was a great observatory. It allowed me to be up and imaging quickly and also lived through some different kit! There were a few additions over time, including internet, so that I can control everything from the house if wanted. It worked well..... but ........ somehow my kit seems to have a reproductive cycle of it's own and at the back end of 2017 a dual rig came into being. It's been located permanently on the terrace under a Telegizmo cover, but this is not ideal. So the extended Mk2 observatory idea was born. As it happens the roofing on the lower building structure needs to be maintained and so this was an ideal time to look at the possibility of an extension.

Observatory Mk2
|
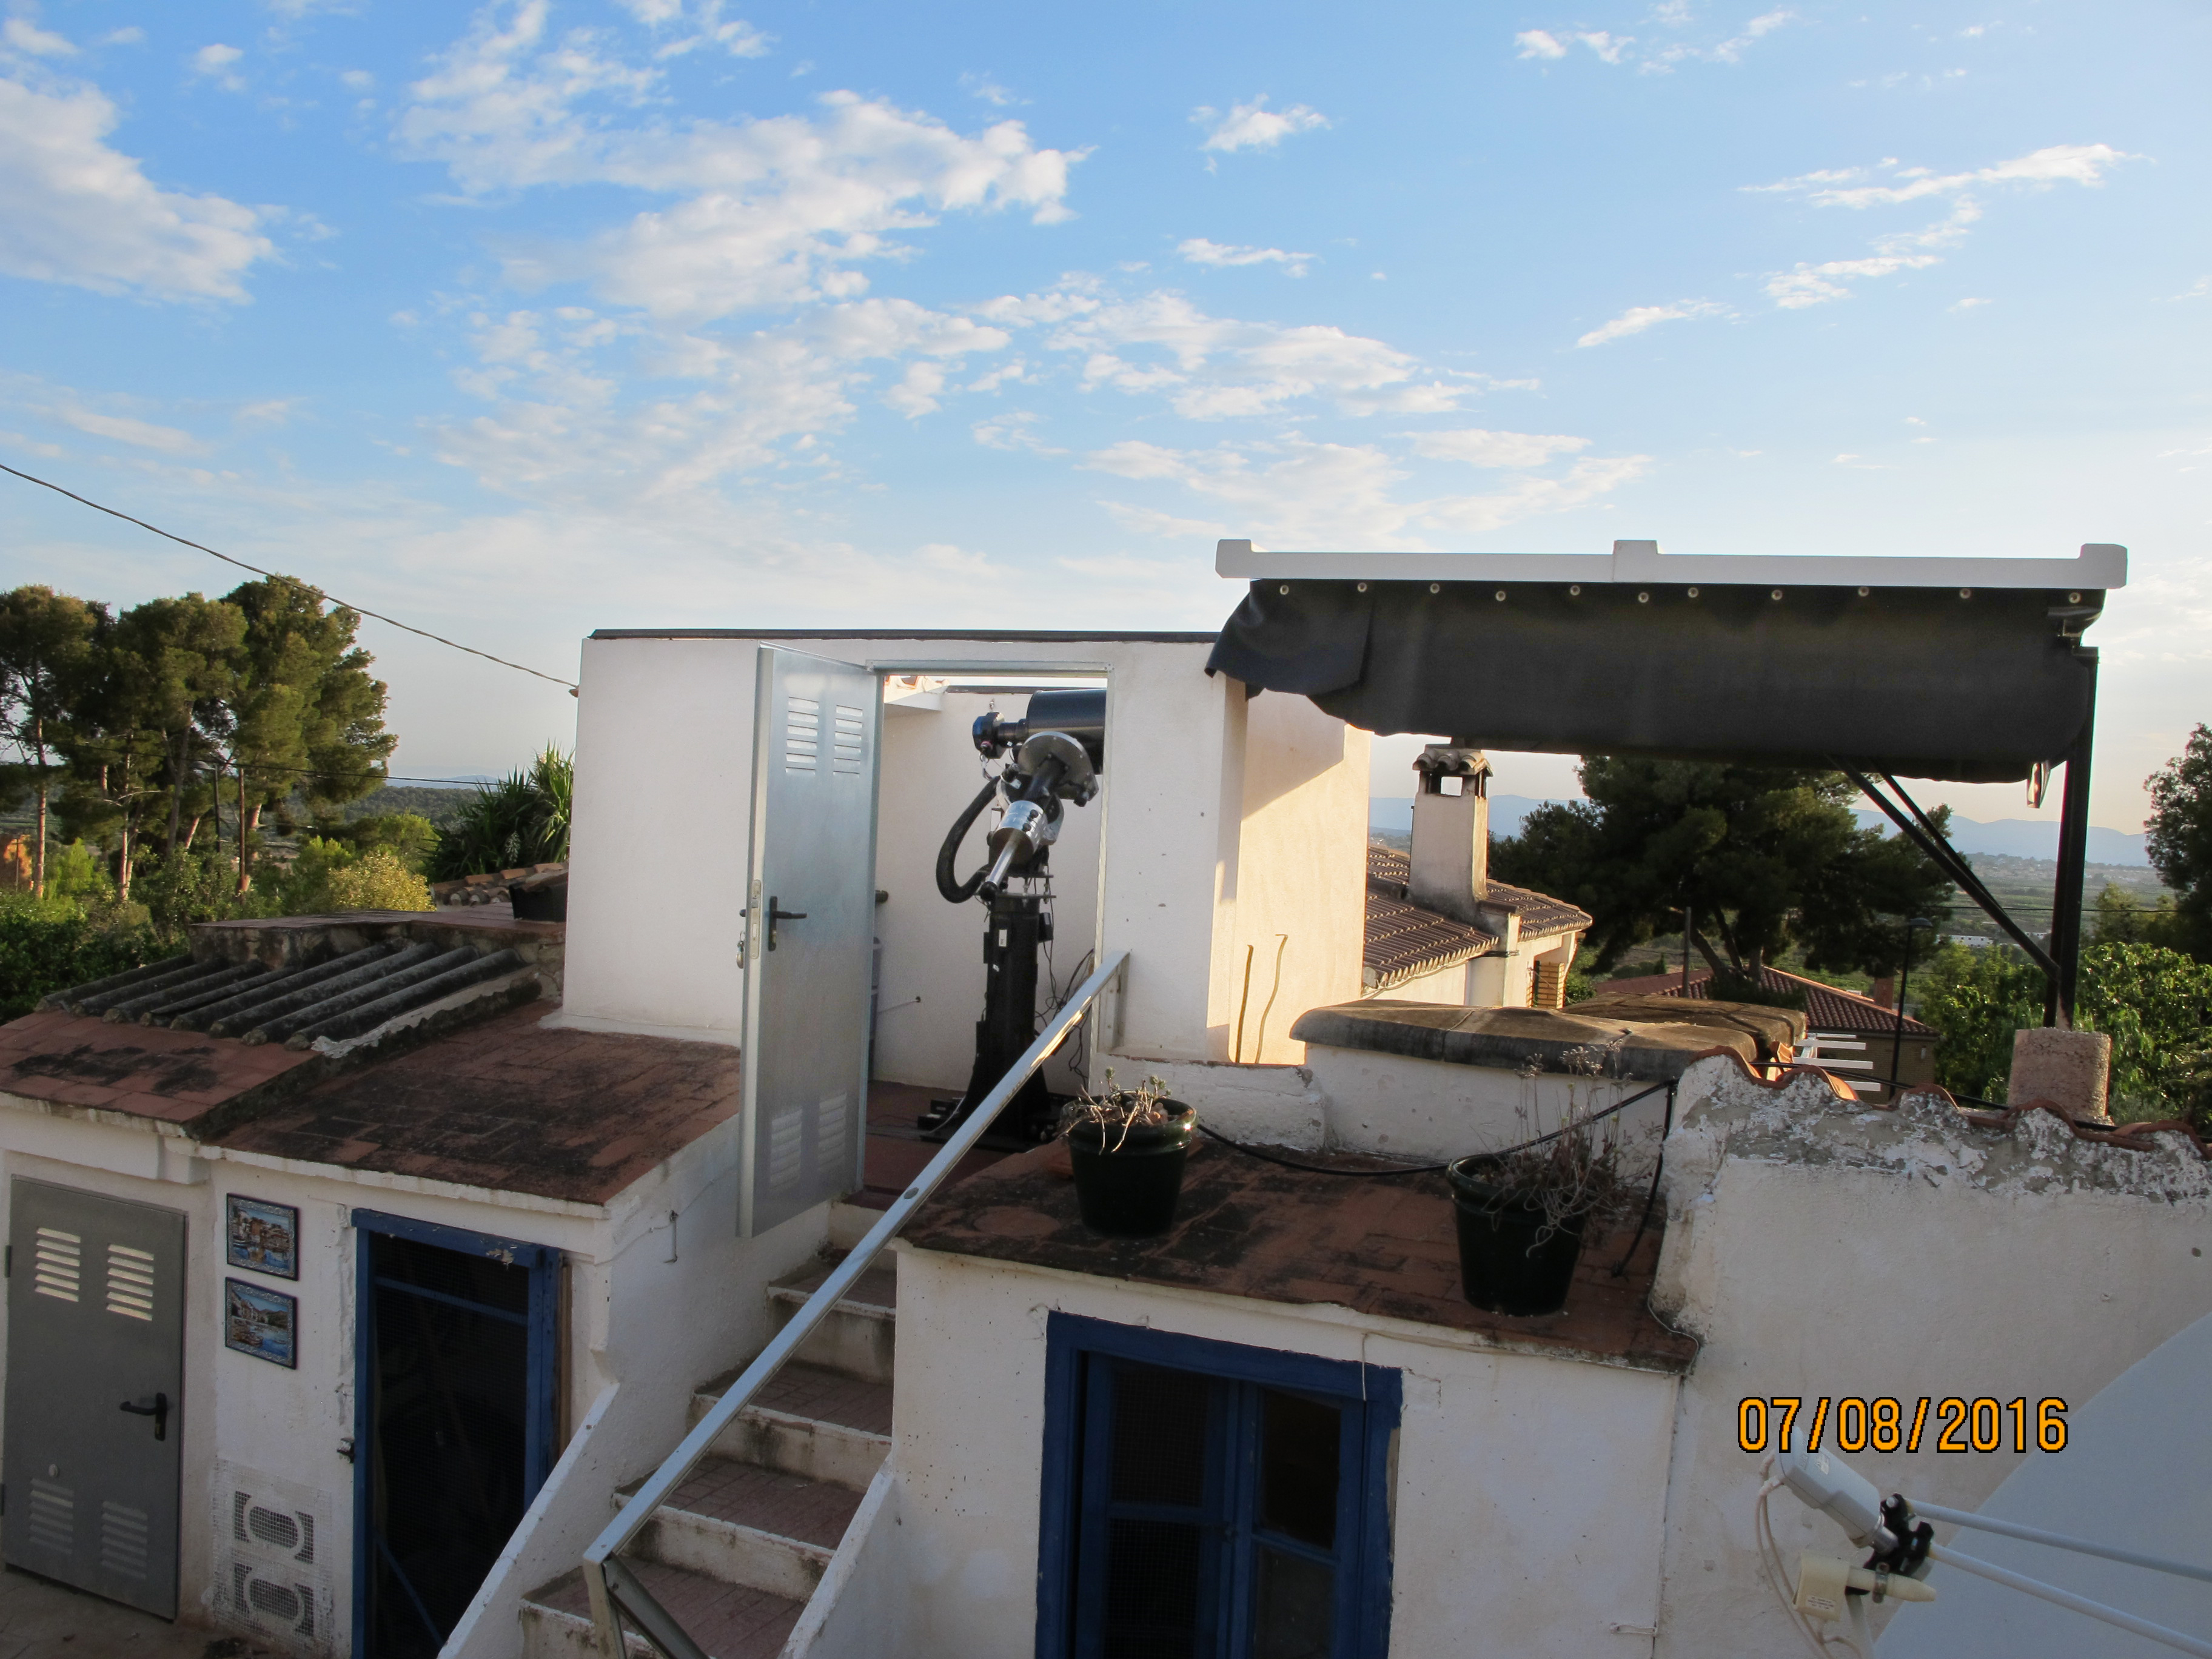
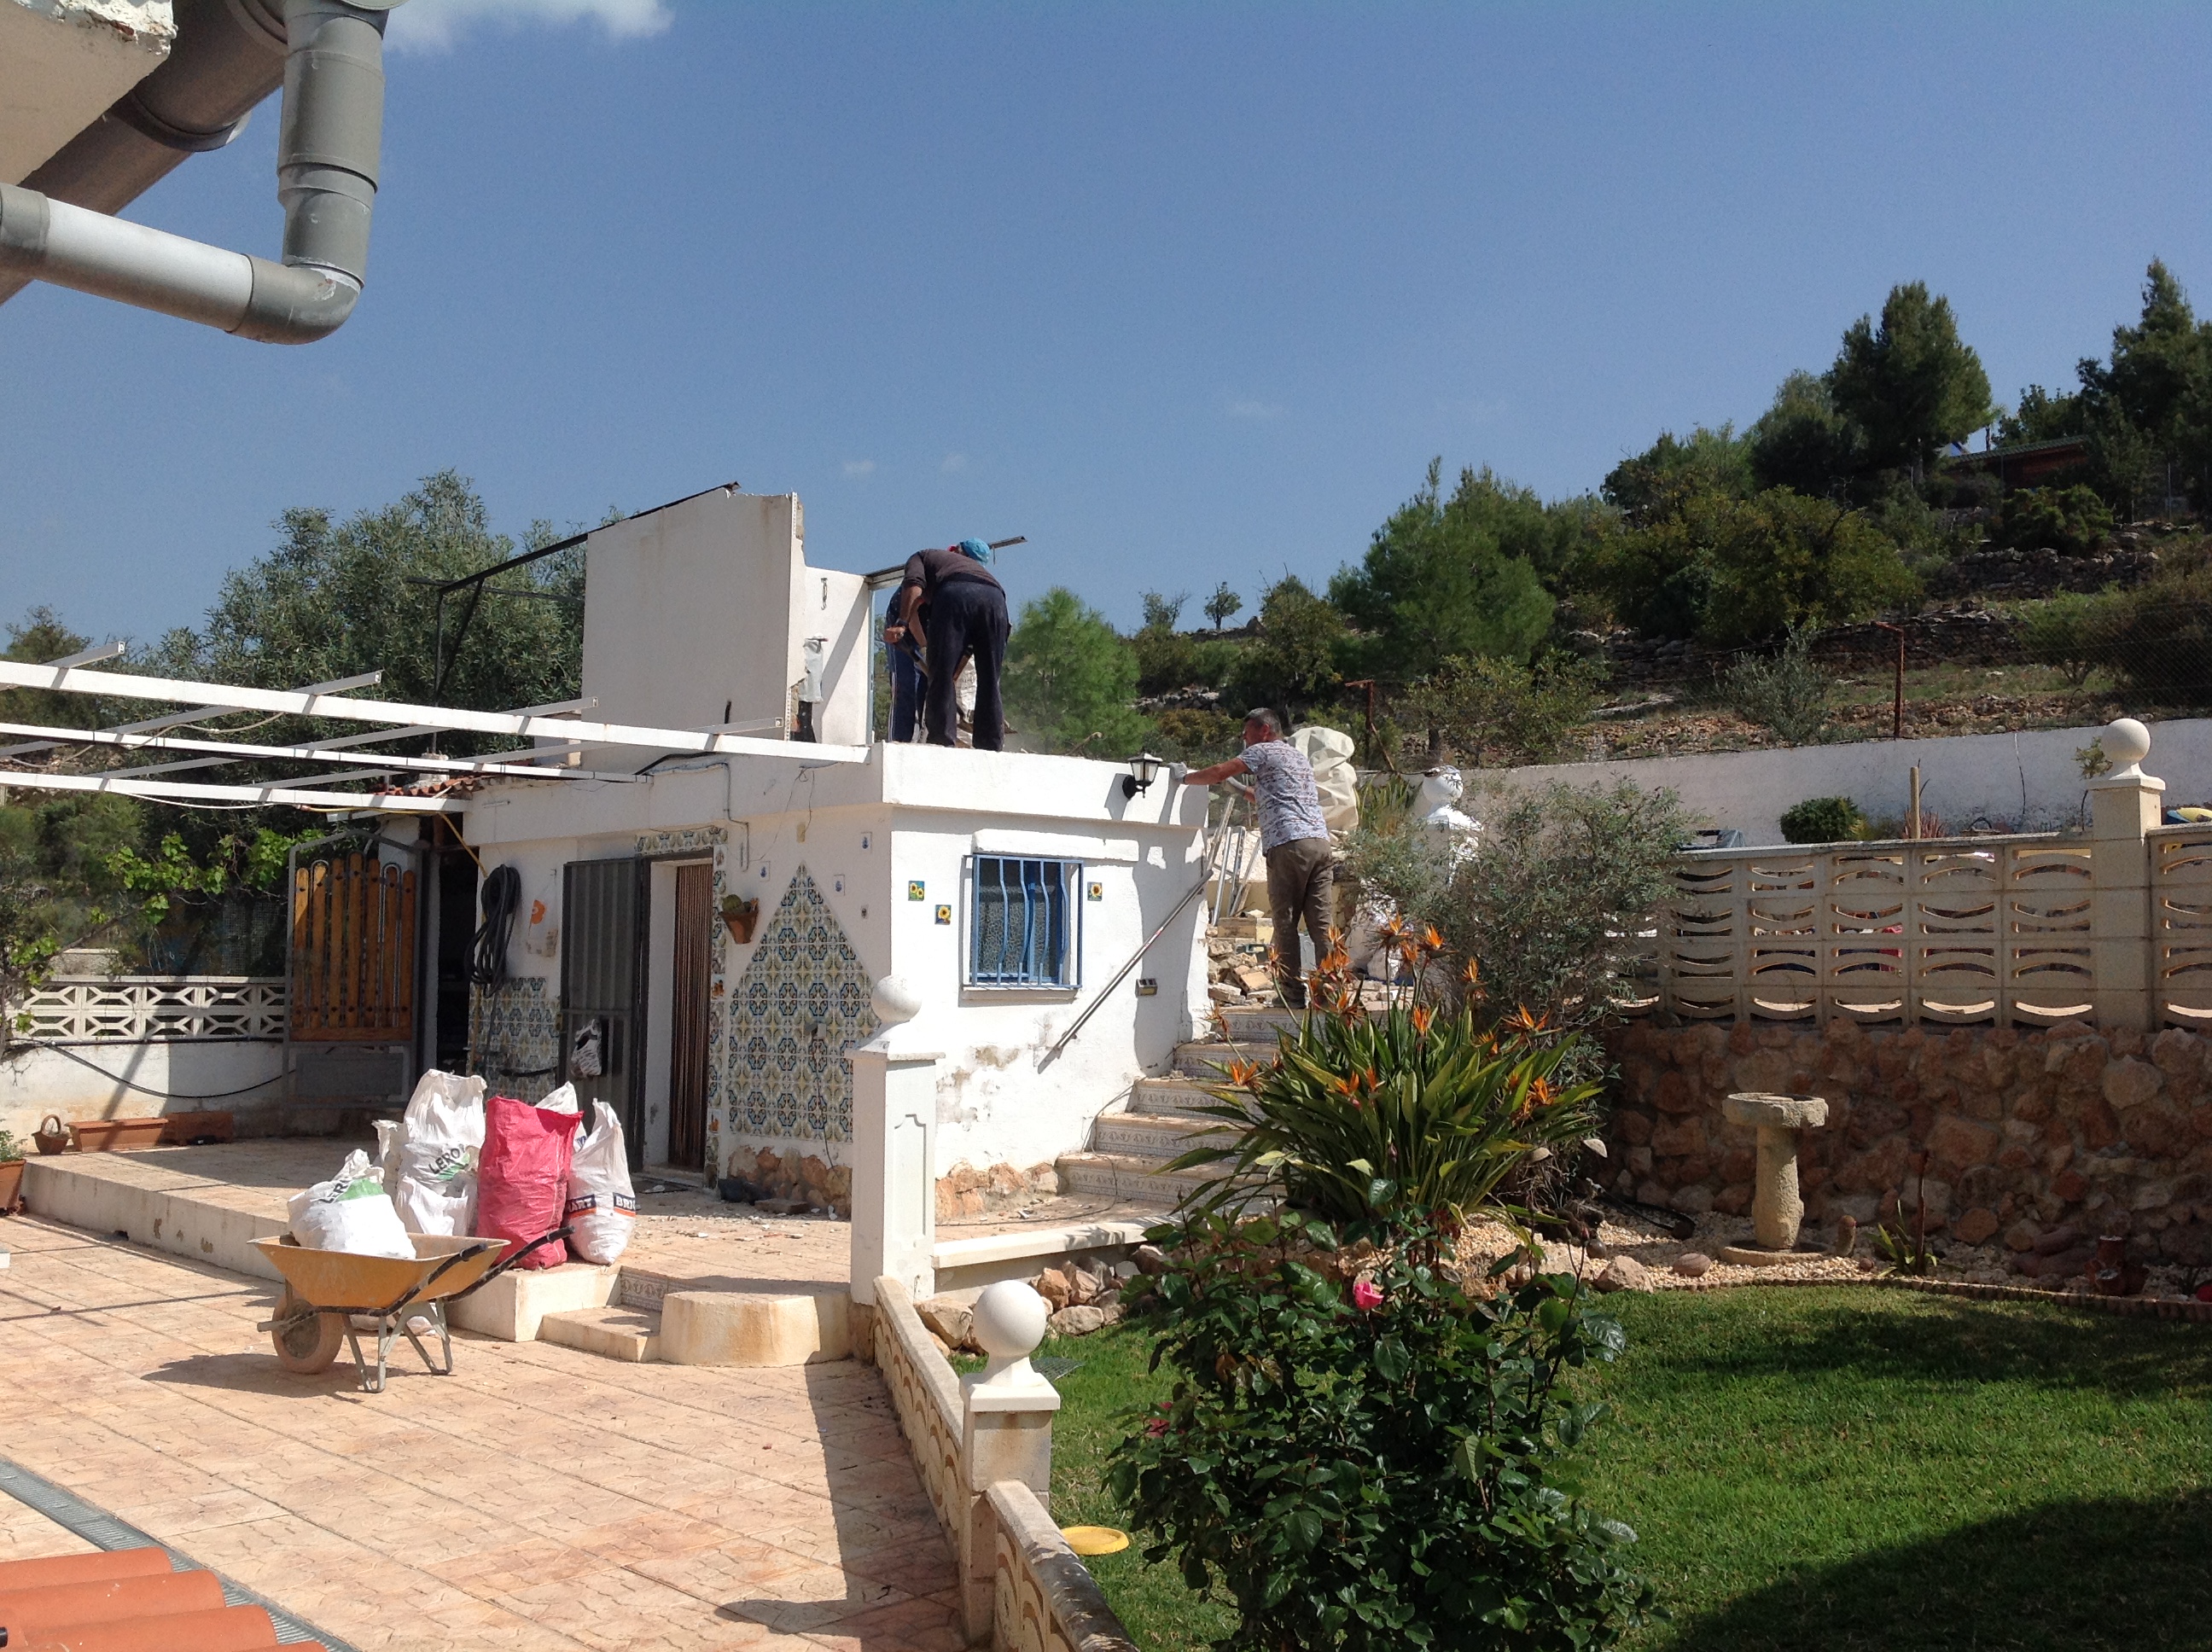
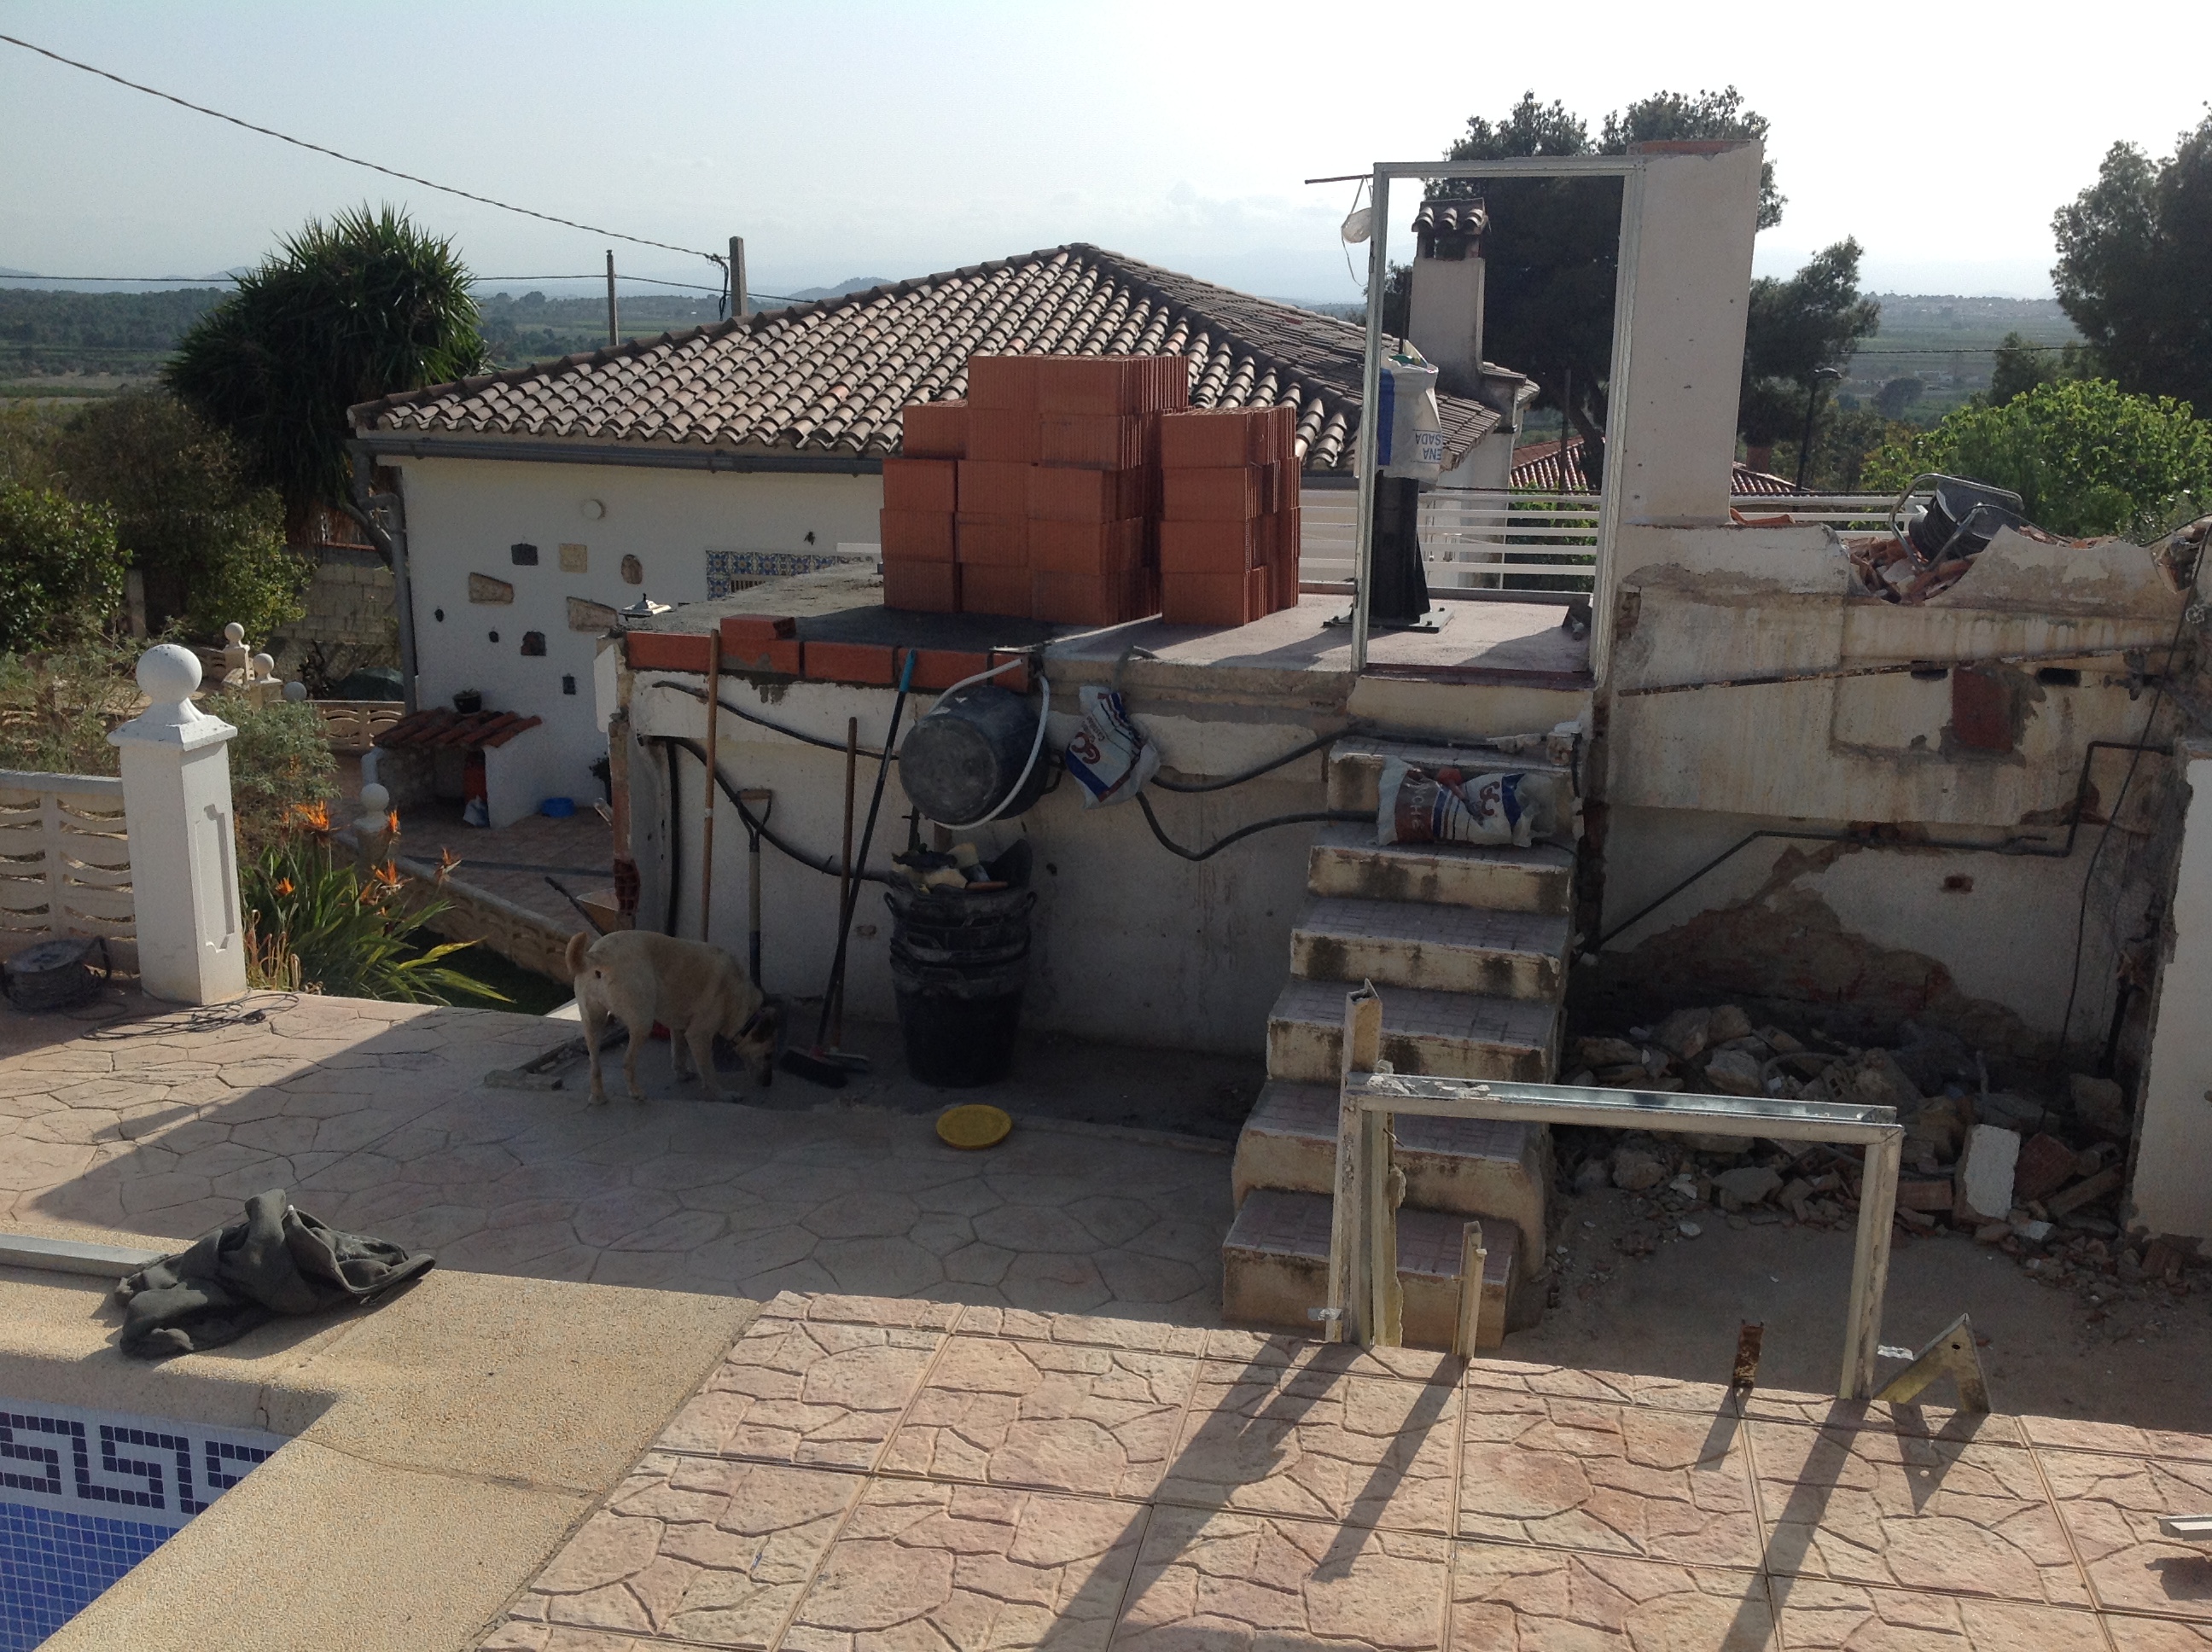
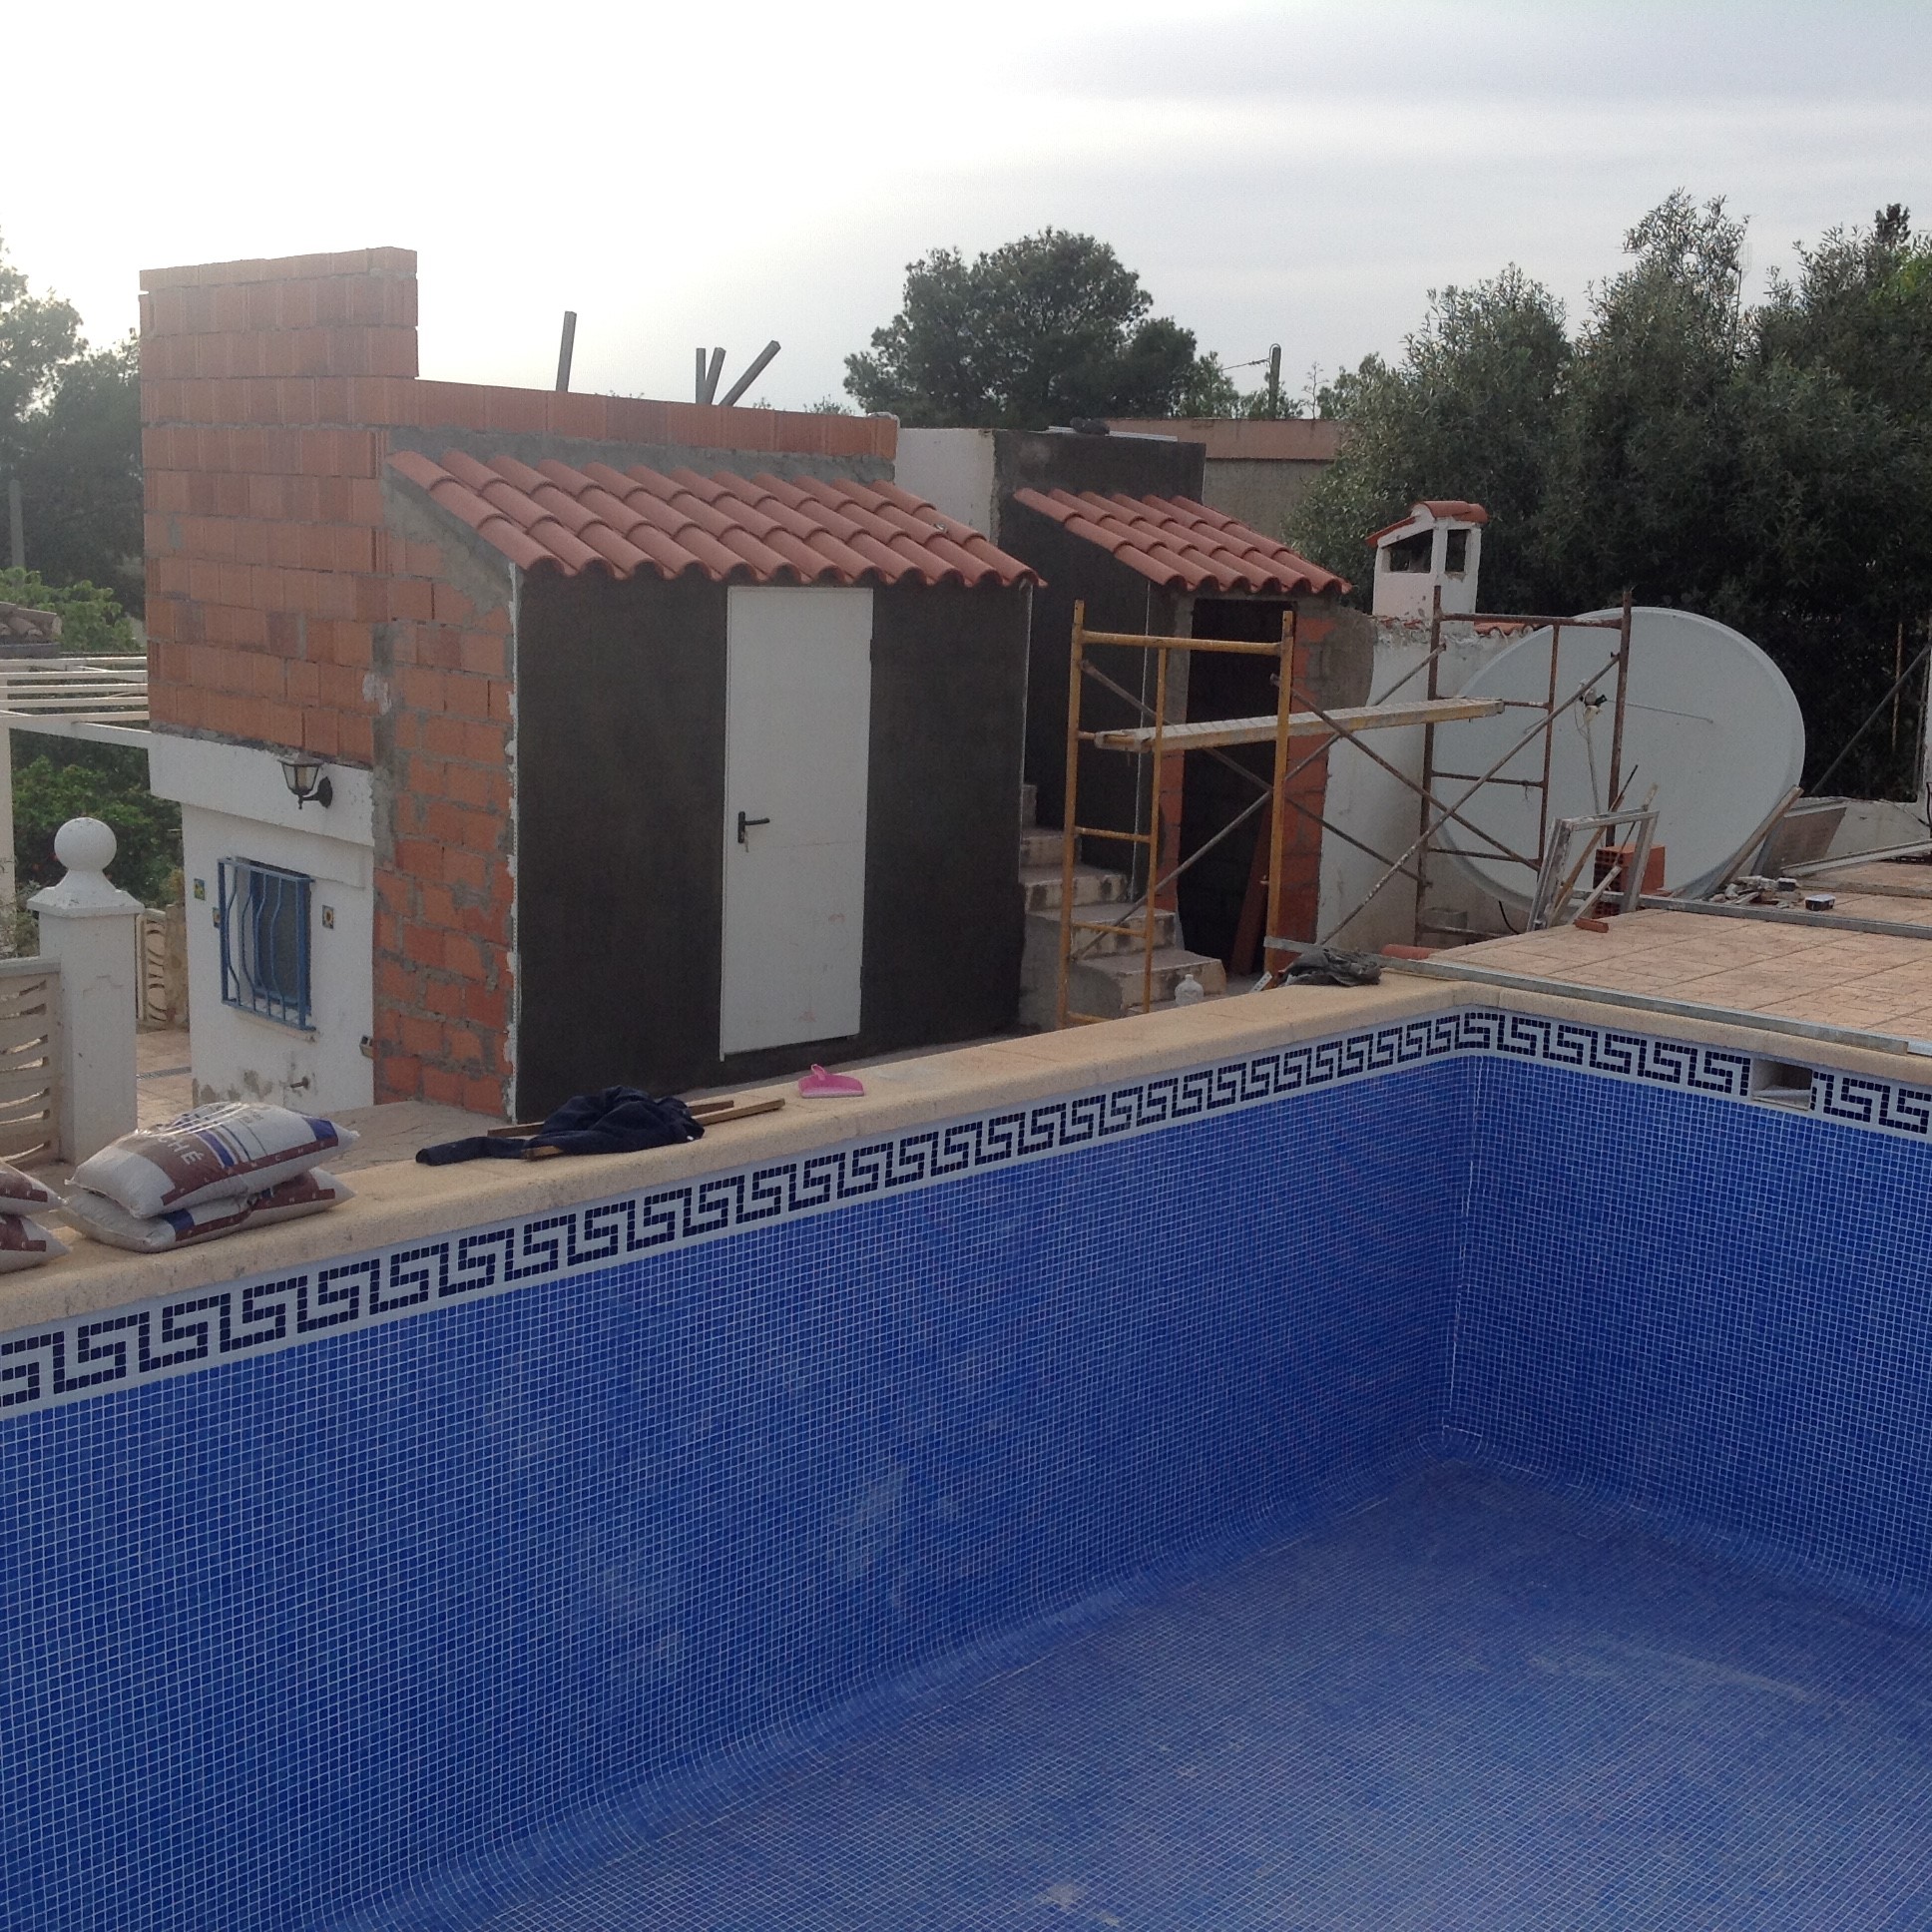
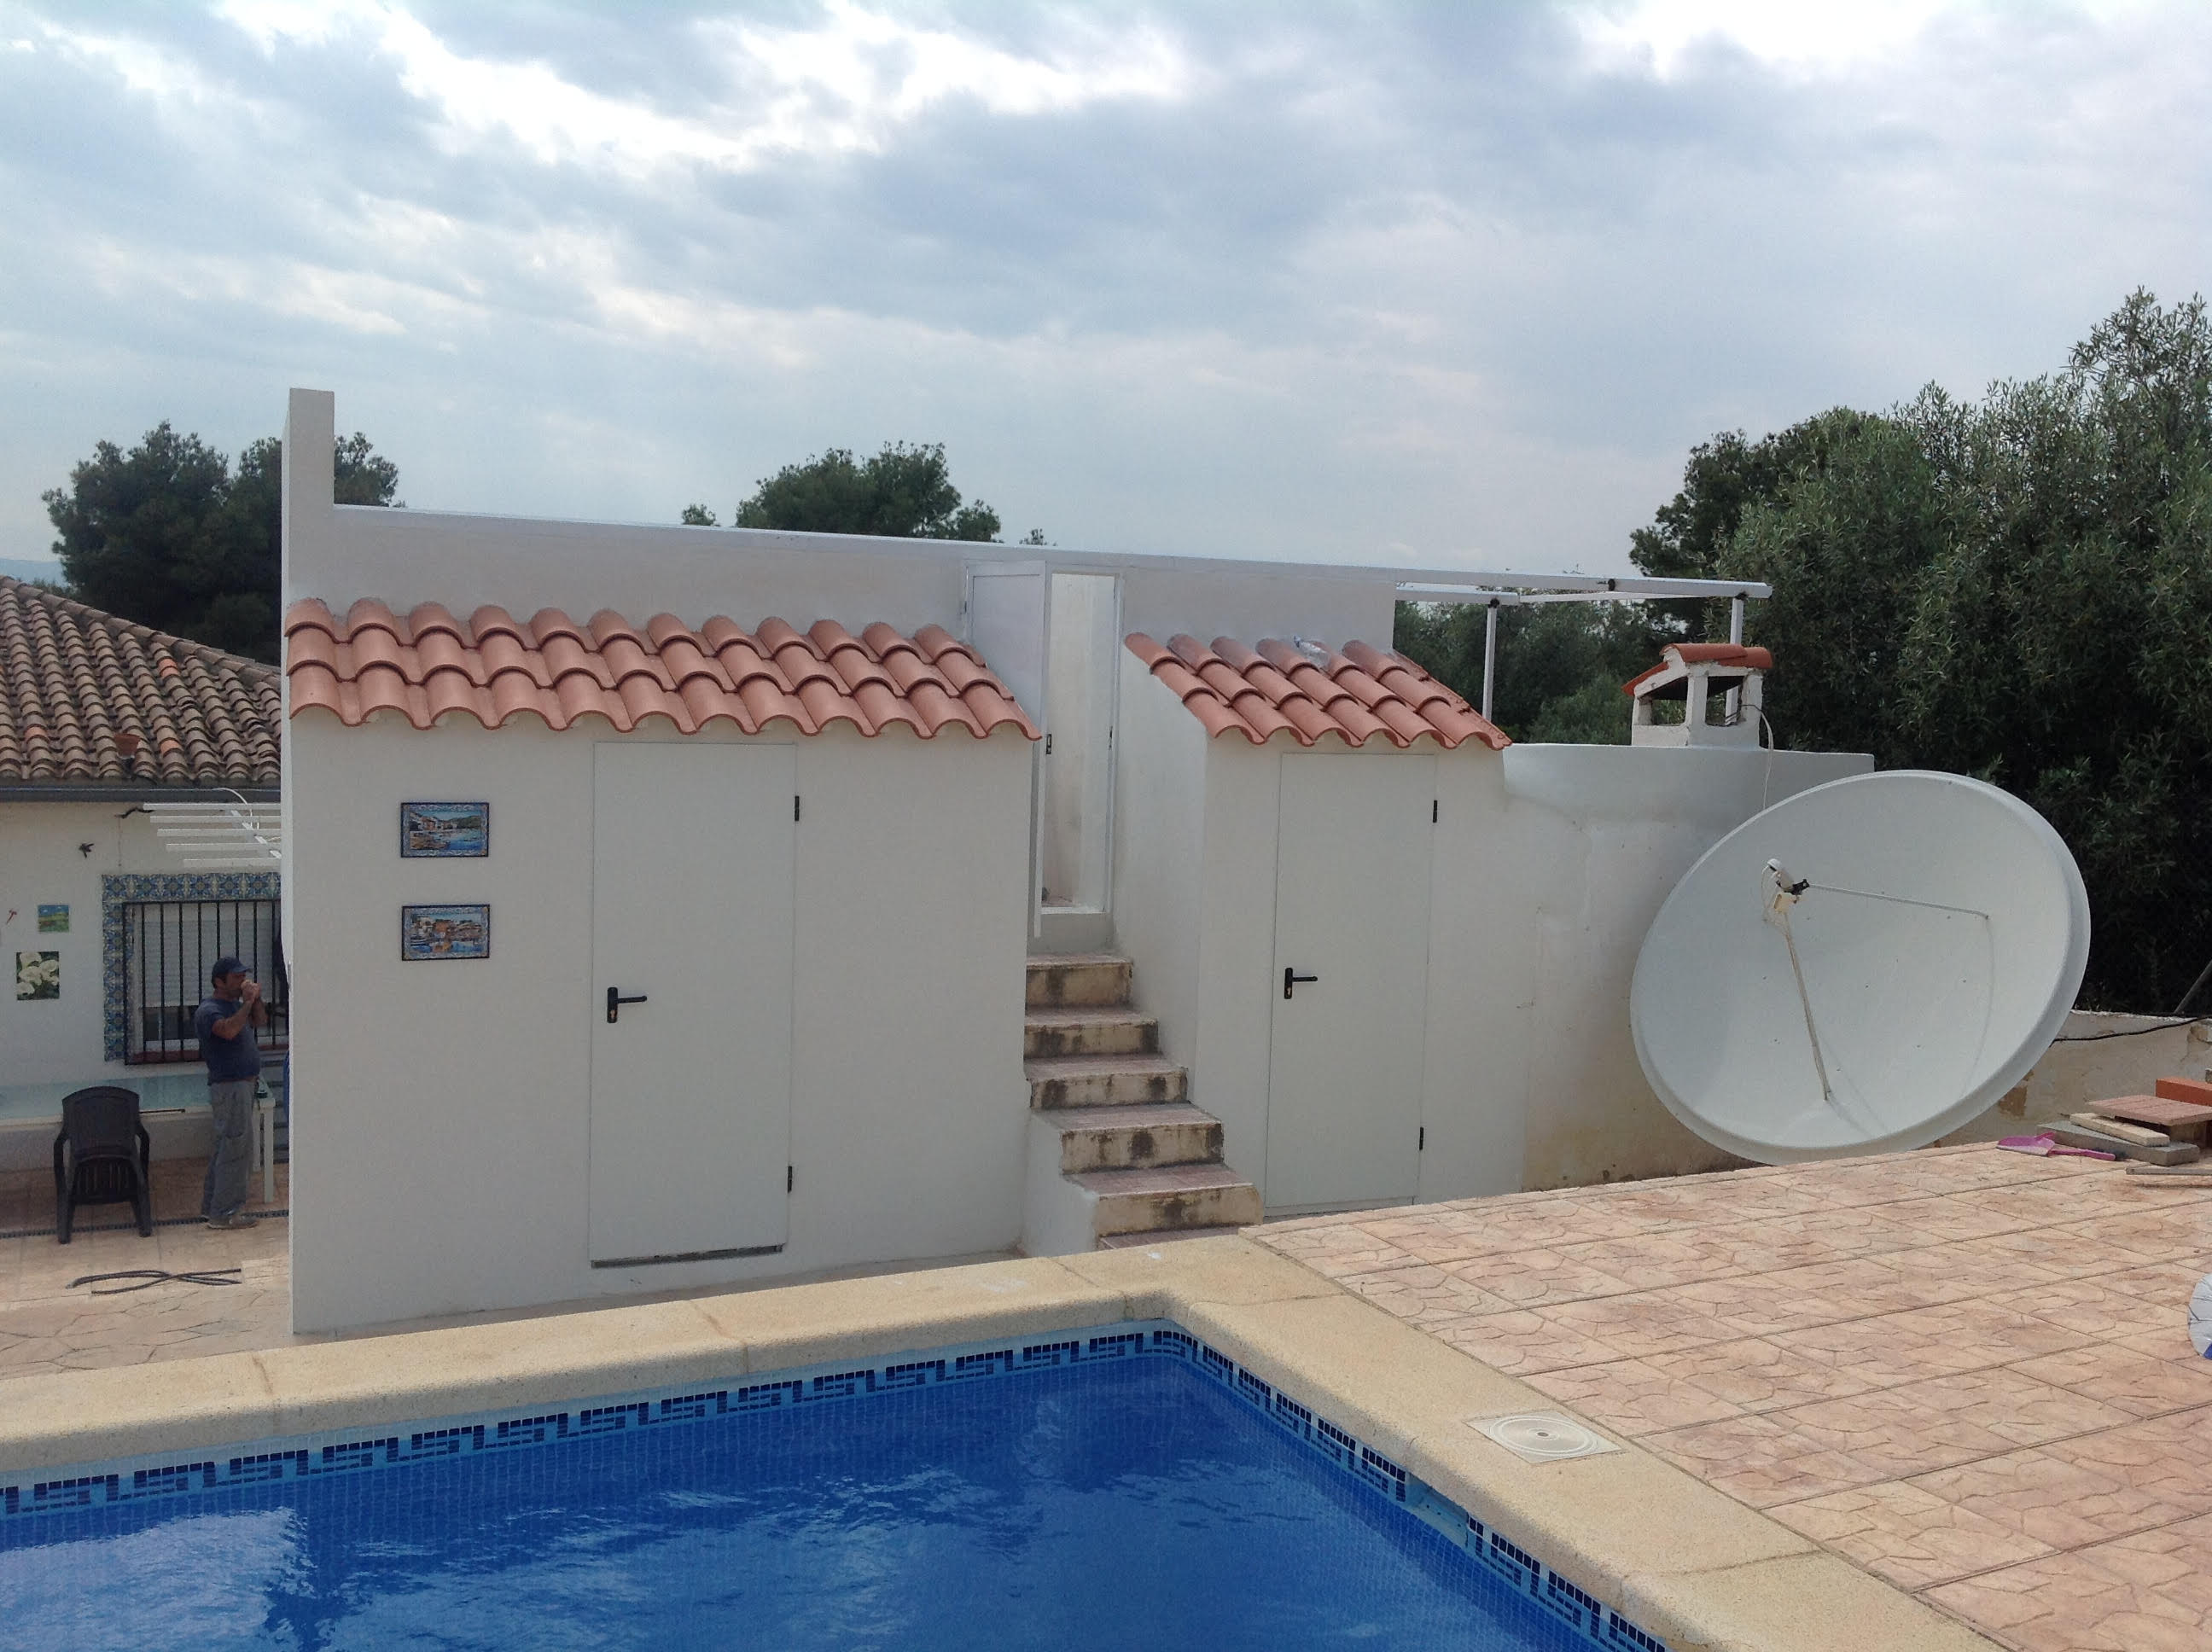
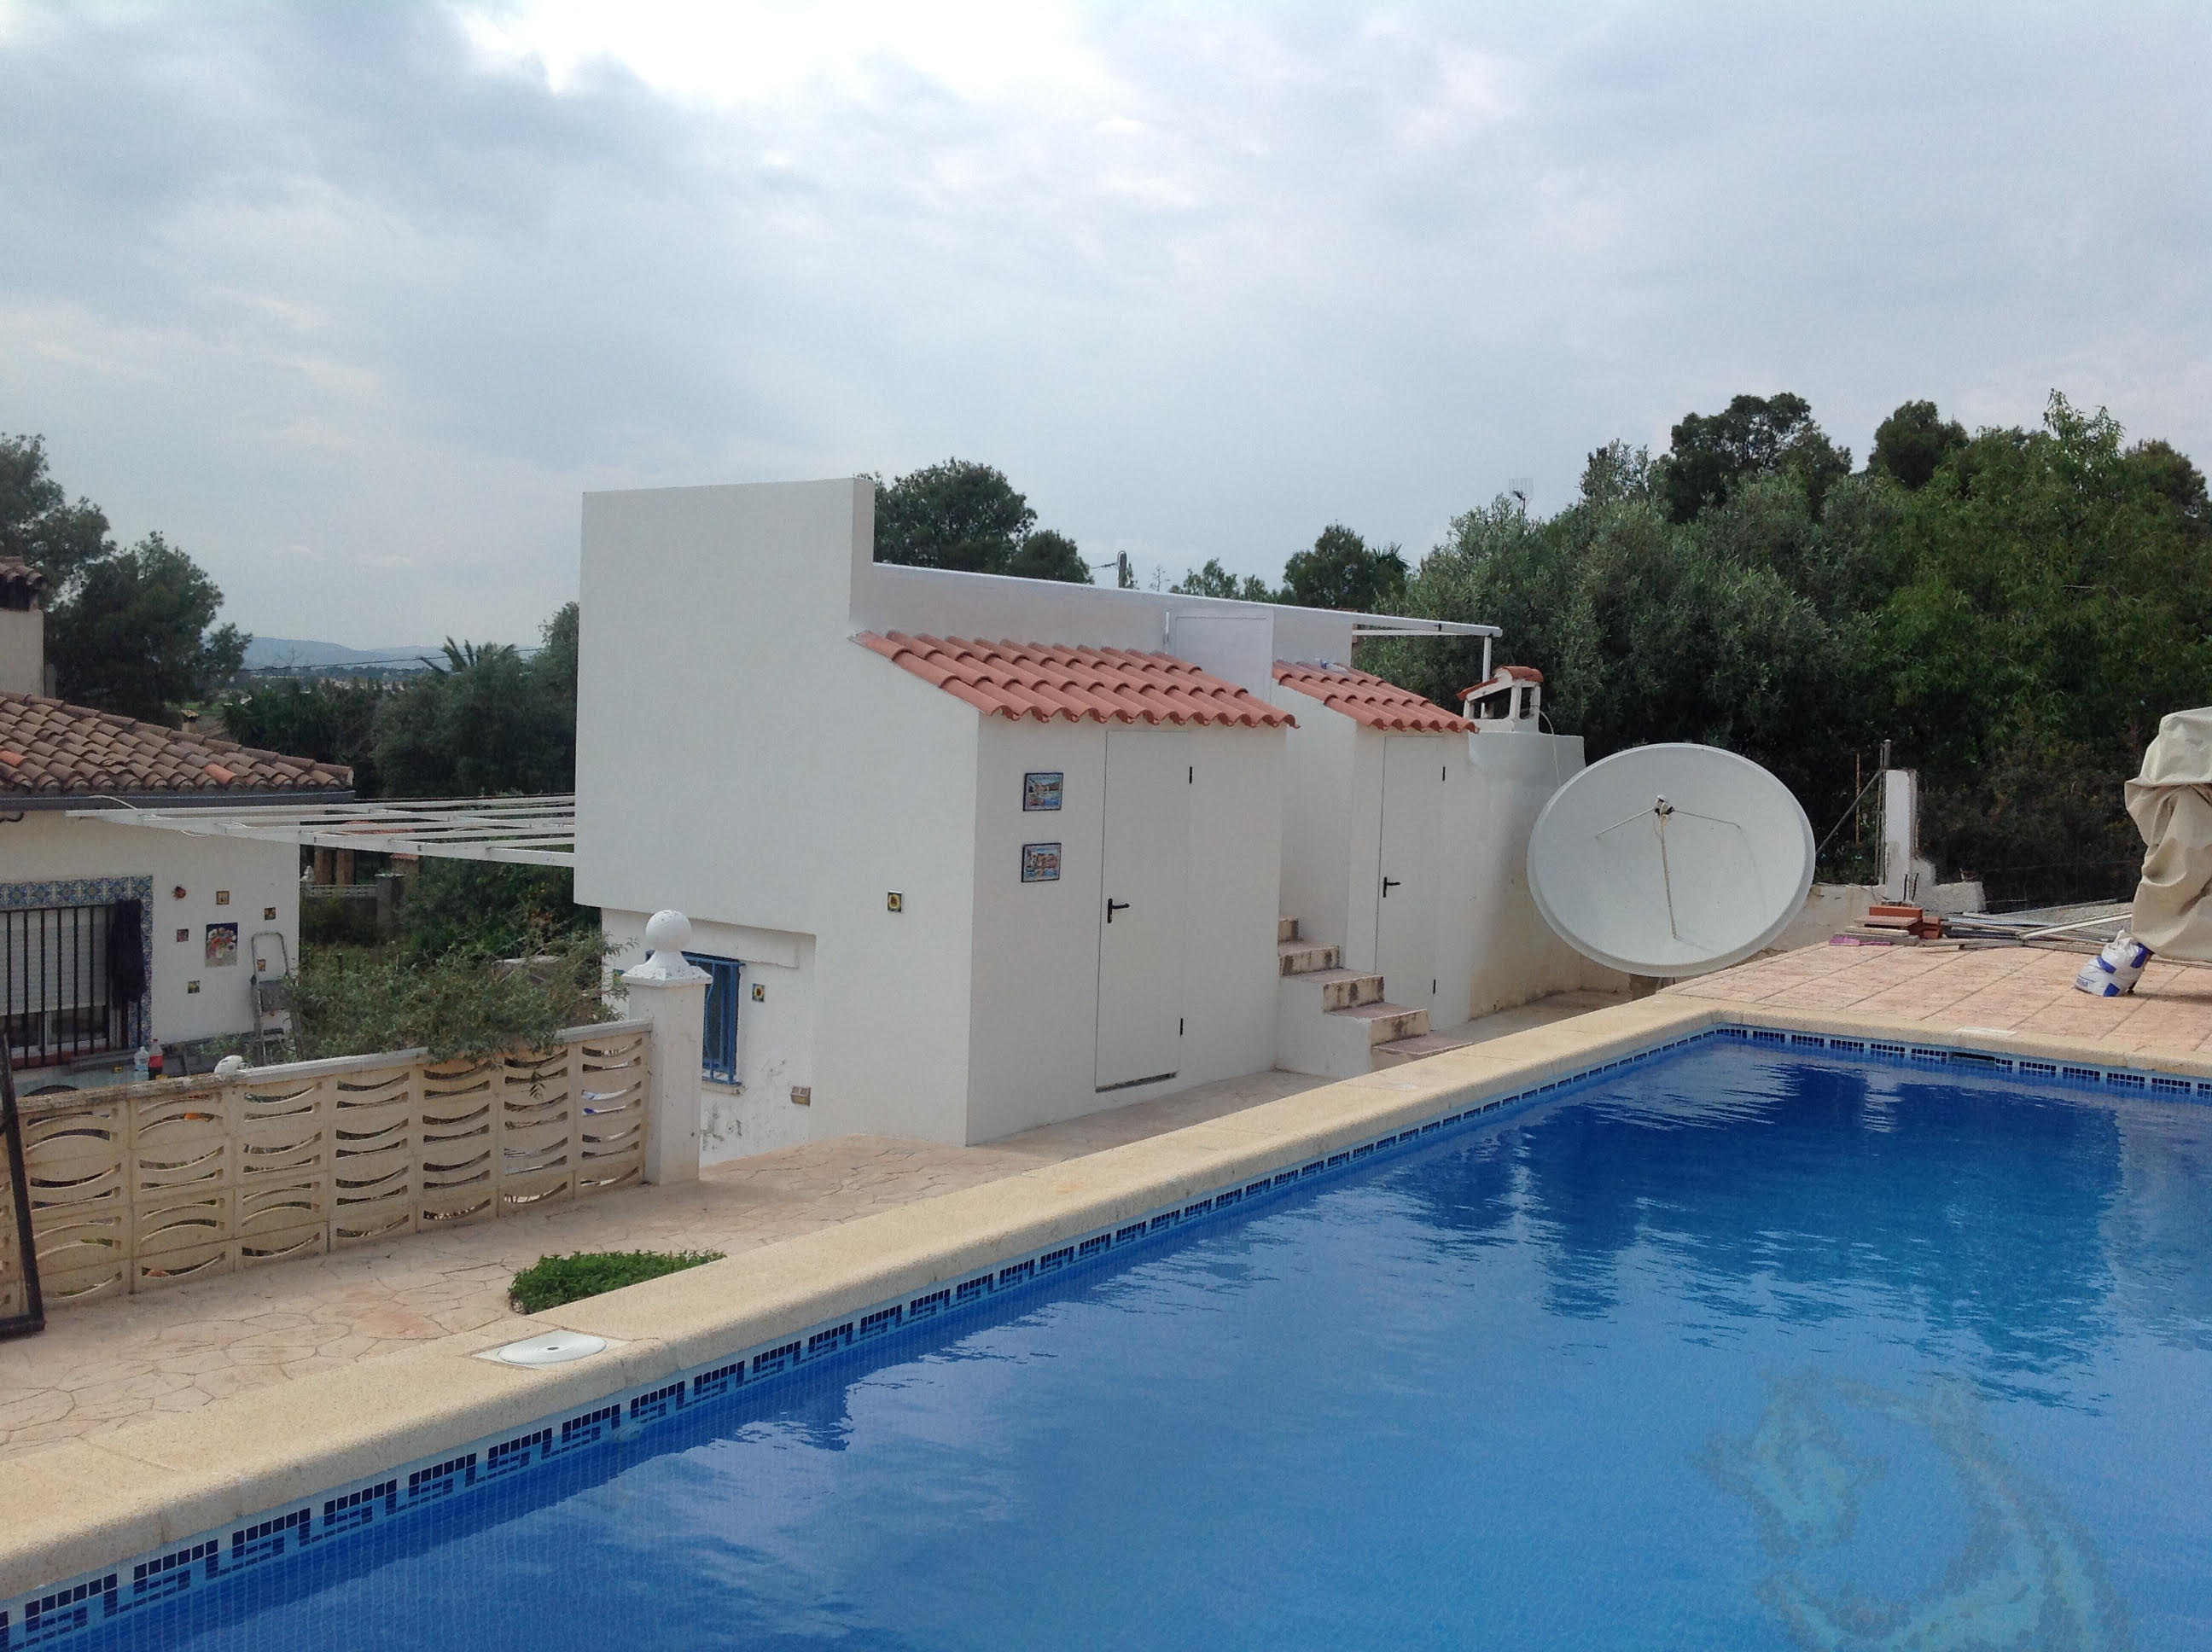
This is the very first picture so far....... an empty observatory ready for the work to begin.
The plans are that the side and front walls will remain the same (1.60m high) and the back wall will be up to 2.10m. This allows the new roof to slide over the large scope should it be at it's highest point. The back walls in this picture will be knocked out and the build will be almost double the size. |
|

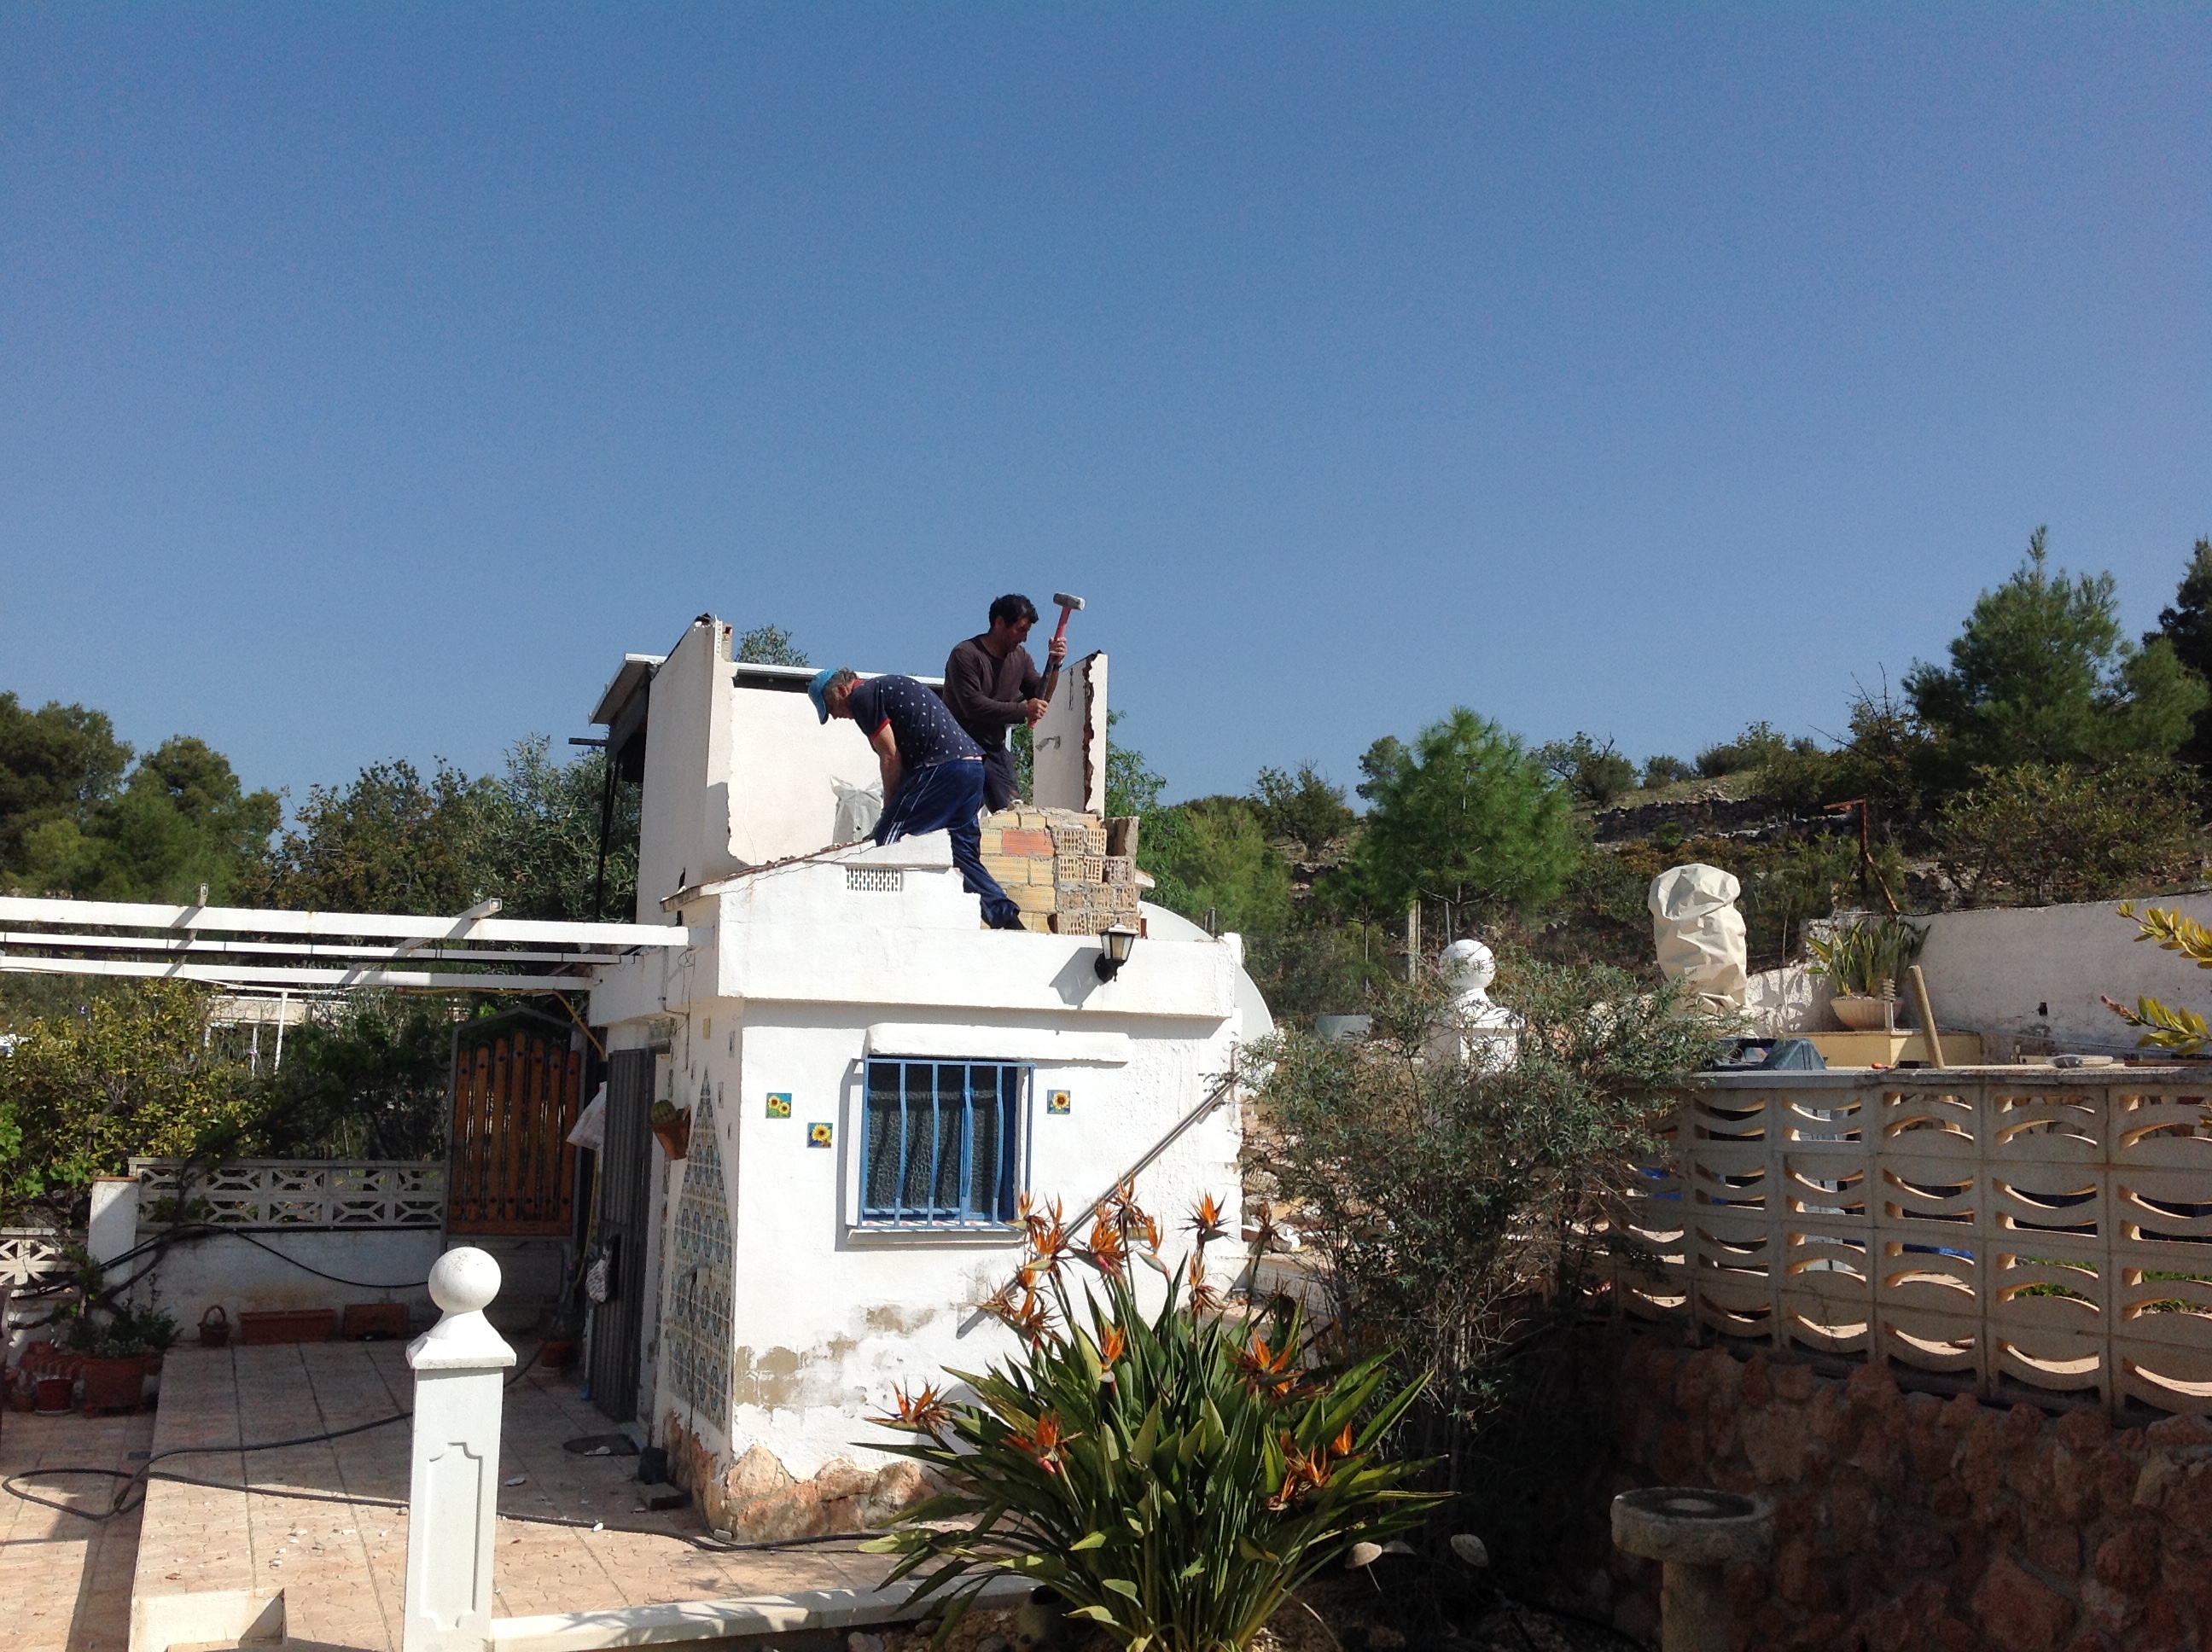
Day 1
|
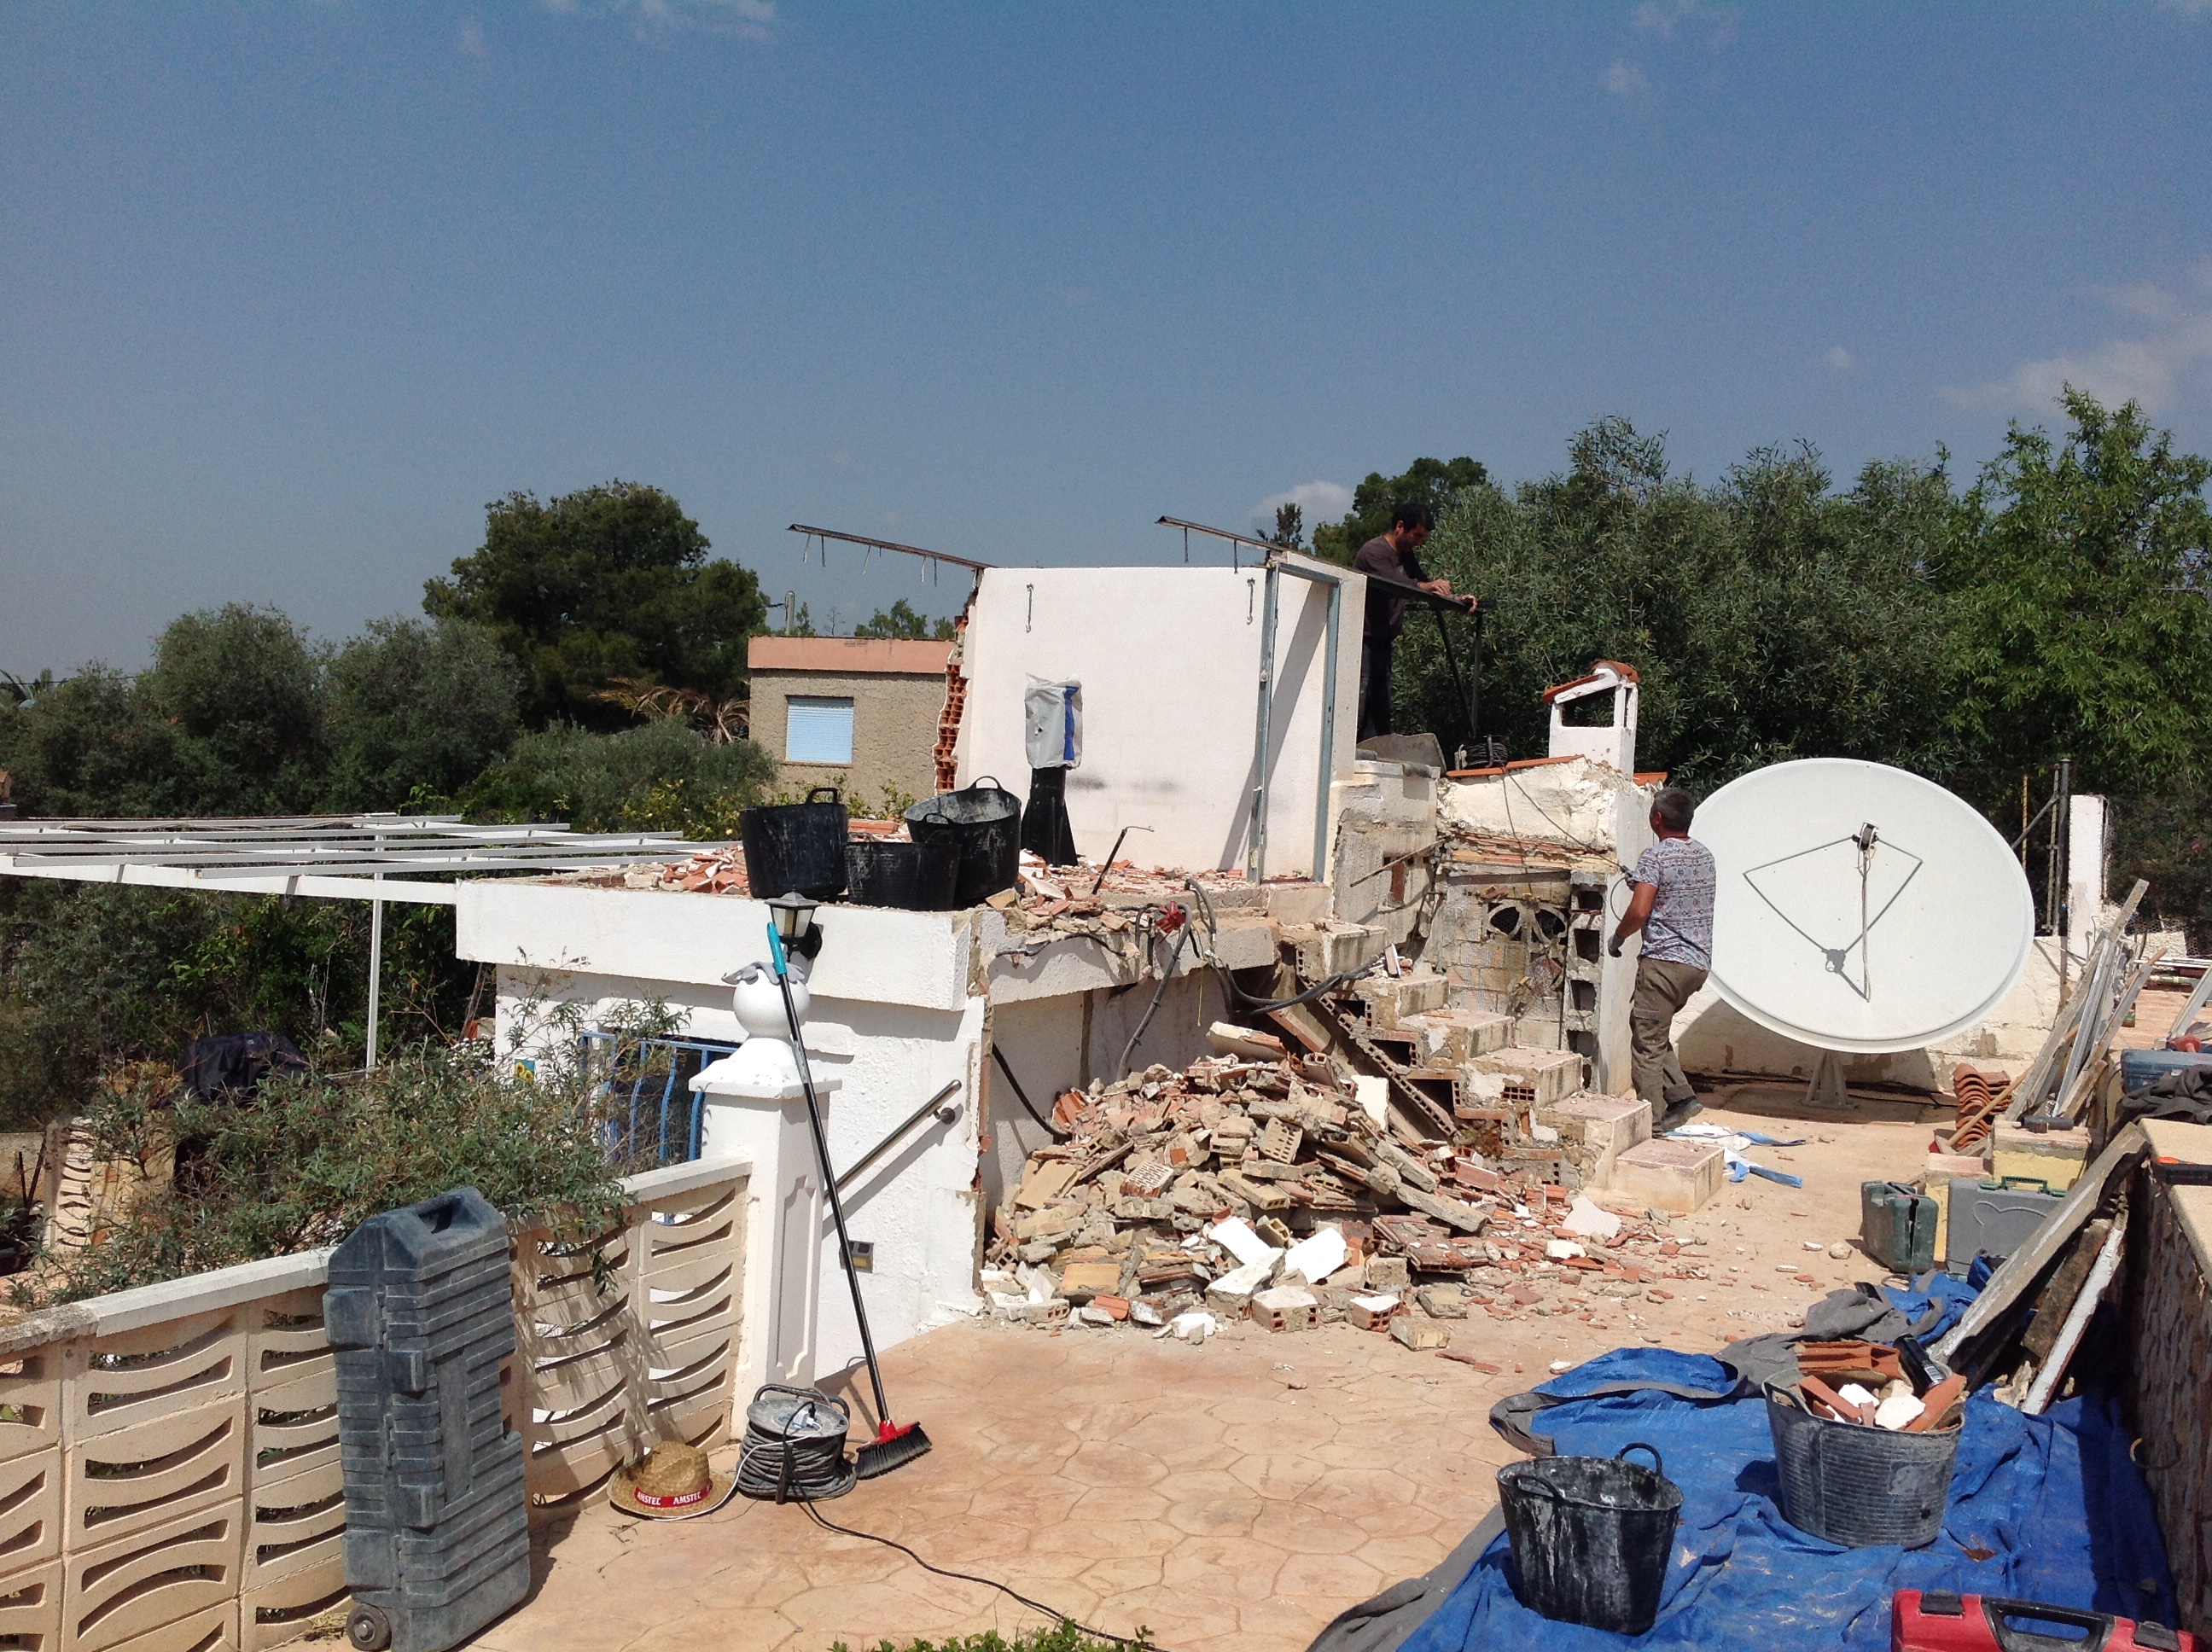
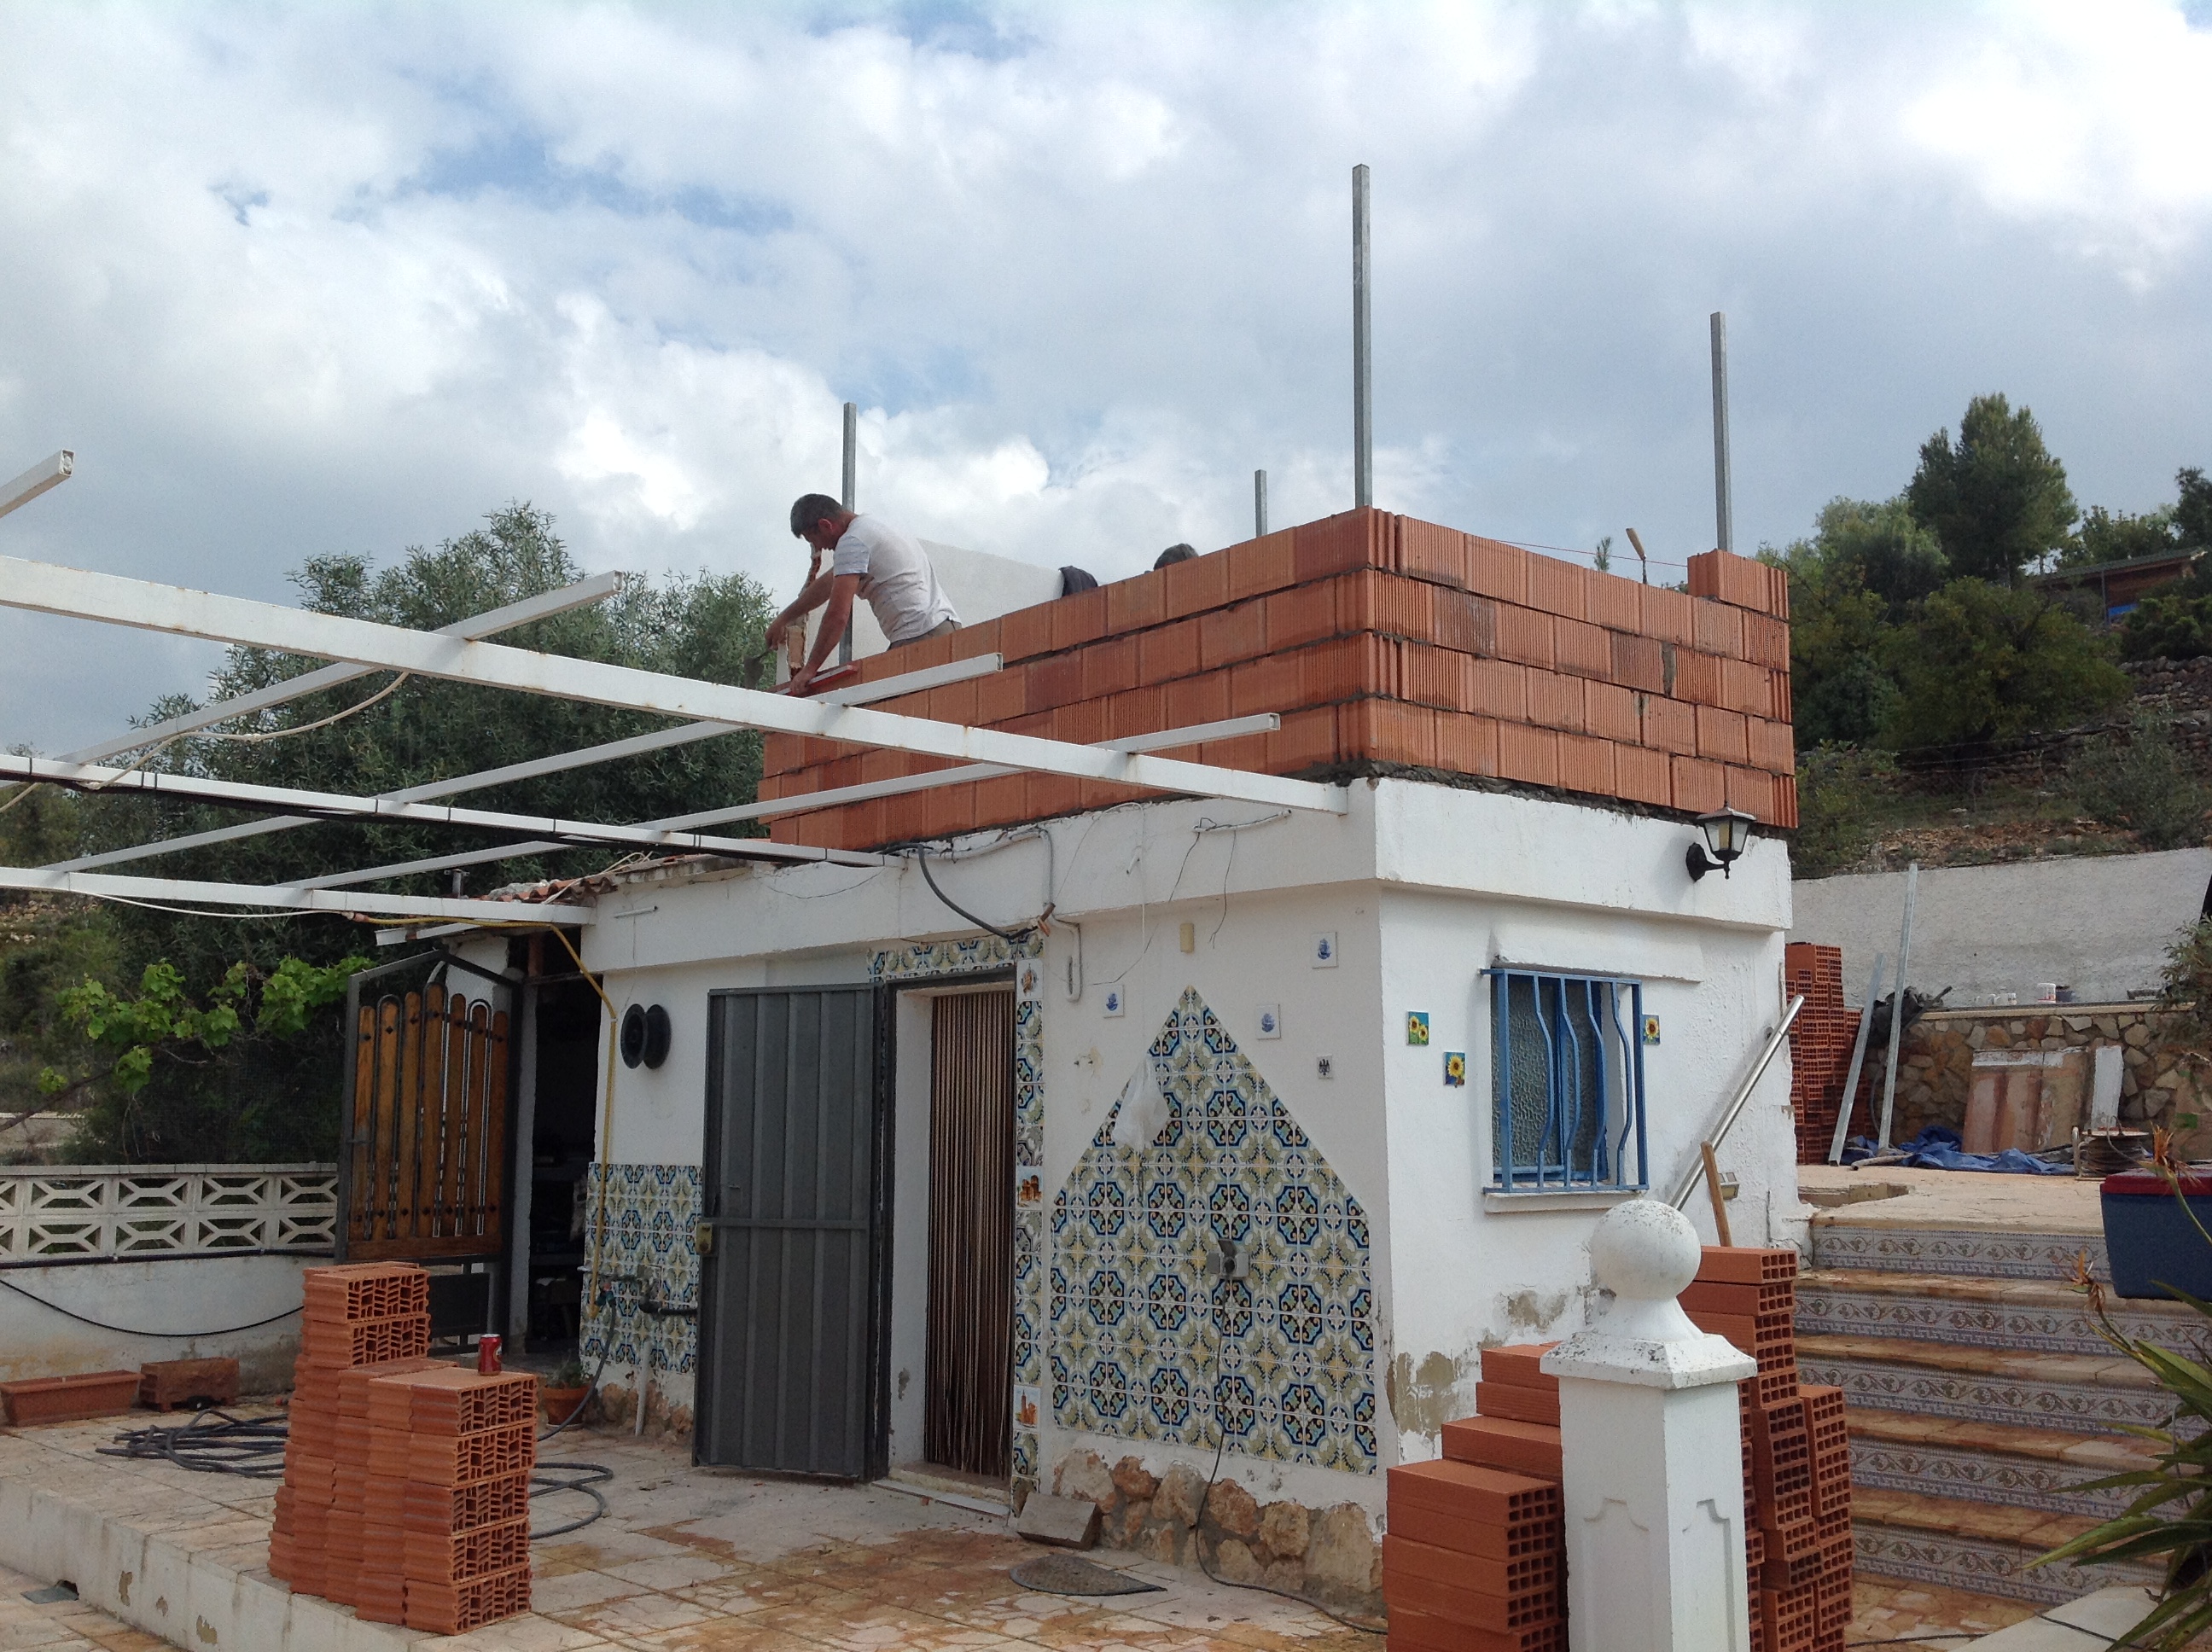
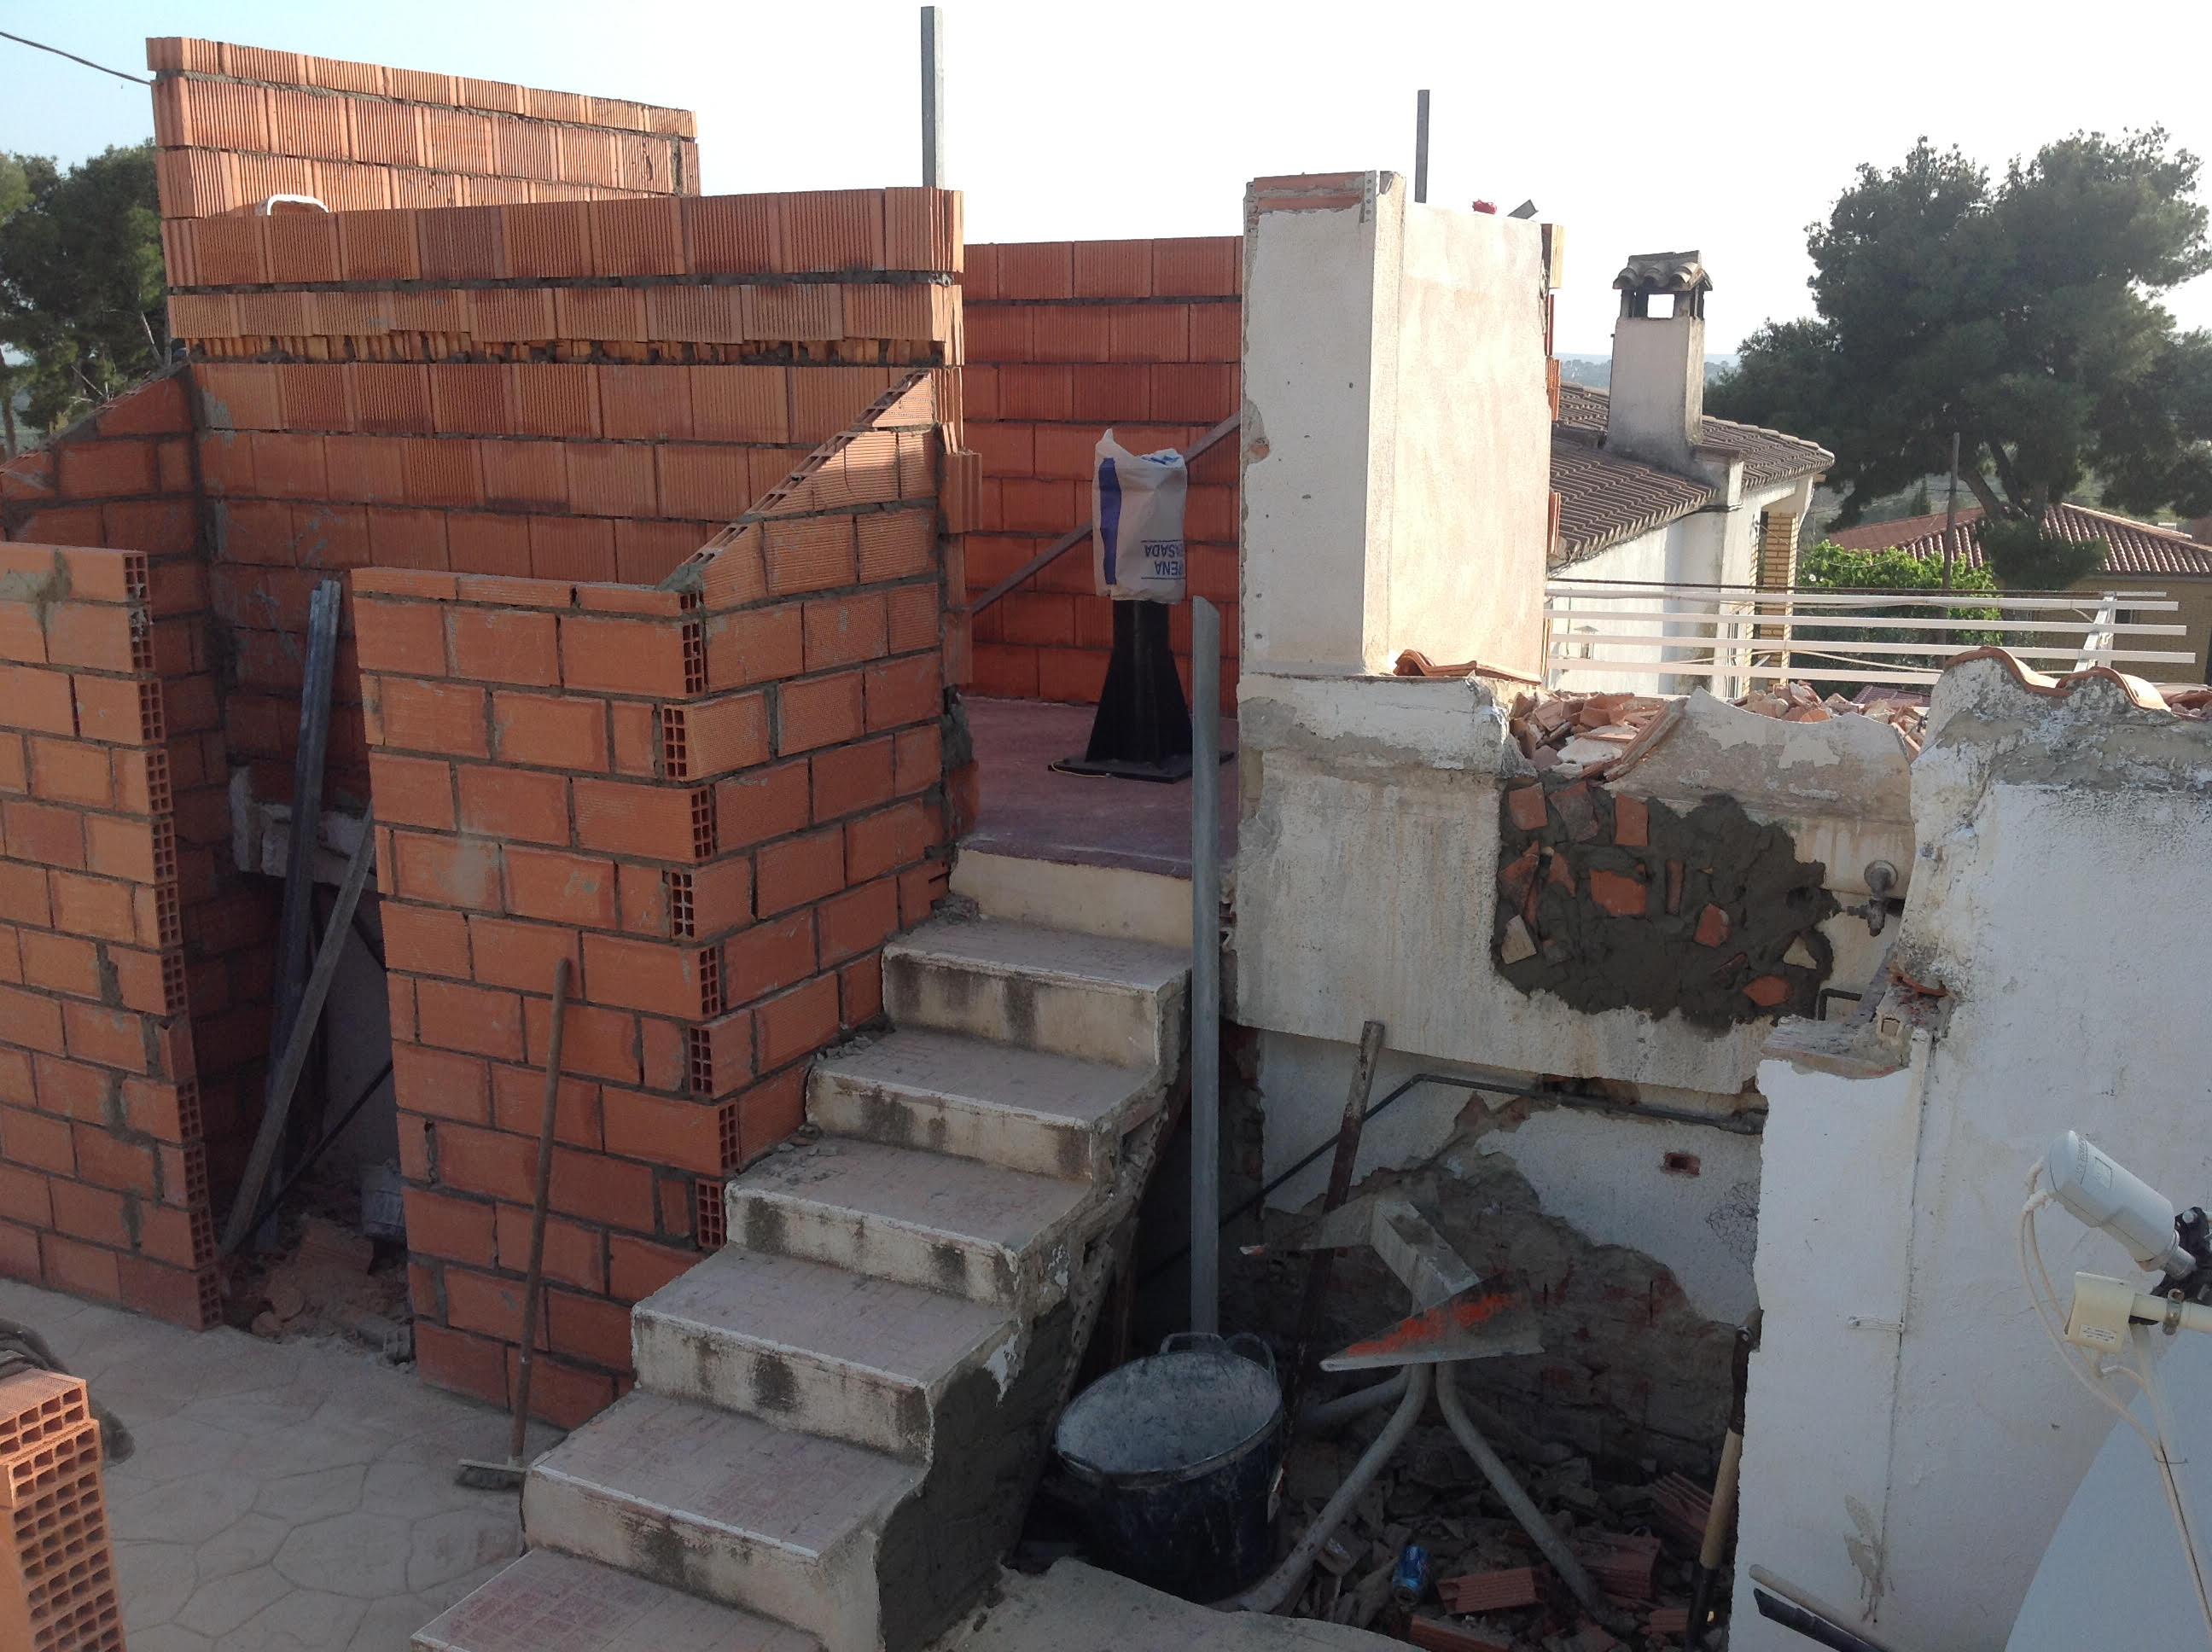
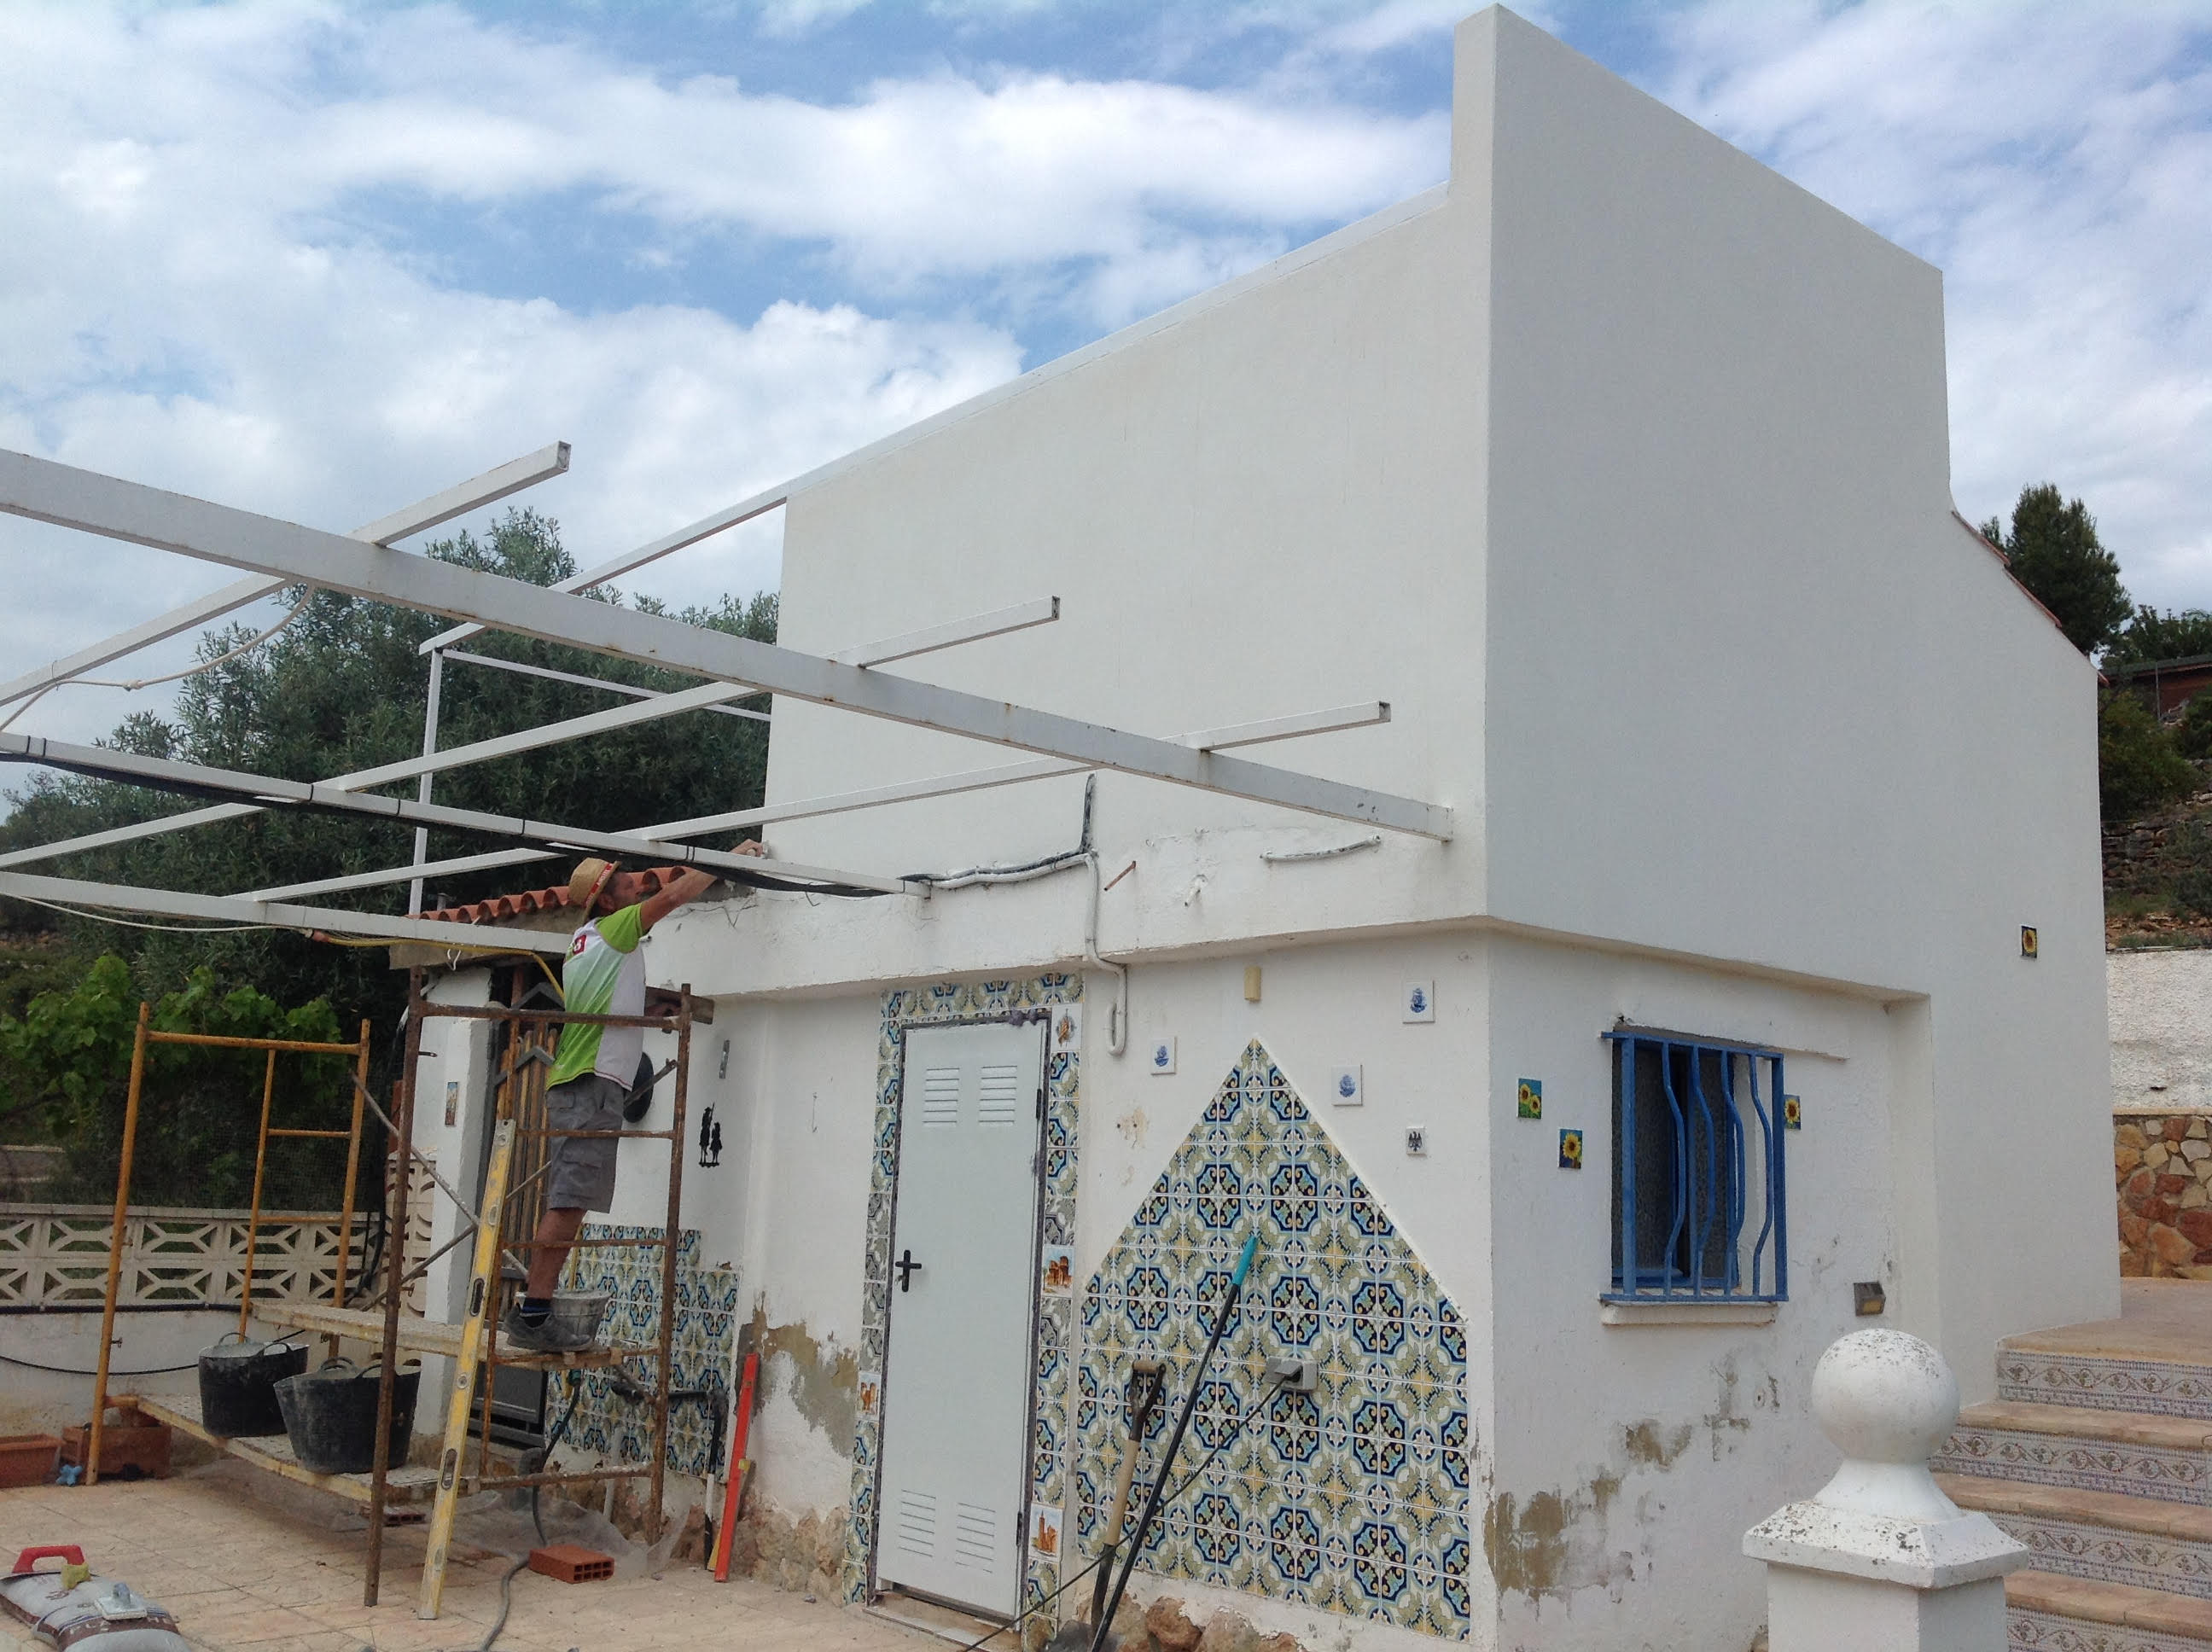
Here the outer walls are coming down along with the existing roof on the building as that was too high to allow the floor to be an even level through the complete observatory.
|
|

|
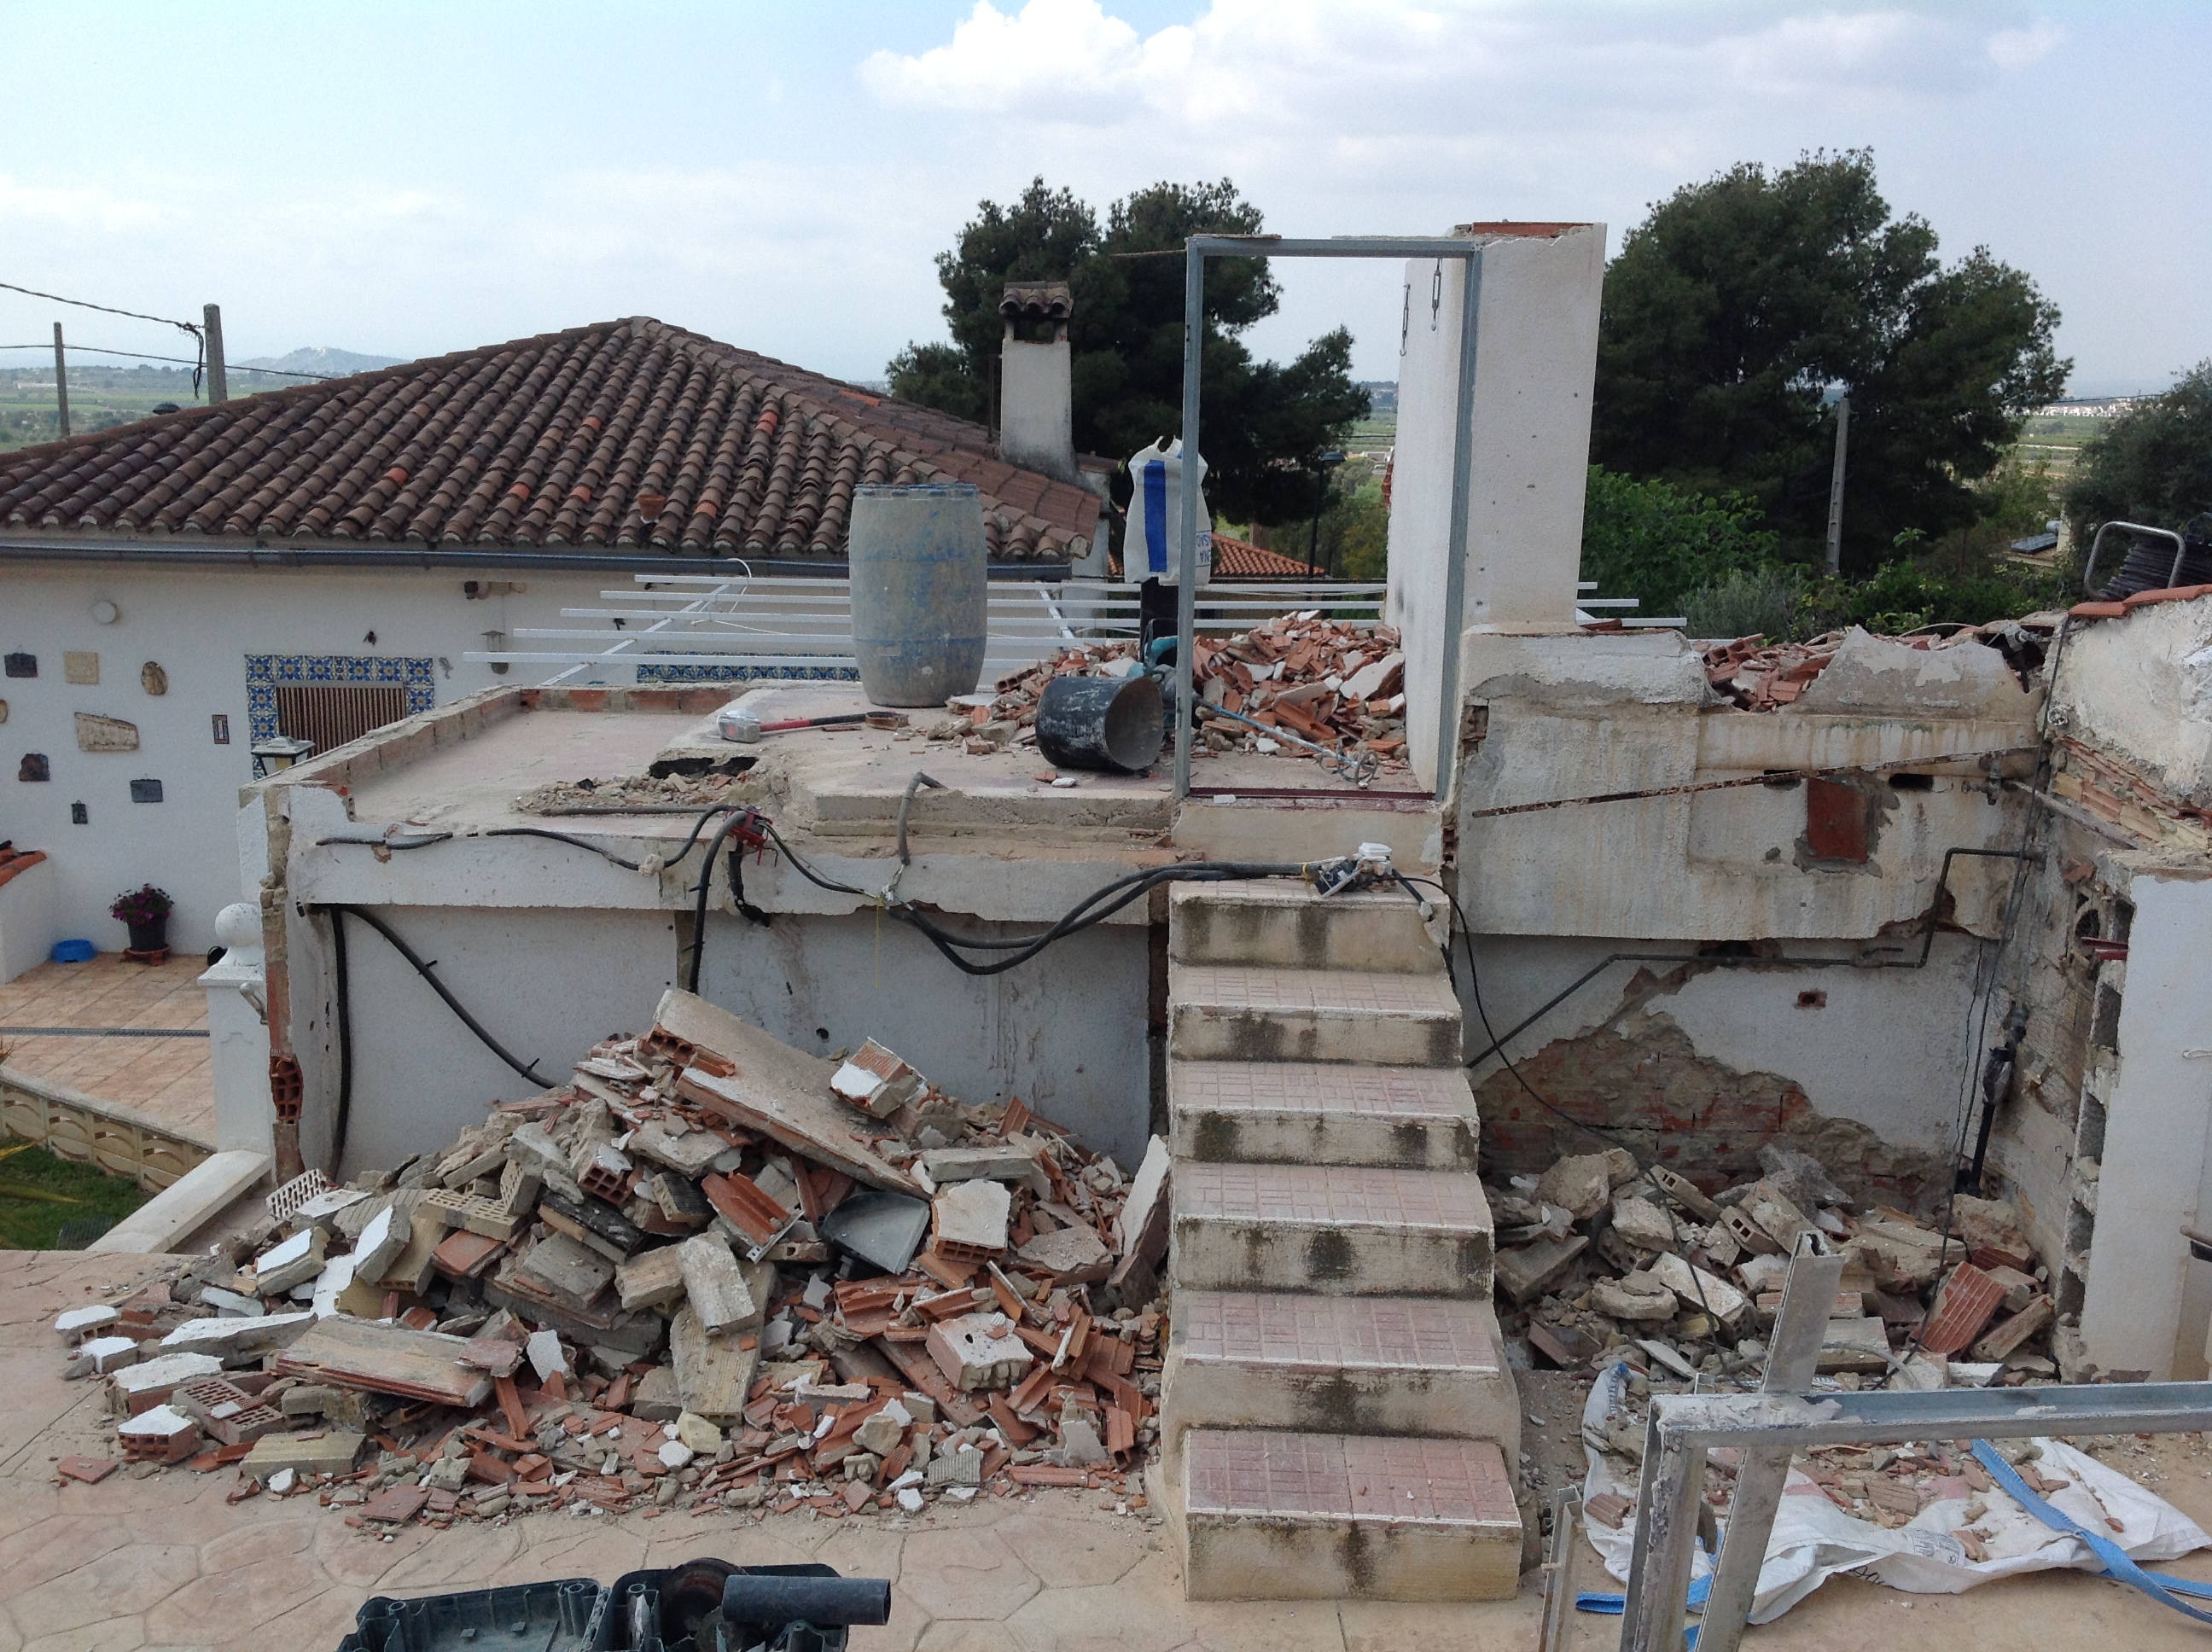
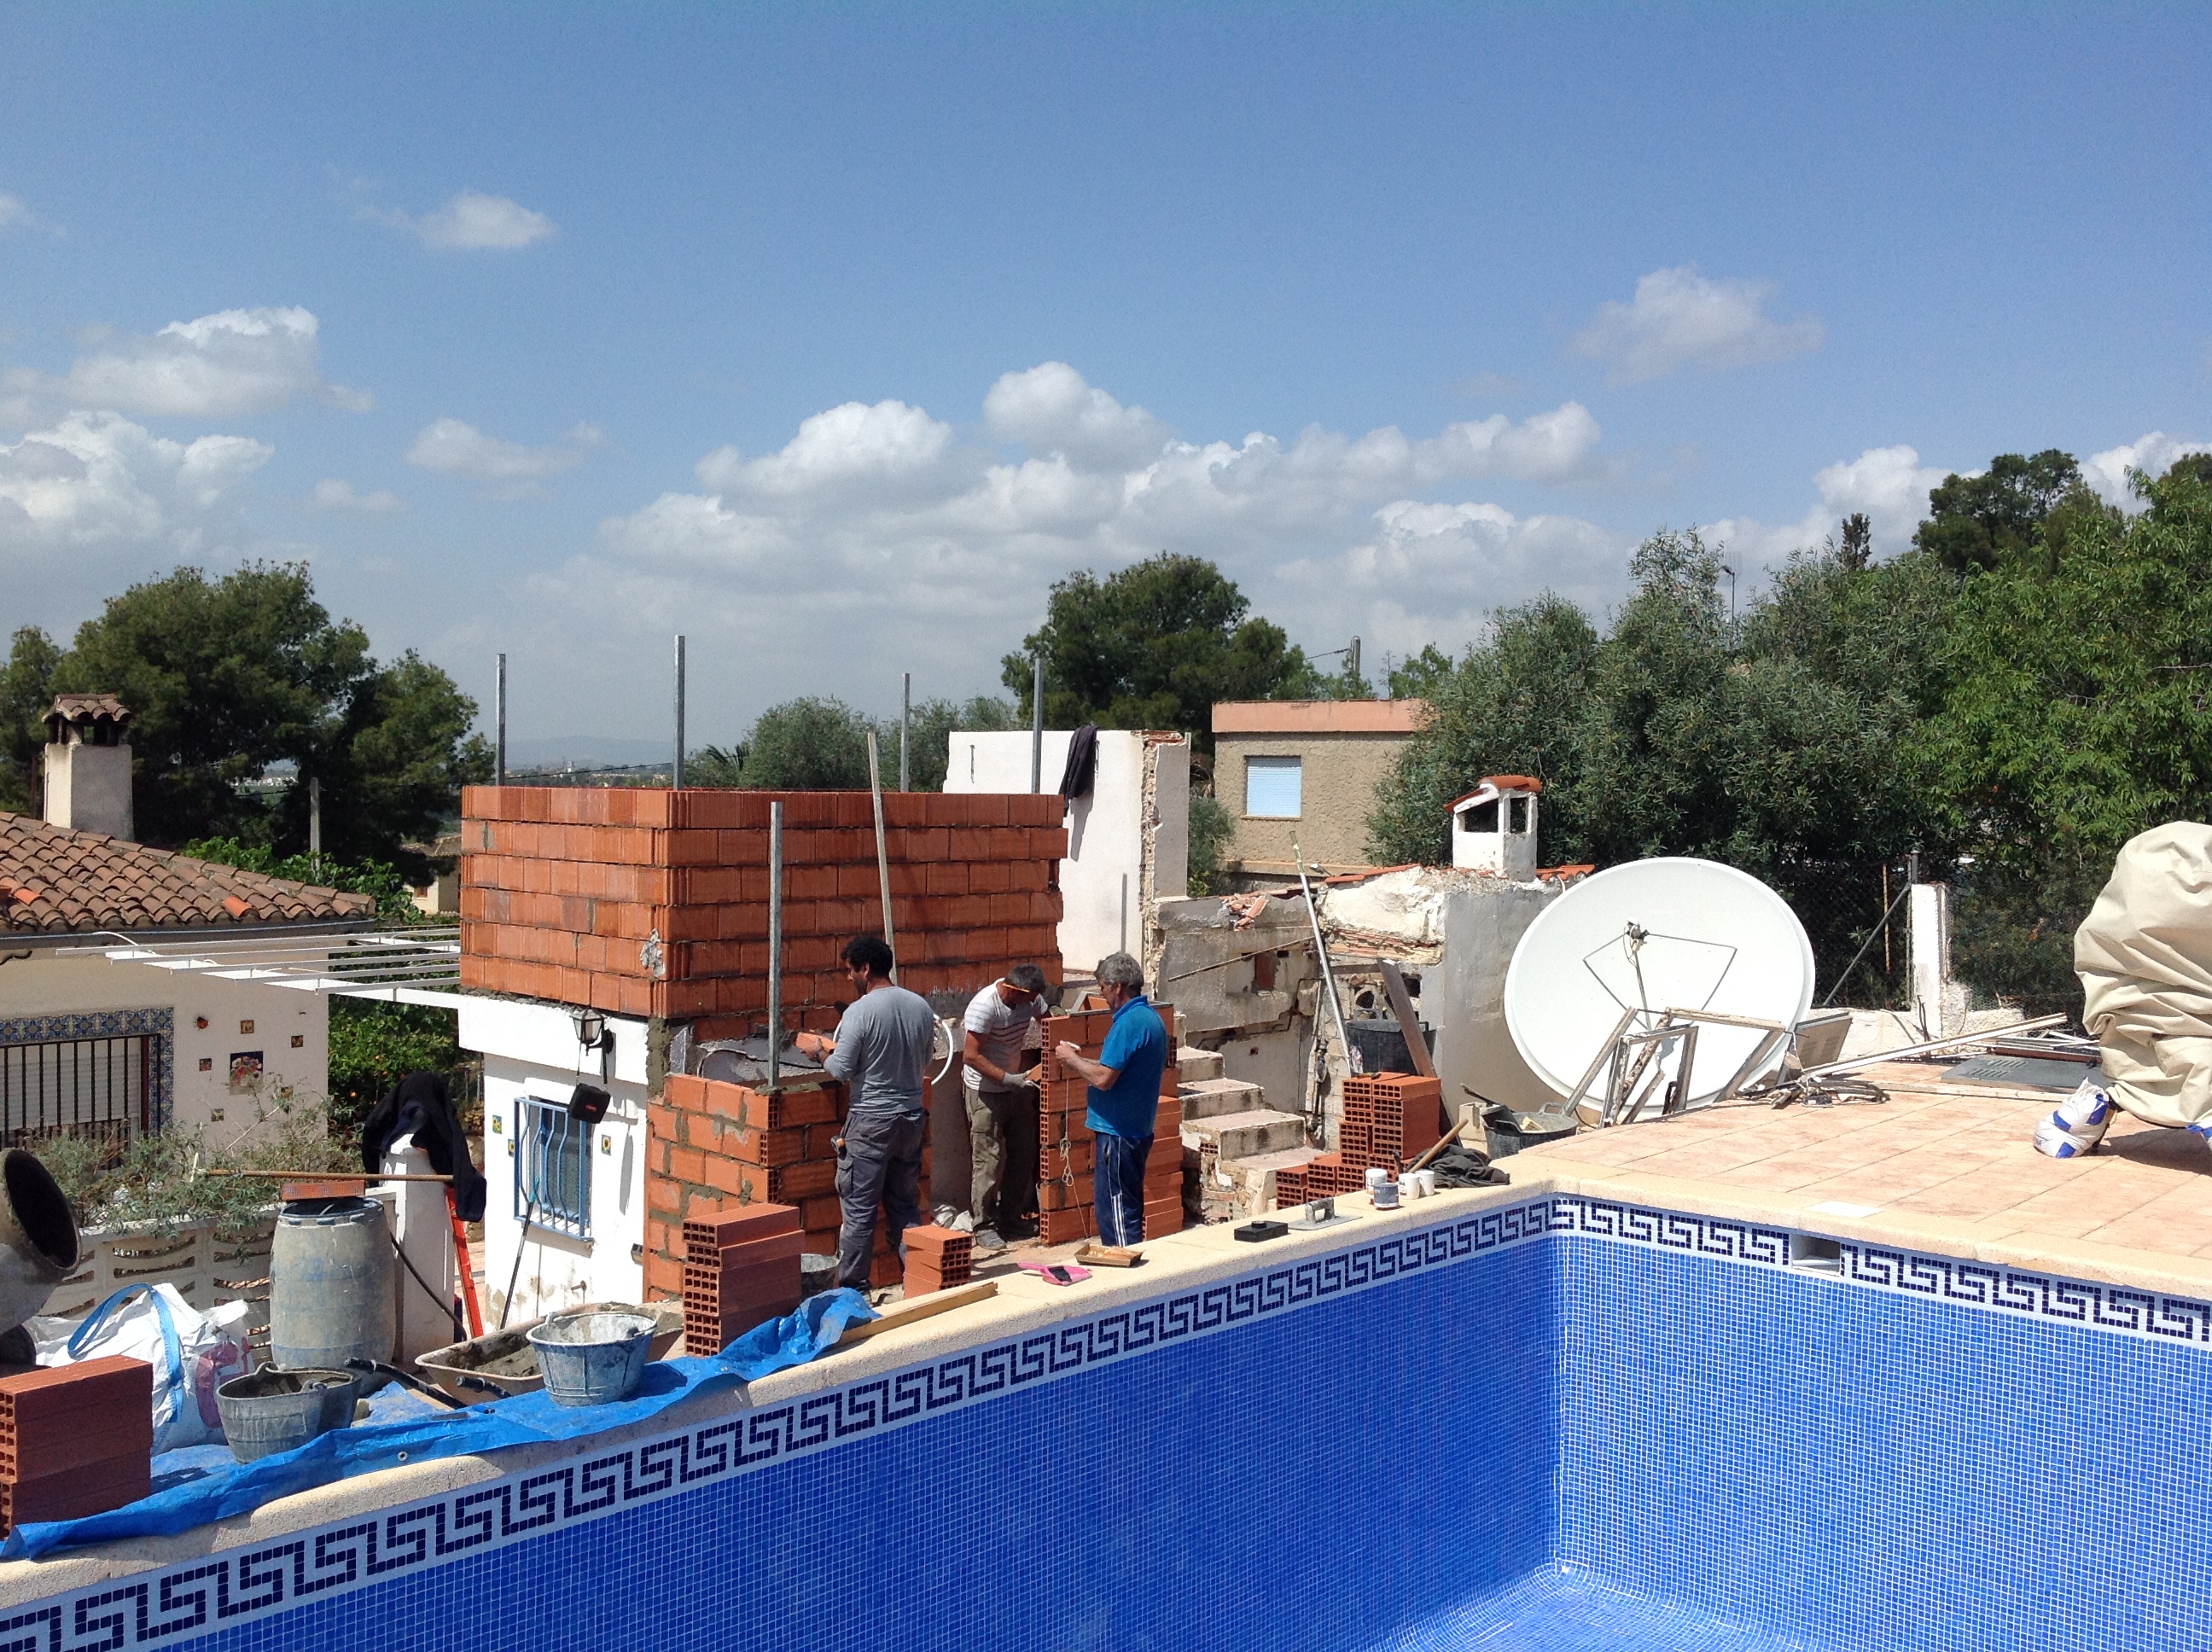
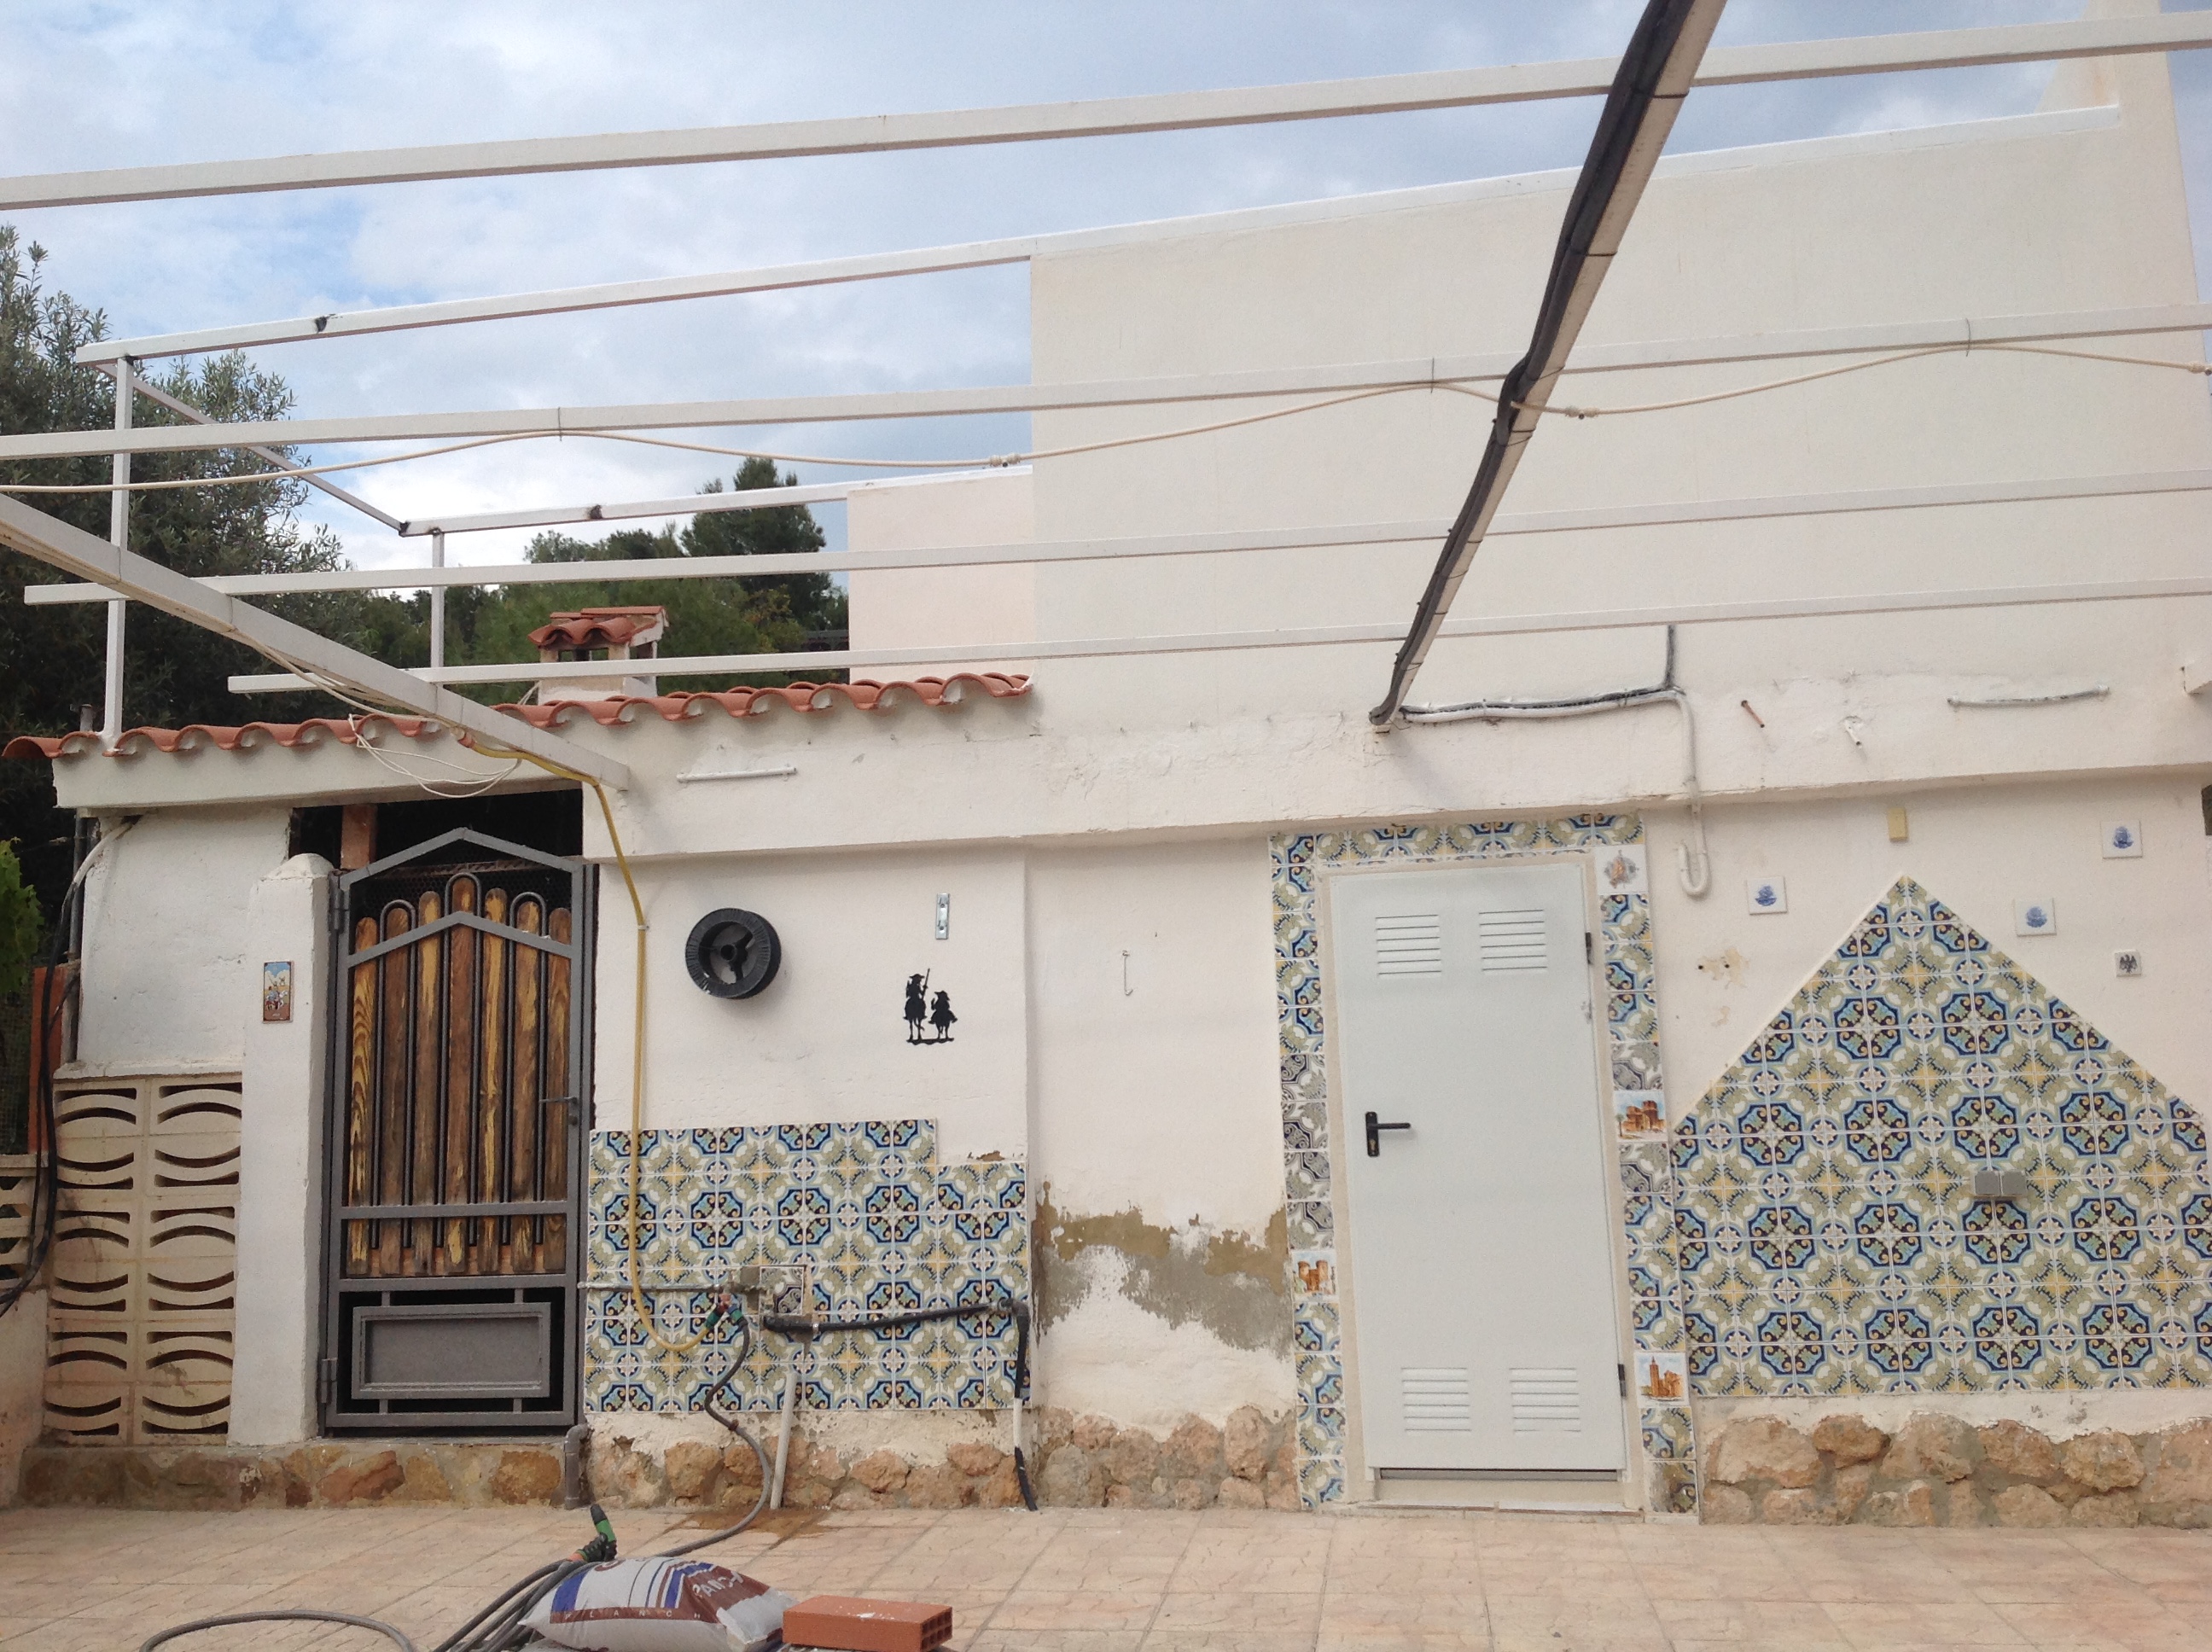
The walls are almost down. A decision was made to keep the 'front' wall as that wasn't going to be load bearing - The remaining walls are going to be built with more substantial bricks.
|

|
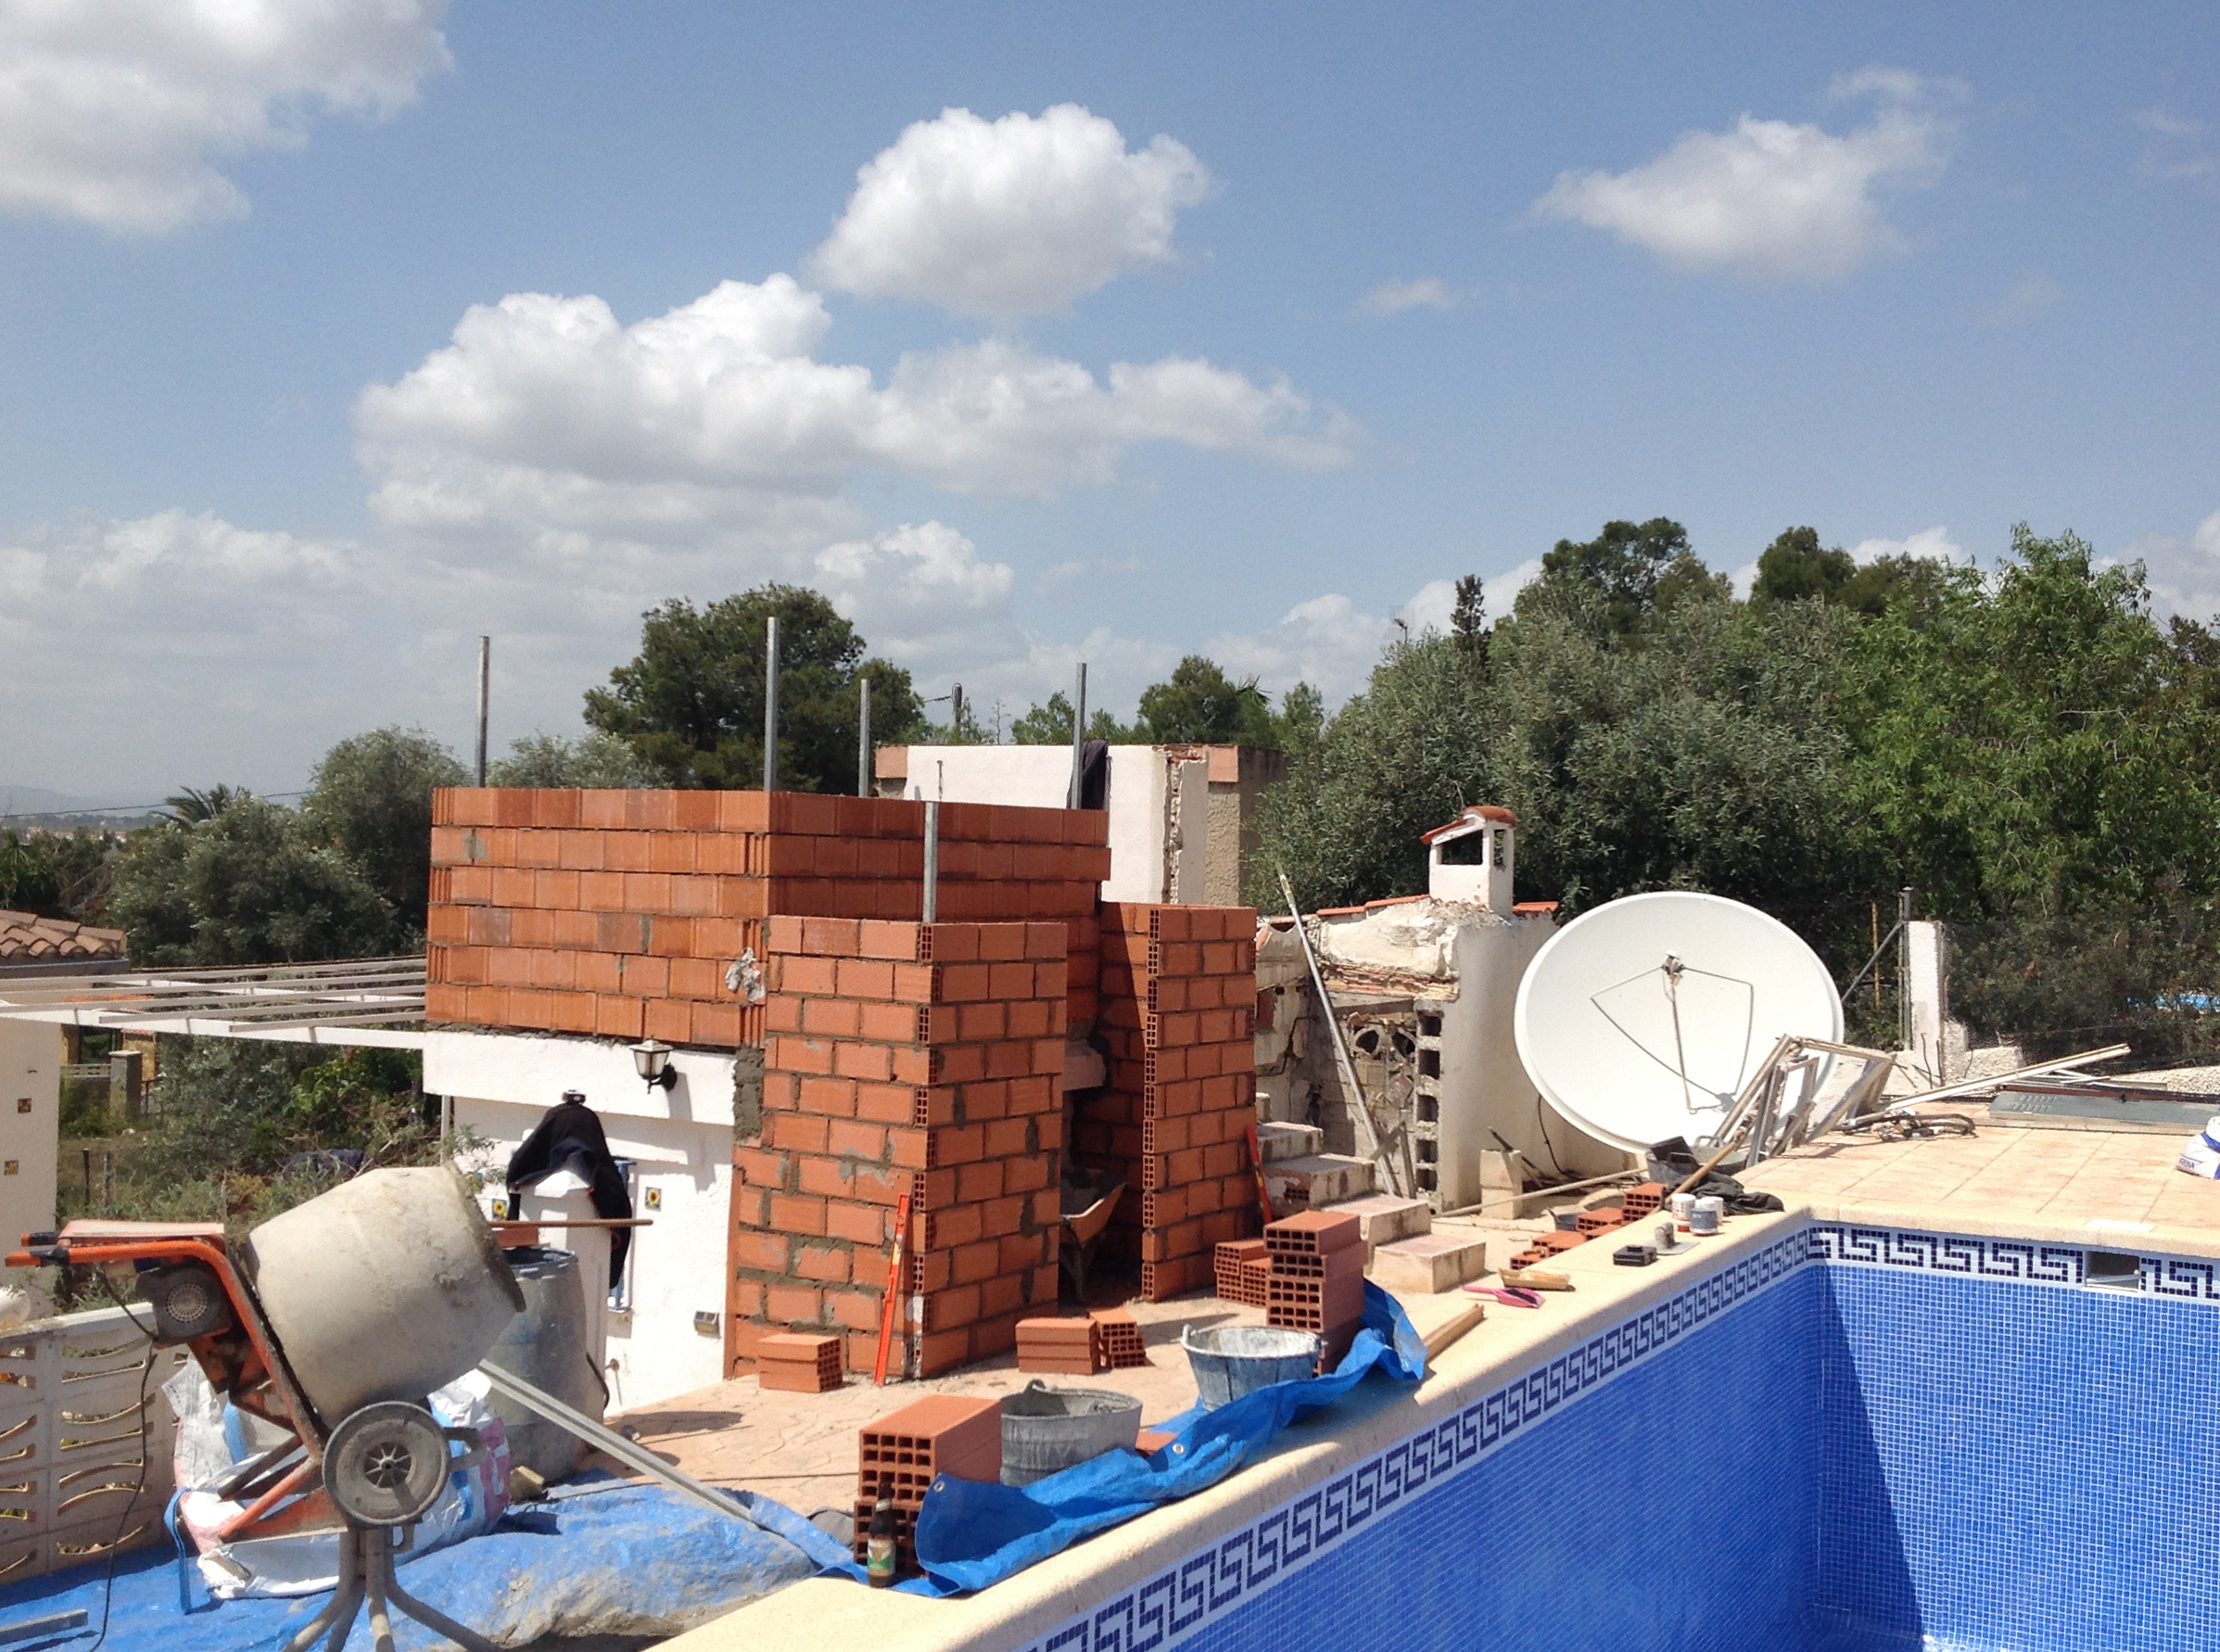
You can see from here that the walls have been removed as well as the roof of the lower building structure that allows the floor level to be the same as the old build.
|
|

|
Here the walls are down and you can see that the roof of the building underneath is low enough to be able to have the same level of flooring throughout. On either side of the steps were store cupboards that were low and badly constructed with wooden doors. These 'fell down' when the roof and doors were taken off and so will be rebuilt on their existing floor plan....... the doors will be a standard height so that the storage can be best used. On the right of the steps will be the storage are for me and the observatory
|

The end of Day 1..........
The floor has been levelled in the new area to match the old build. Everything has been measured up for the walls to start tomorrow. The idea is to get the walls up on the observatory as quickly as possible so that the metal man can come in and measure up and start to fabricate the roof.
The floor has been levelled in the new area to match the old build. Everything has been measured up for the walls to start tomorrow. The idea is to get the walls up on the observatory as quickly as possible so that the metal man can come in and measure up and start to fabricate the roof.
|
|

Day 2
|
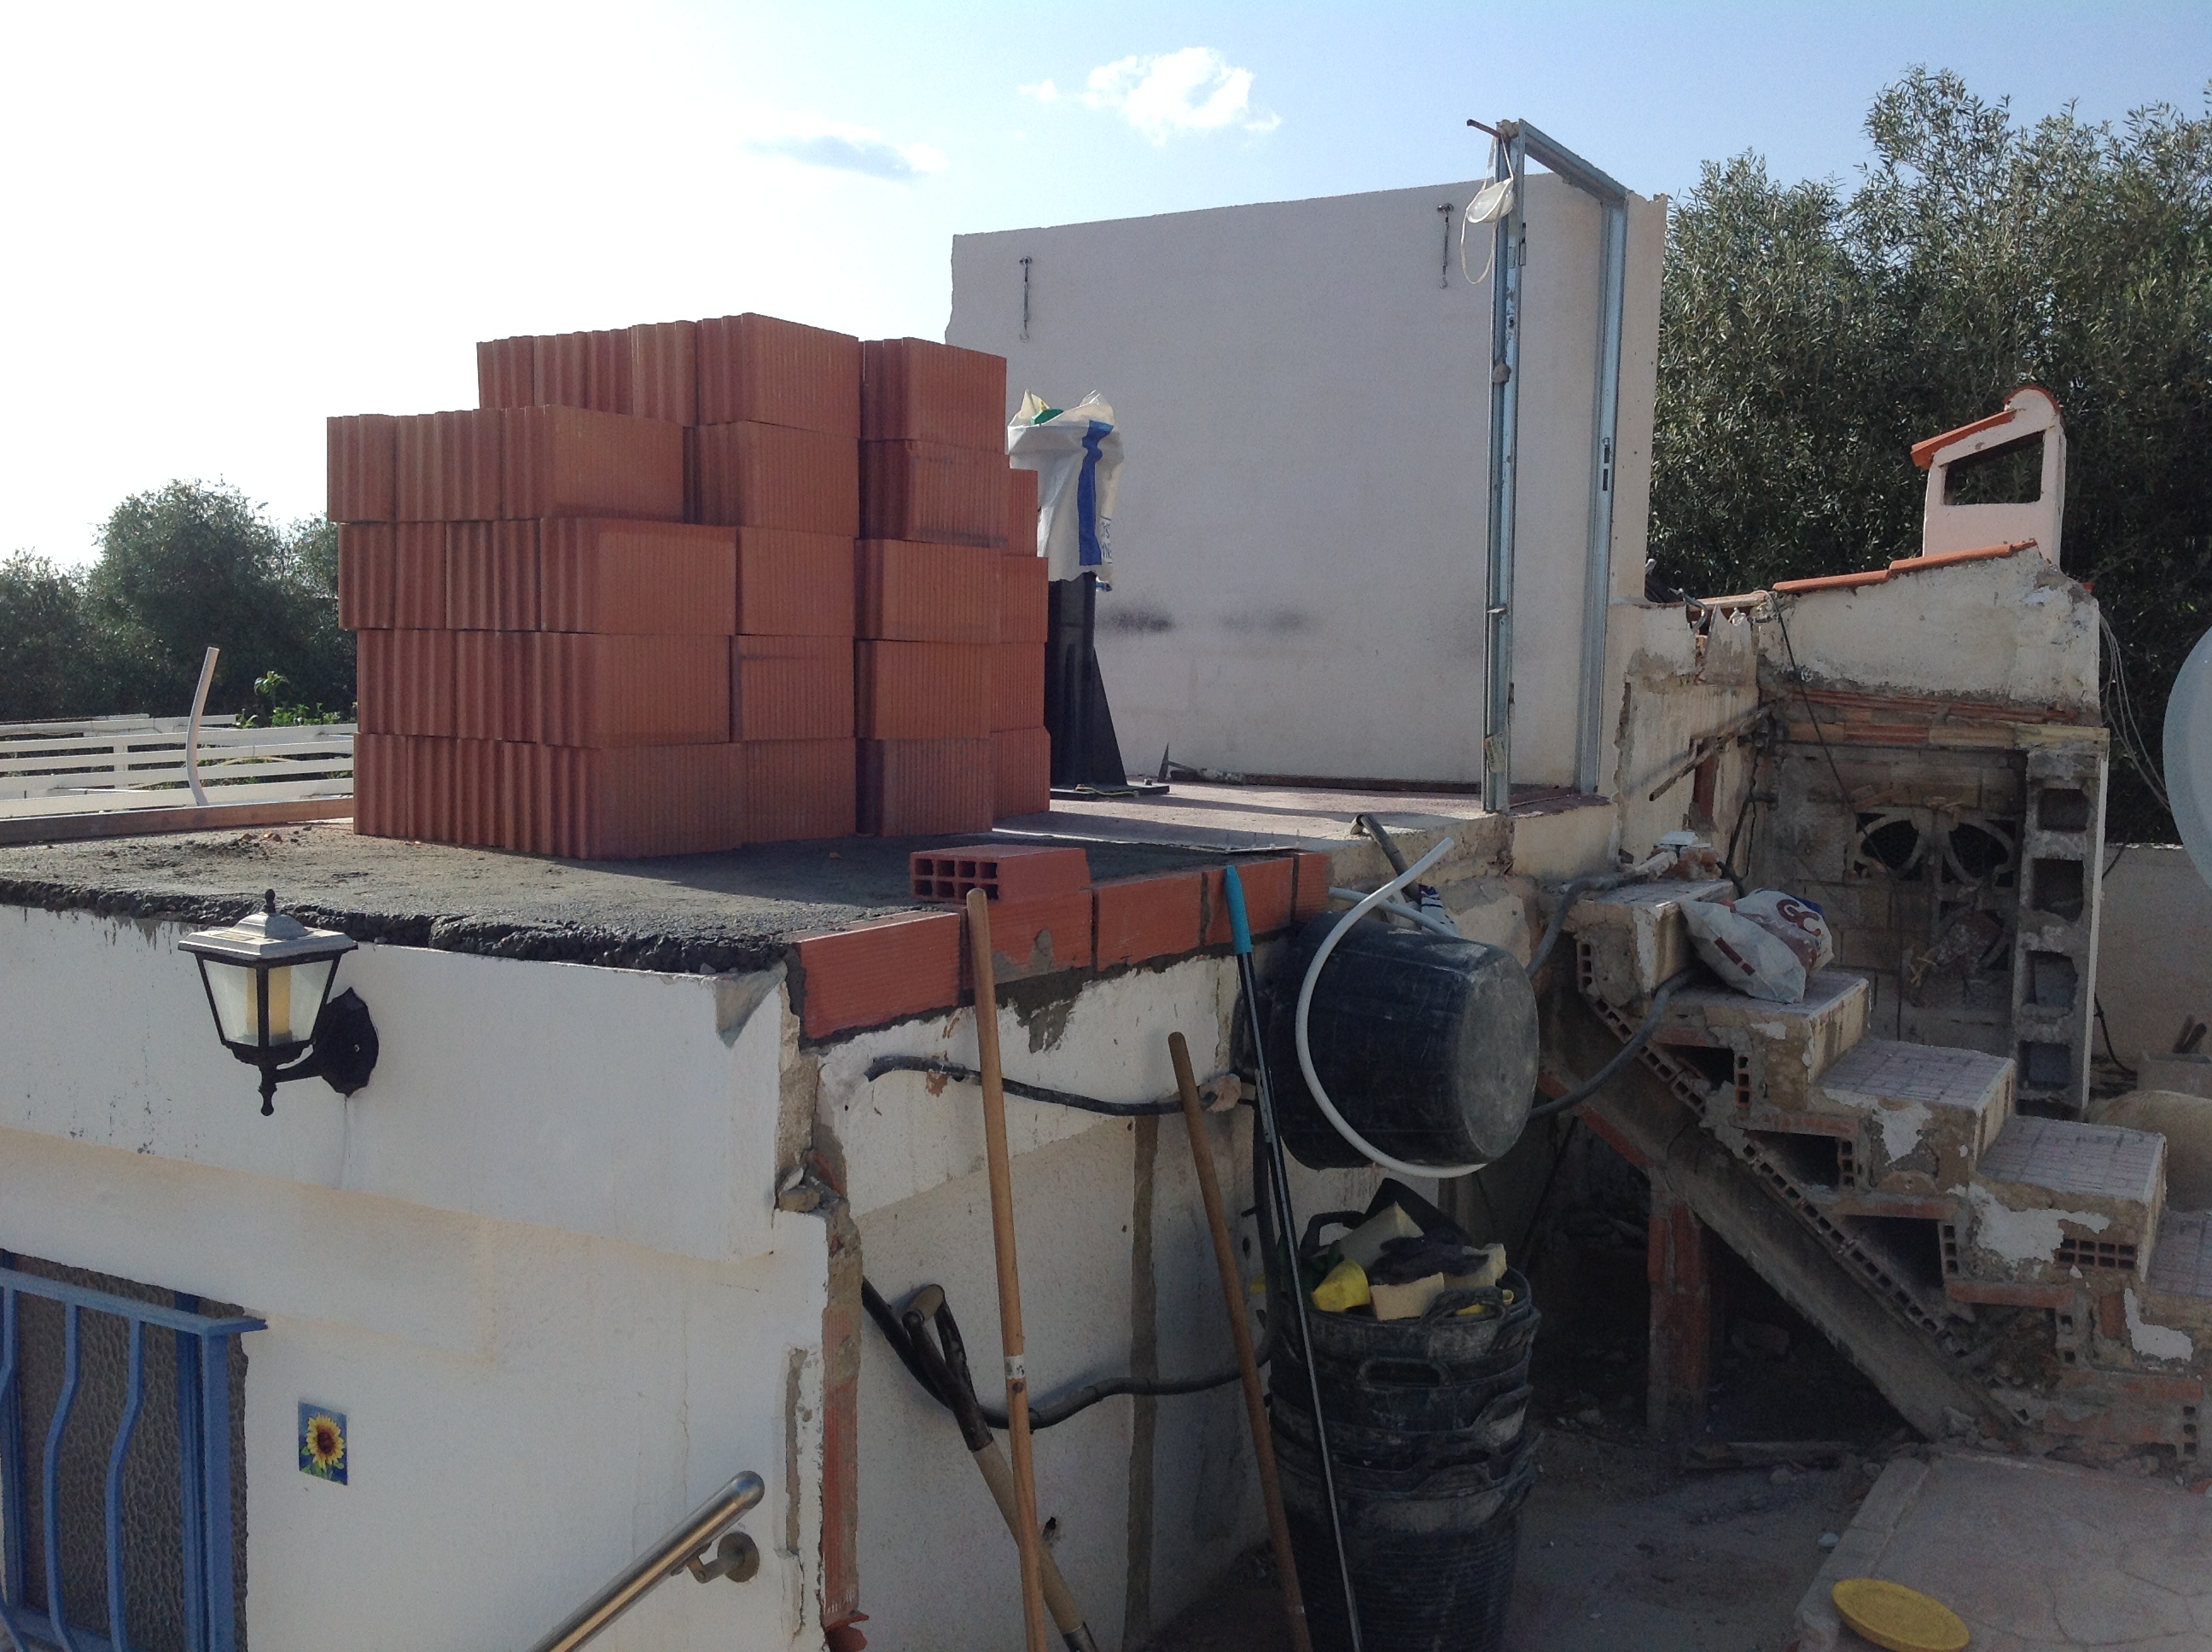
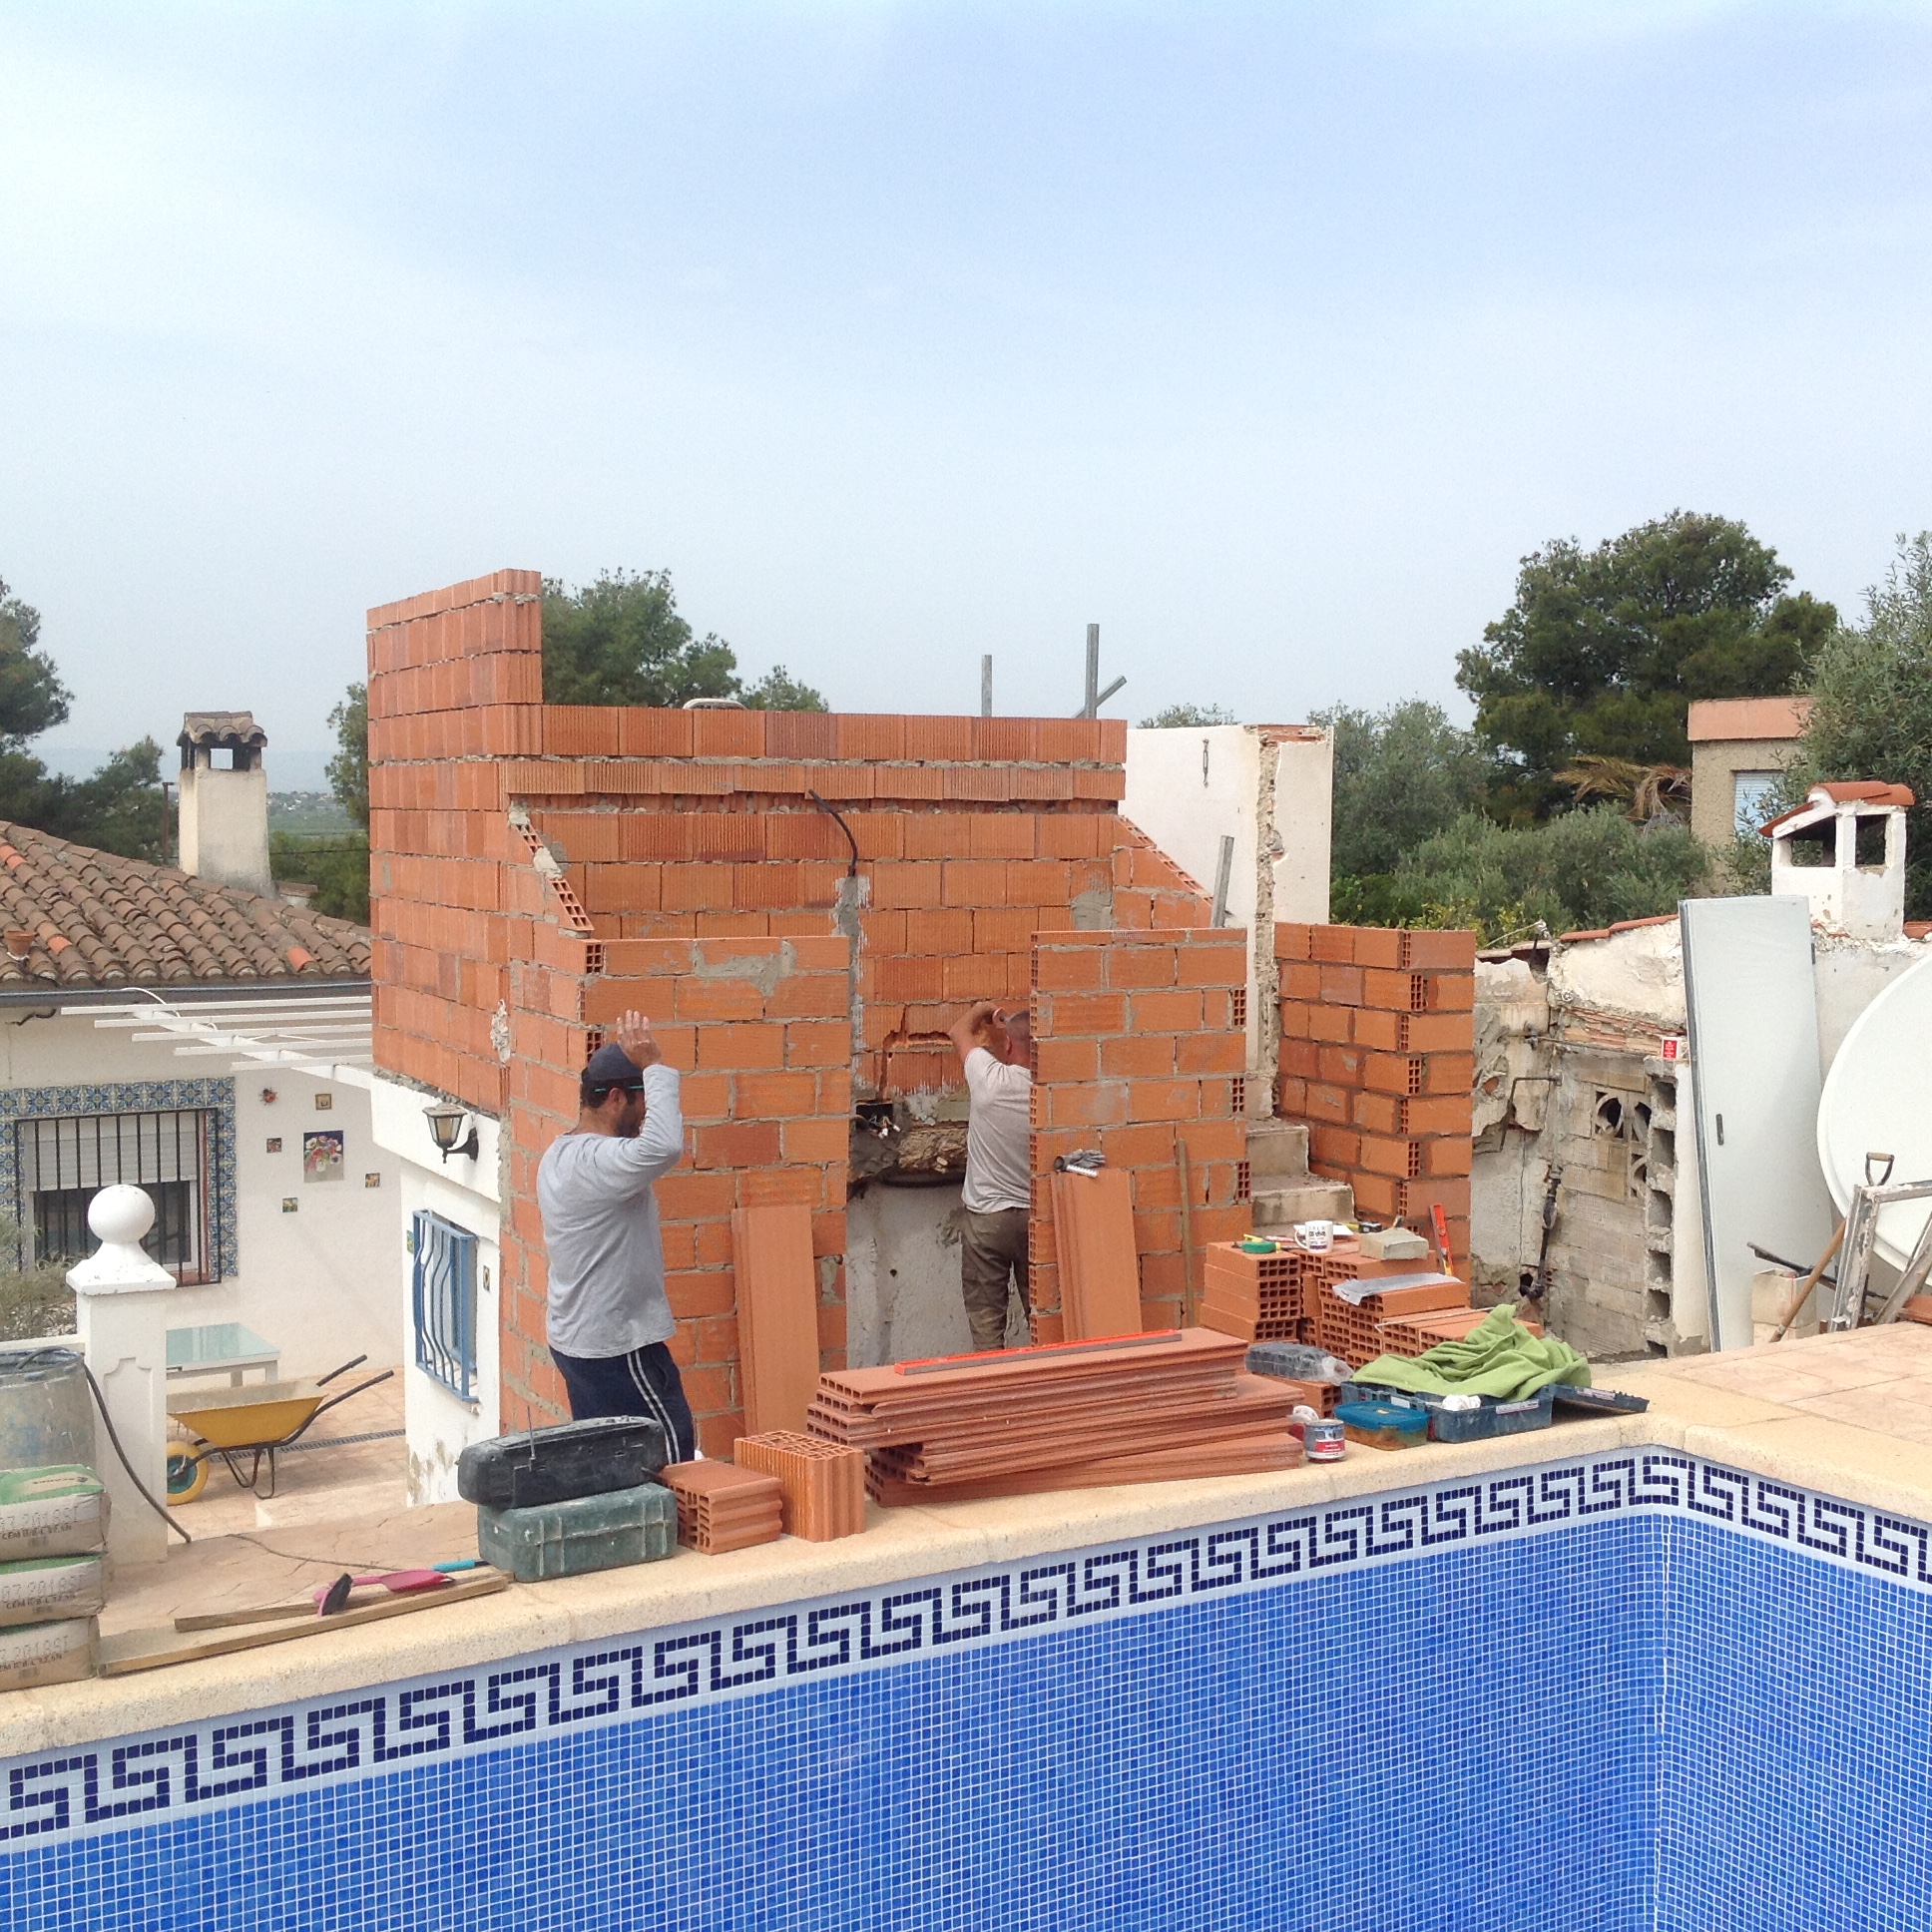
After 2 hours of work on Day 2 you can really see the observatory itself take shape now. It has all been squared op (None of the bottom plan was square) and that will all be made good at the end with white render.
|

|
The main storage area is now being built. To make it square it's had to be made slightly larger than it was. The door frame for the observatory has been removed as we are having a door made to fit that will be stronger than the one that was there.
|
|

|
After a mornings work, this is the progress. The storage room on the left of the steps is up to a decent 2m height.
|

The end of Day 2..............

|
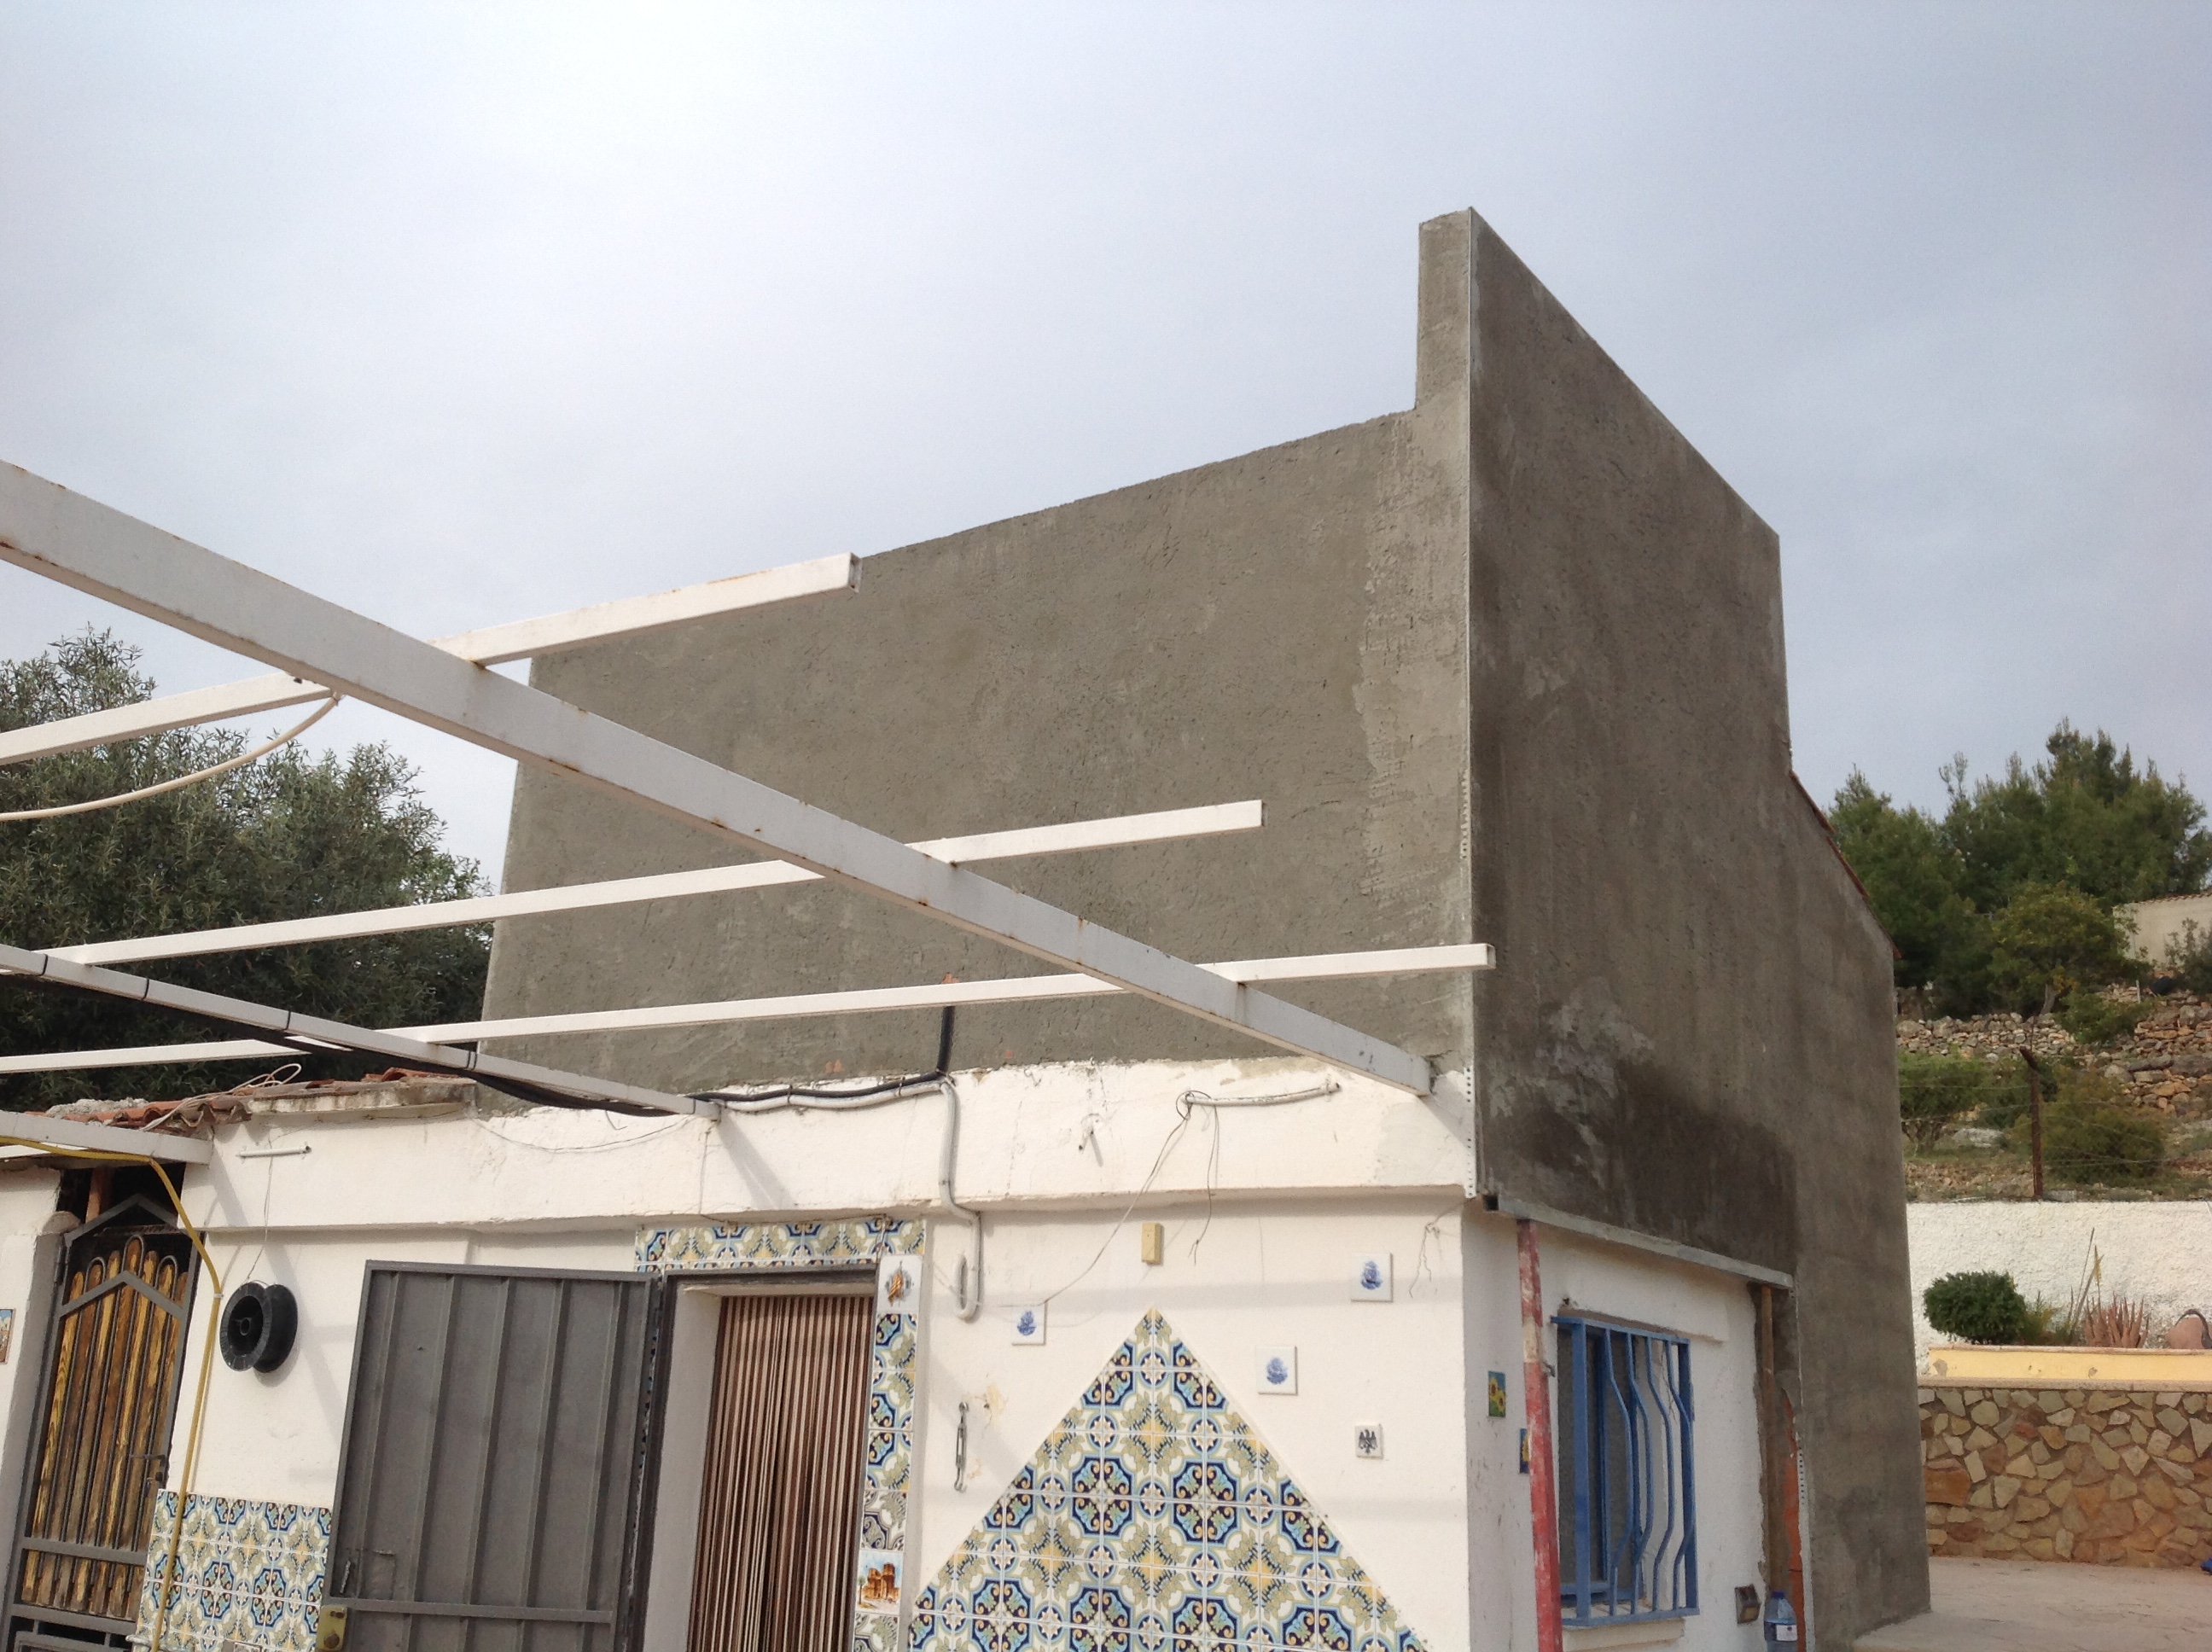
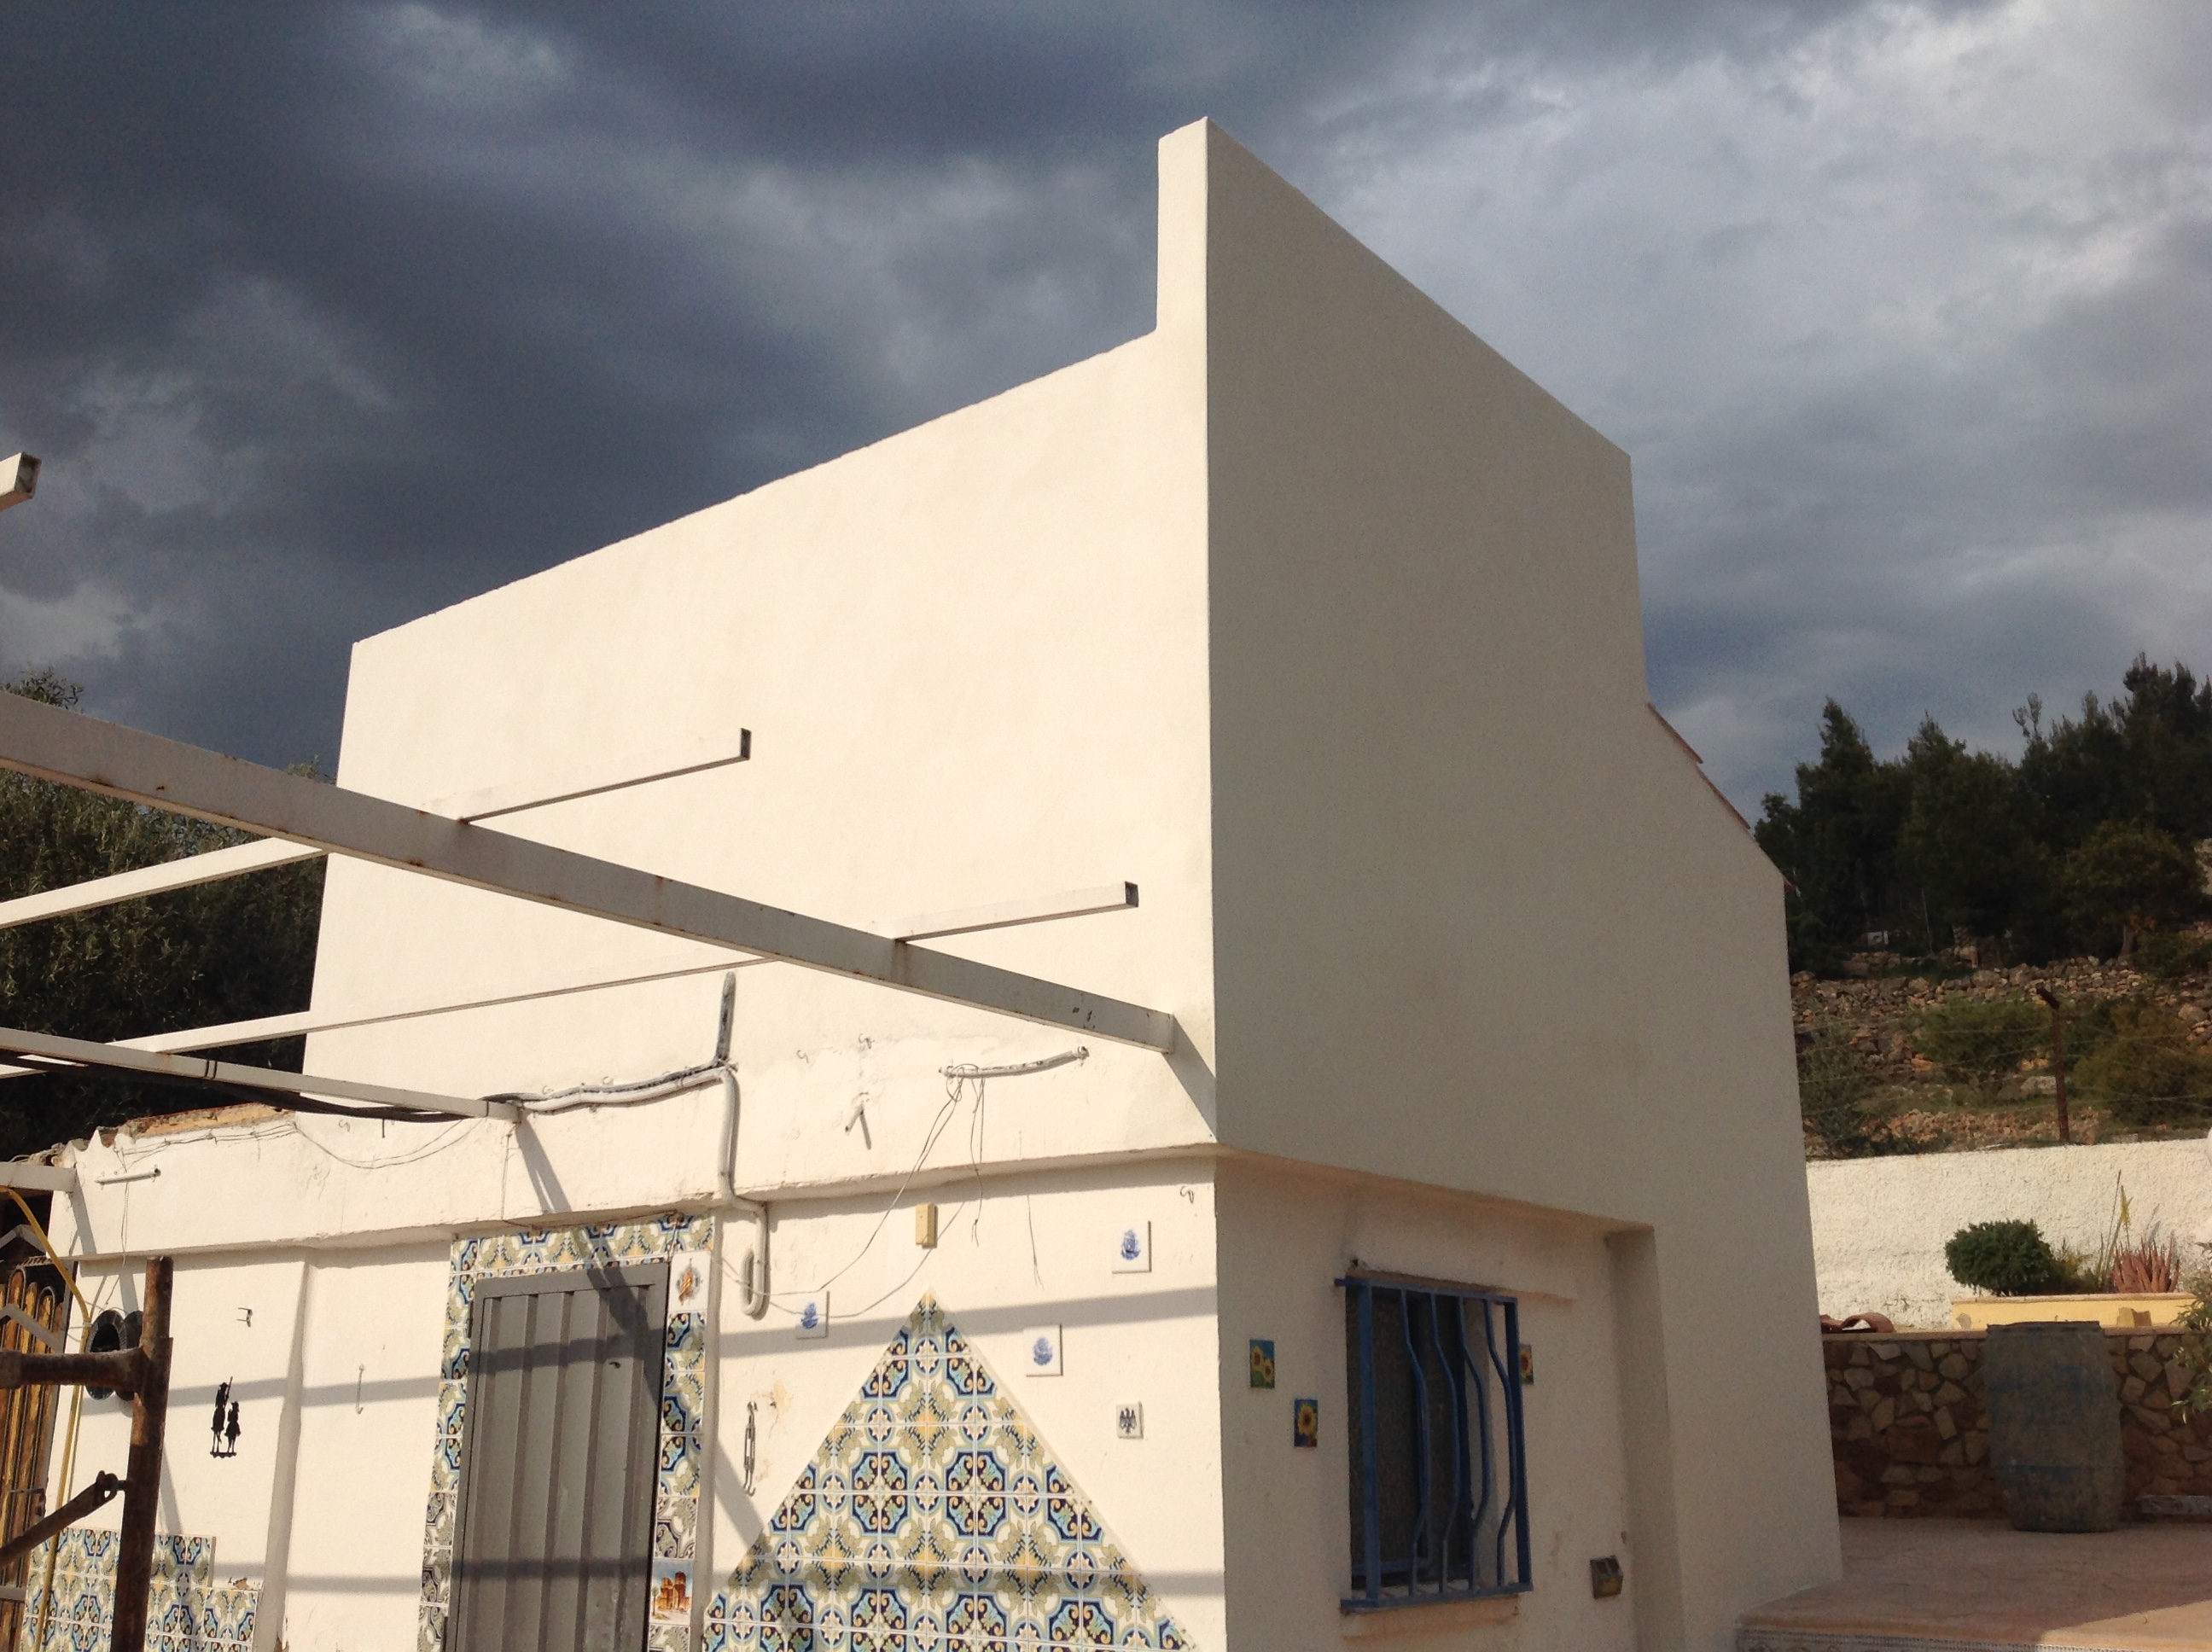
Looking from the back terrace you can see the observatory walls. The side walls are the same height as they were before, it's just the back wall that is 2.10m high.Once it is rendered then it won't look quite so huge!!
|

|
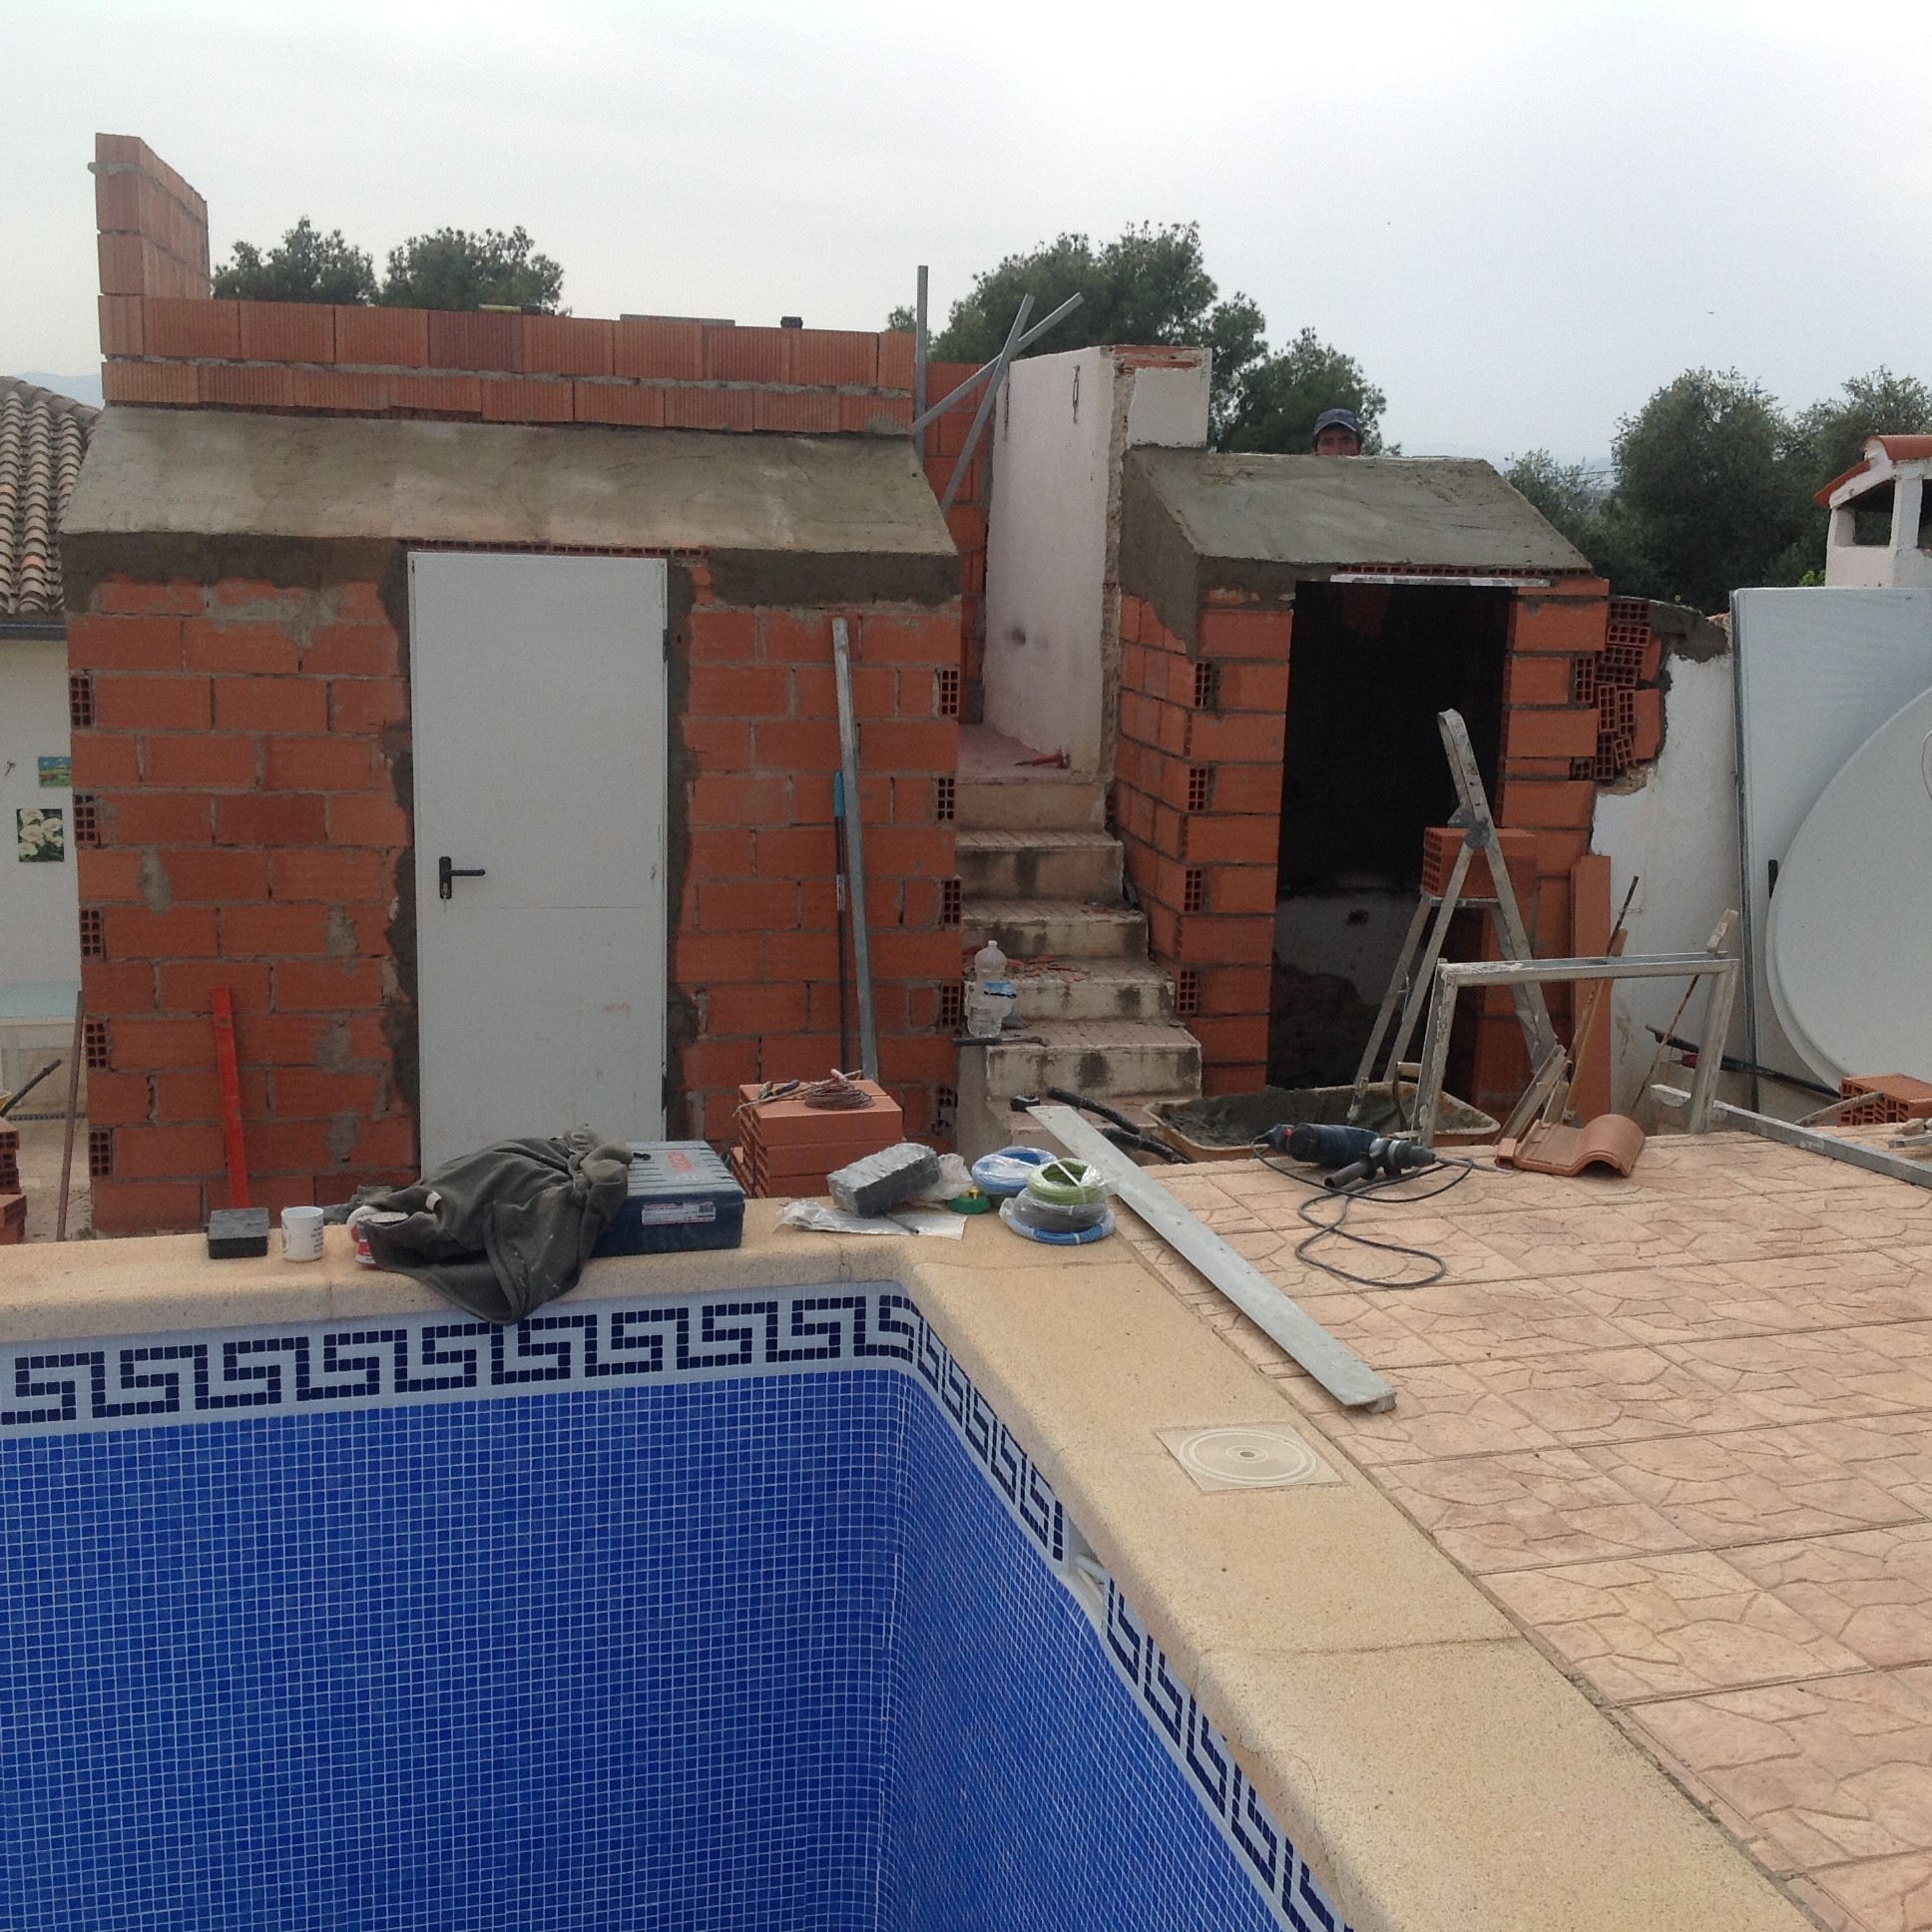
From the 'front' you can see the storage area that has been re-built. This is the same floor size as what was already there, just a normal height. The storage area on the opposite side of the steps has not let been built, but will be on the same floor plan as before.
|

|
|

Day 3
|
The store room on the right of the steps is starting to take shape a couple of hours into the day. The slower progress today has been cabling in the electricity for the observatory, the store rooms and also lights for the store rooms.
I think it's also fair to say that nothing has helped by not being square. One day a Spanish built building will surprise me, with straight and square walls - I've not found one yet!!! |
|

The end of Day 3................
|
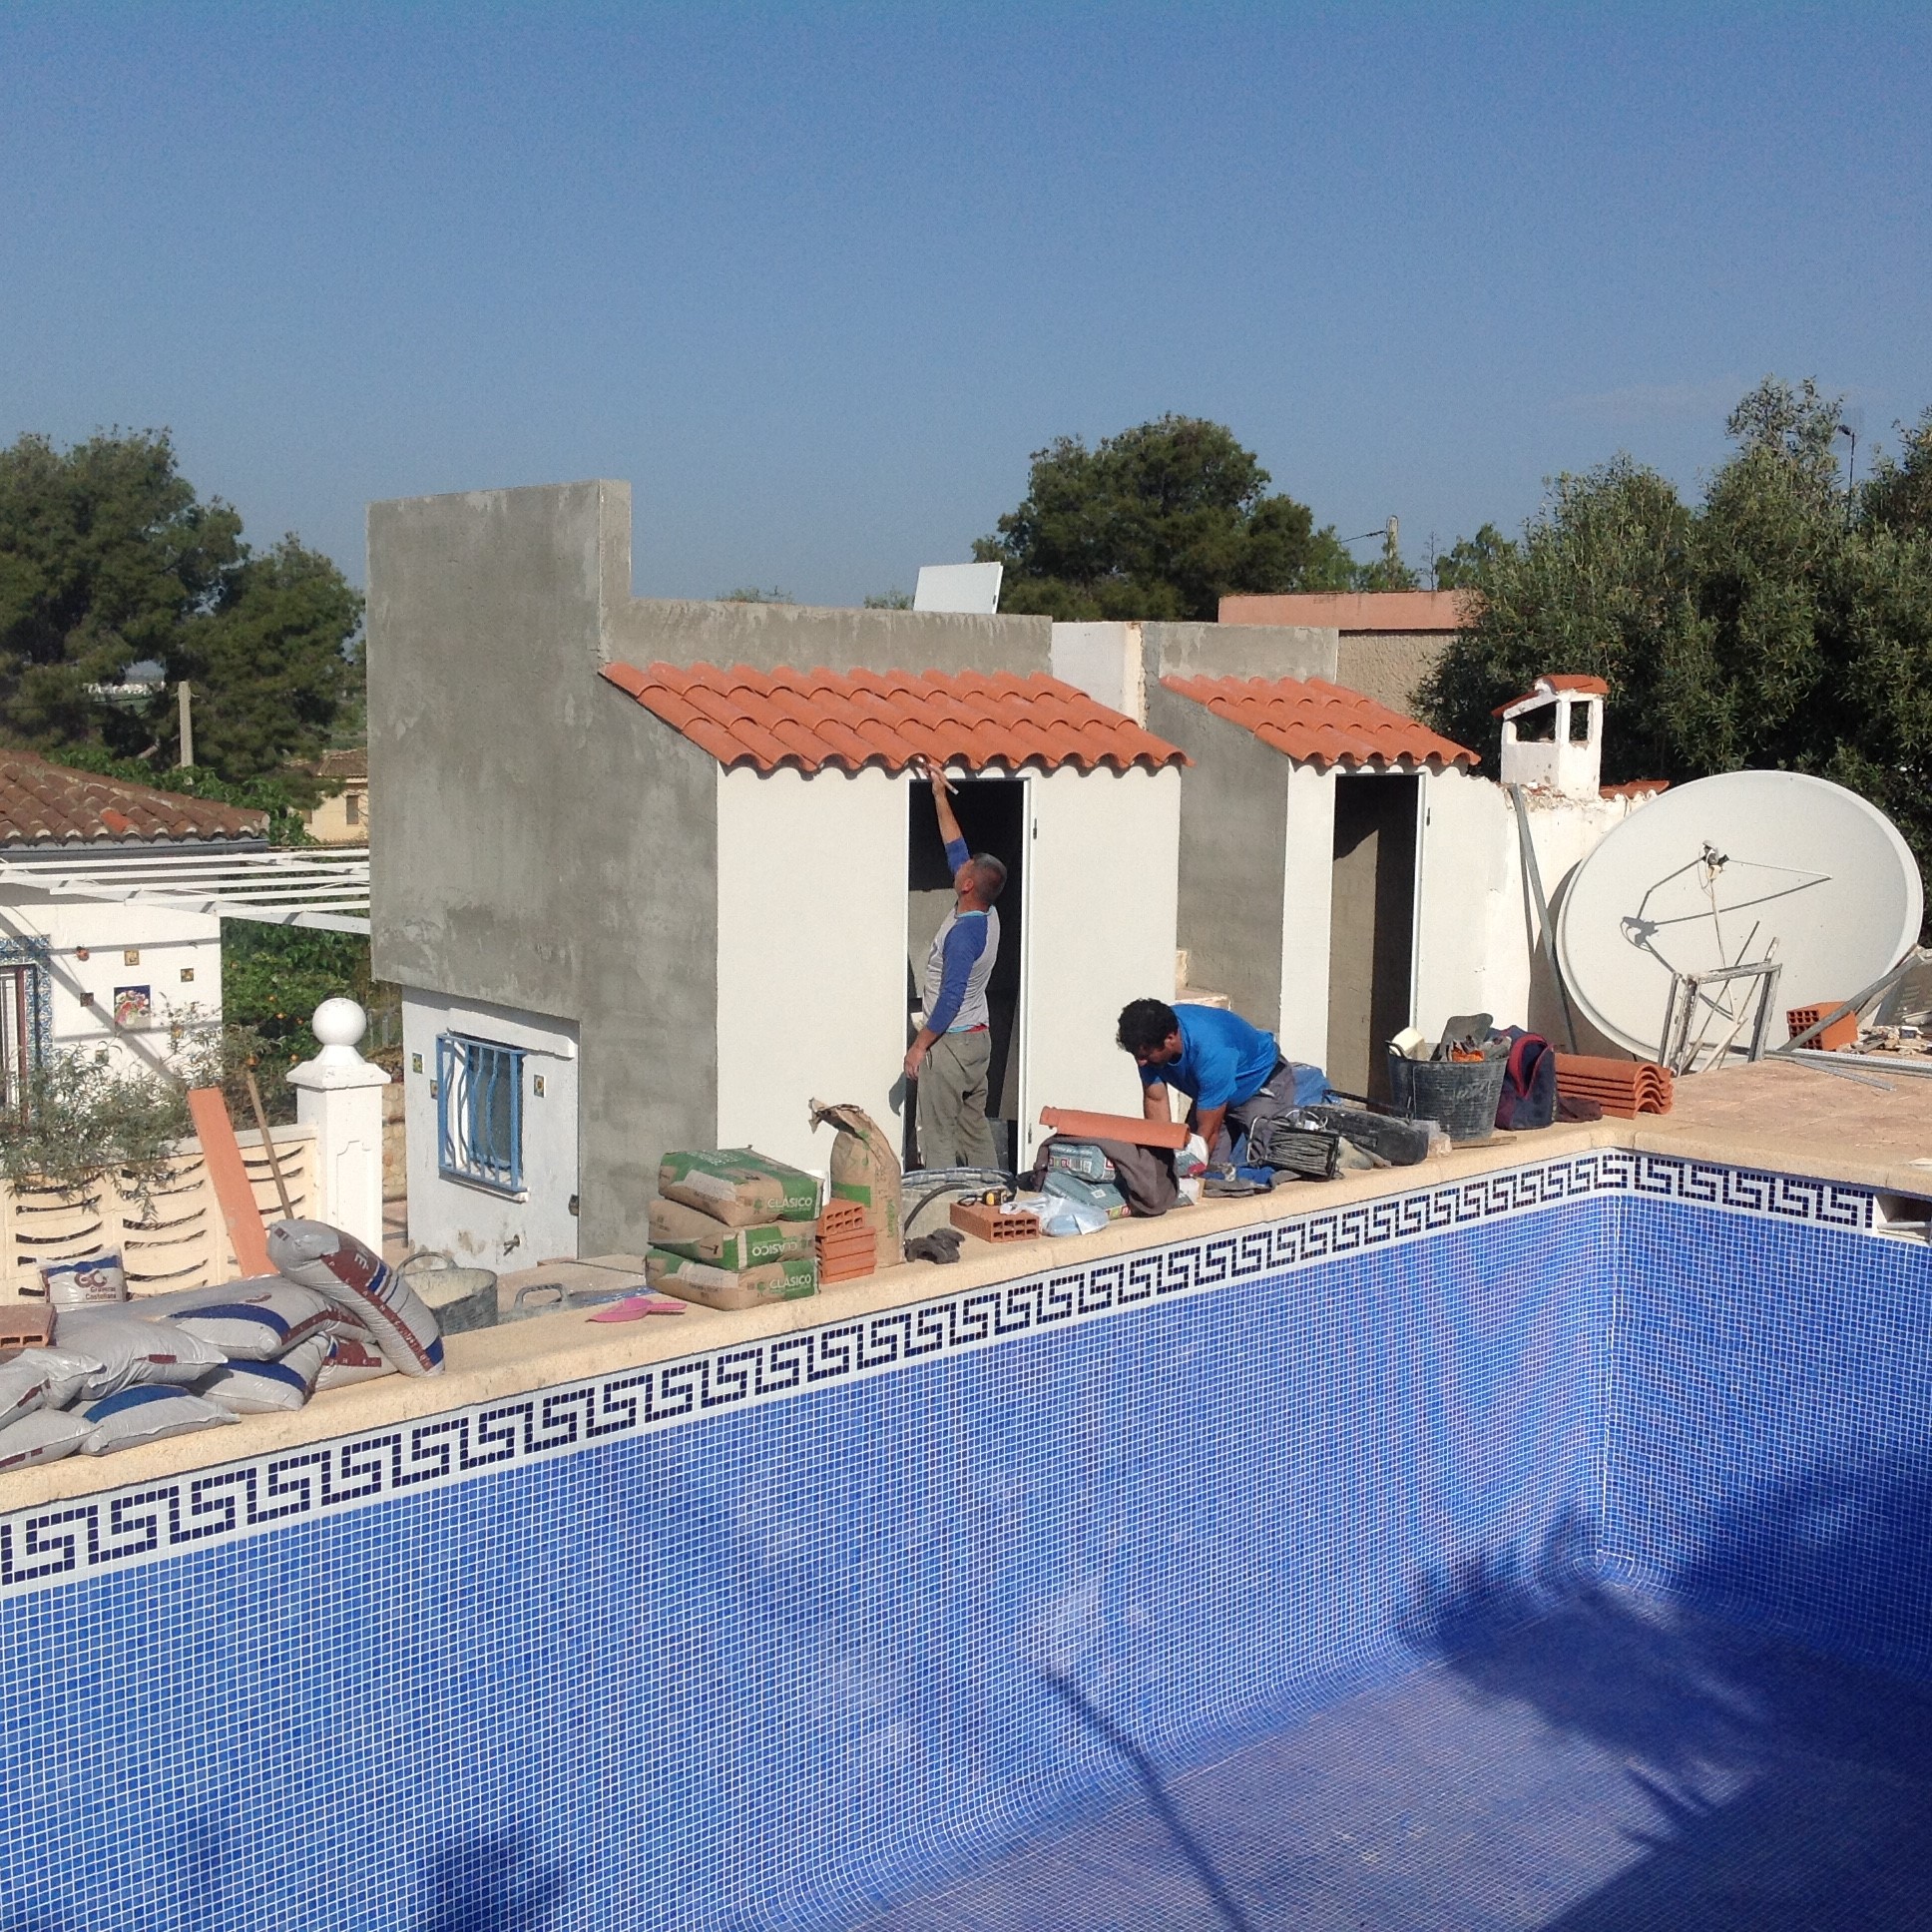
The sheds are built!!! There's roof tiles to put on and a door on the smaller shed. The smaller shed has been rendered on the inside.
What you can't see here is that there is a BBQ area to the right of the picture that also needs to be re-roofed....... so when that is done there will be little progress observed. Tomorrow the metal man is coming to talk about the observatory roof. |
|

Day 4
|
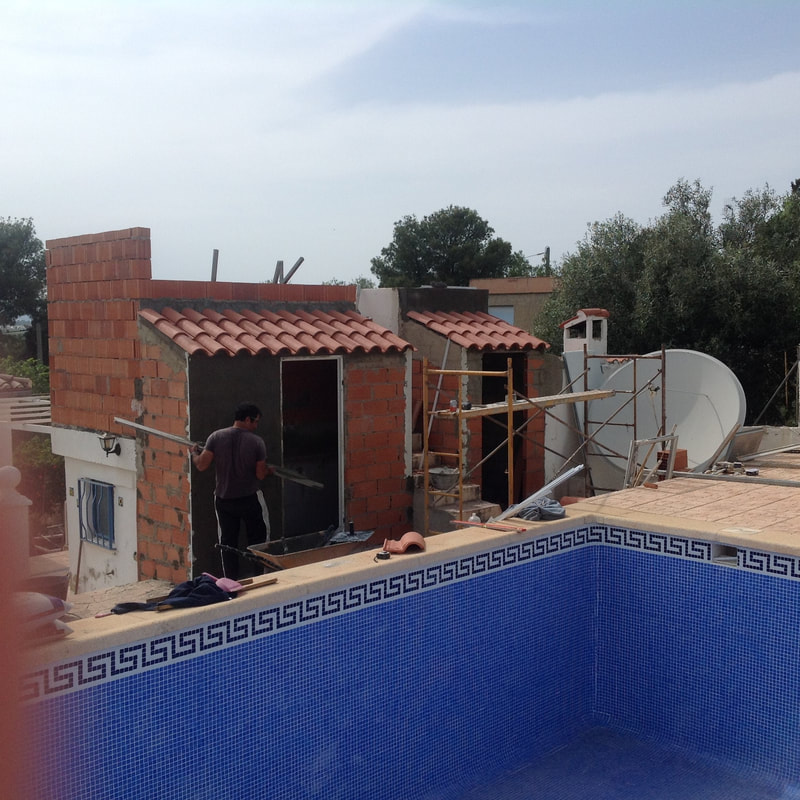
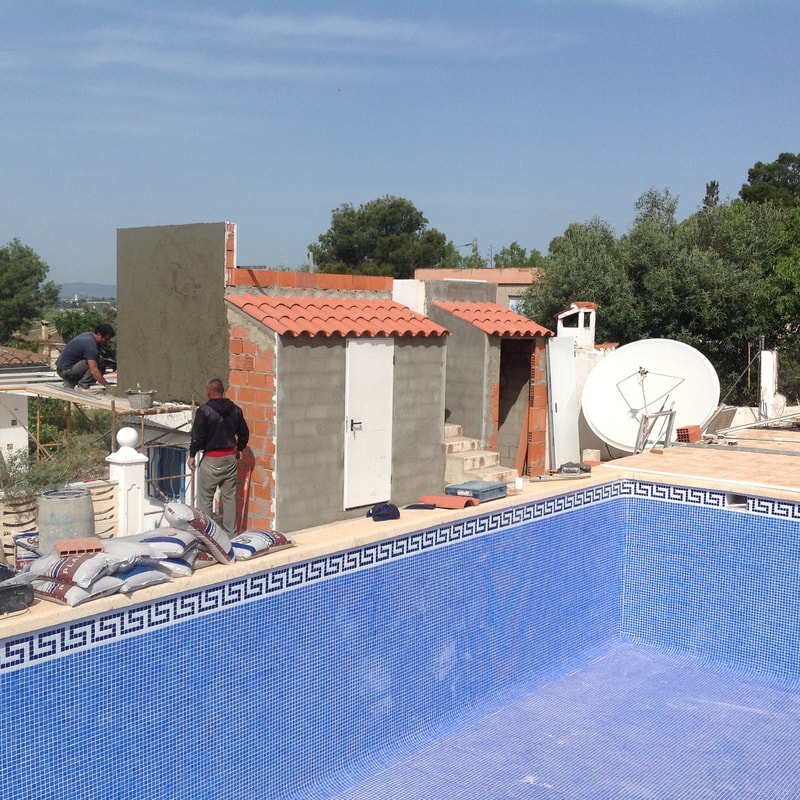
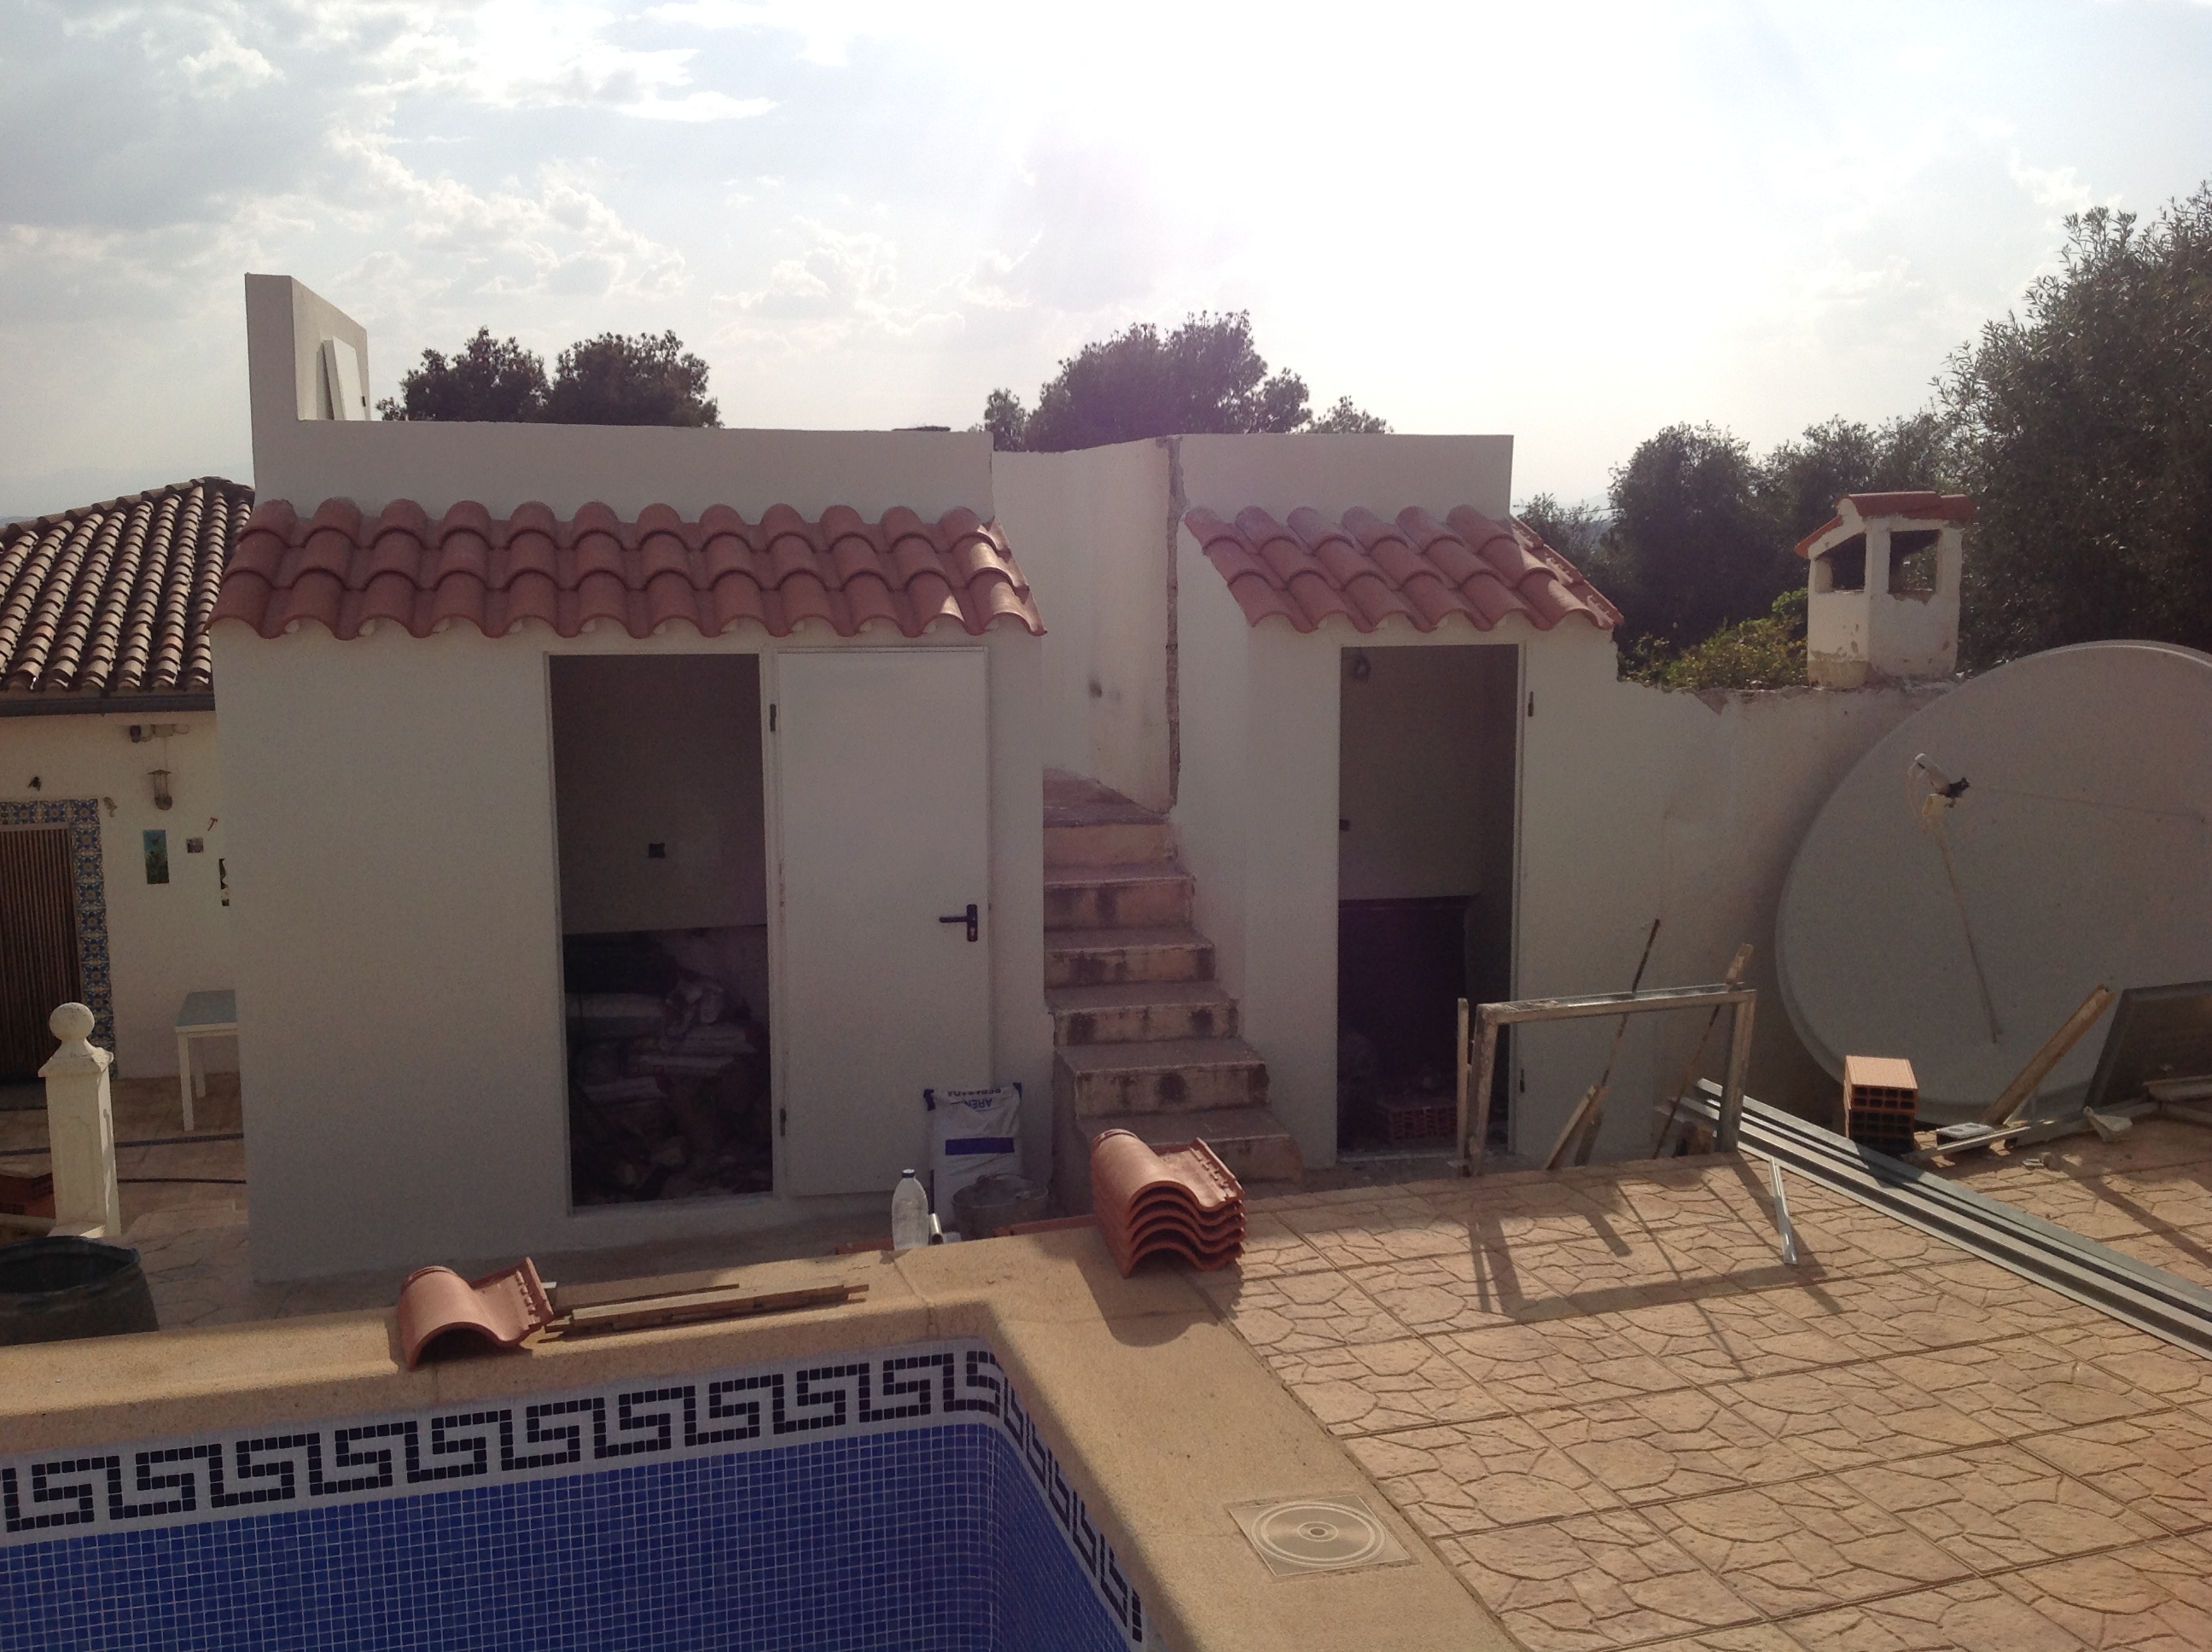
As we move into Day 4 you can see that the roof tiles have been put onto both sheds. There's a wall being built at the back of the shed on the right in order to make things look balanced from the front.
The concrete rendering has started and this will be done across the complete build, prior to a white render. The metal man has also been to talk about the roof and also make a strong door for the observatory. |
|

The end of Day 4 ........

Day 5
|
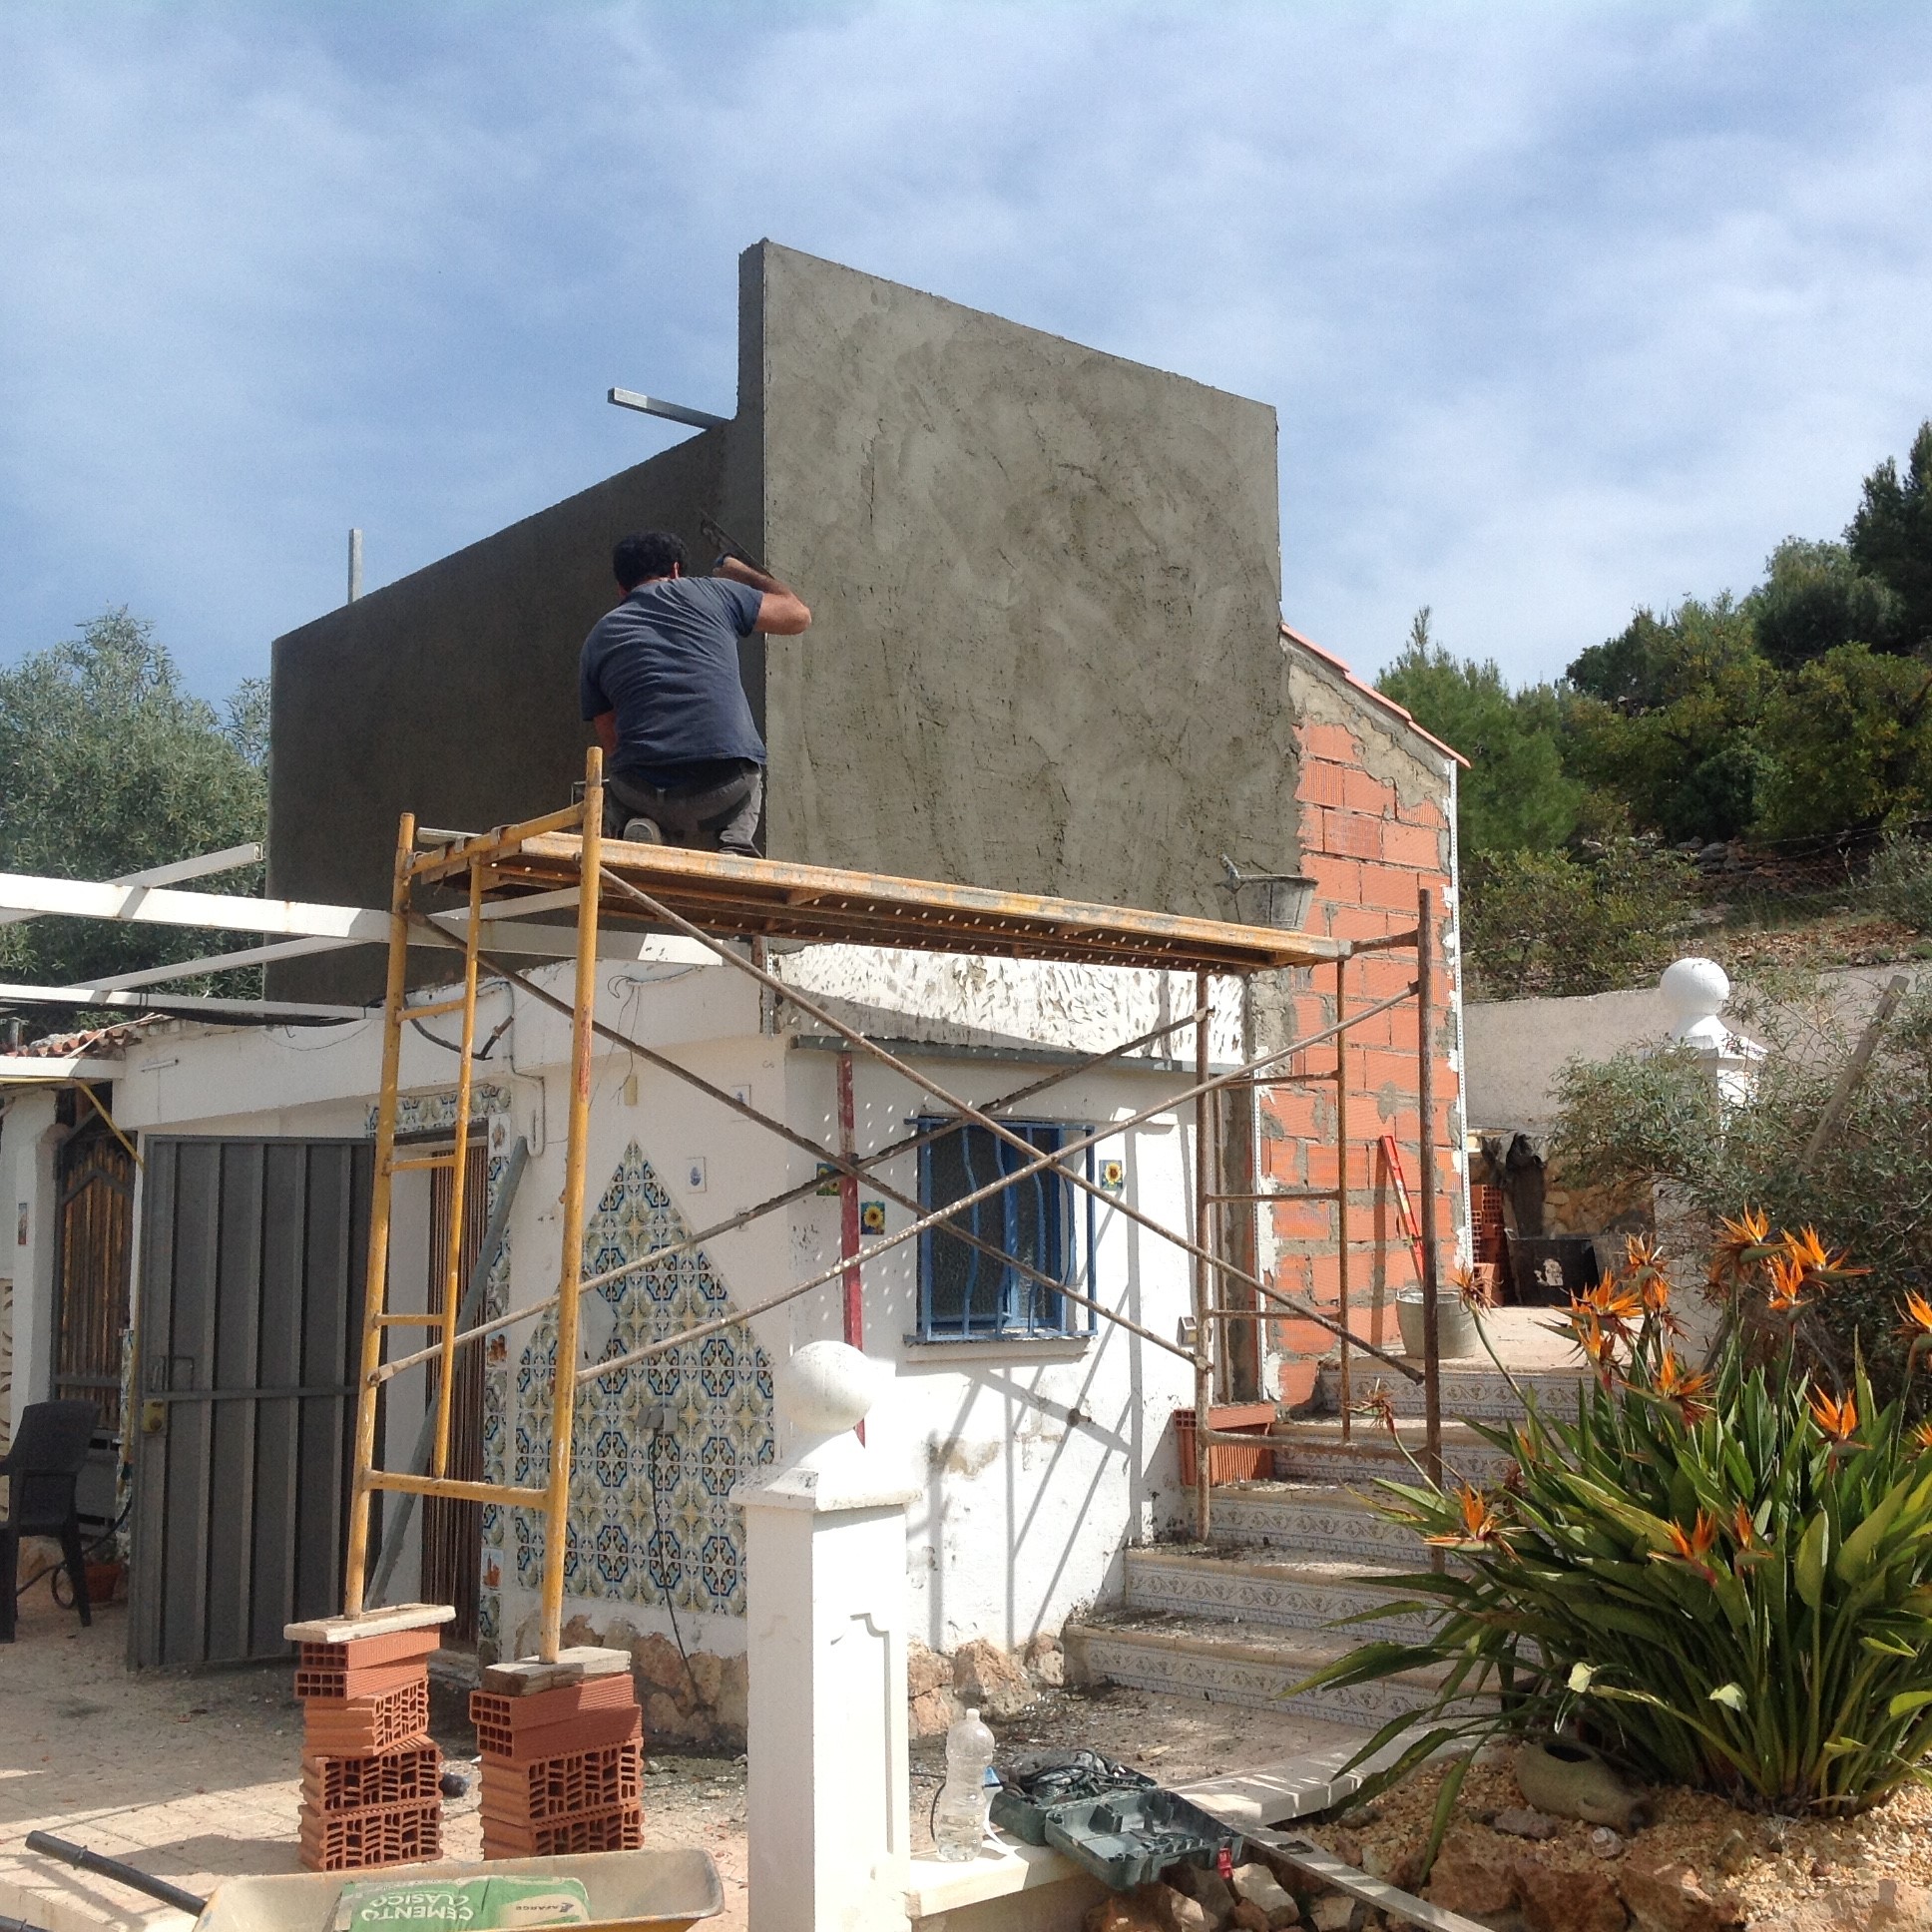
The concrete rendering of the observatory is underway.........
|
|

|
Ongoing rendering.........
|

End of Day 5.........
The outside of the observatory (and inside) has been fully rendered. The edges of the joins between the buildings have been tidied up as well. The external and internal rendering has been done on the sheds...... From here it's all ready to be white rendered.
|
|

Day 6.........
|
This is the 6th day of the build, although there was a days break yesterday as the concrete render needed to dry out before the white render was put on.
After 1.5 hours the render is on the front of the sheds.... only a few more bits to do!! |

End of Day 6 .......
A brilliant job done today.....All of the rendering has been completed, including inside the observatory and the sheds too. The roof area to the right of the picture (by the chimney) is being prepared for the tiles, but this won't be done until the roll off roof has been constructed as the frame will have to be fixed on this area. The observatory door will be on order soon..... Tomorrow is the electrics, the pool and concreting the floor of the sheds. Then apart from the metal stuff it is pretty much finished. We have the observatory floor to paint and things to put on walls.... and of course the scopes!!
|
|

Day 7
|
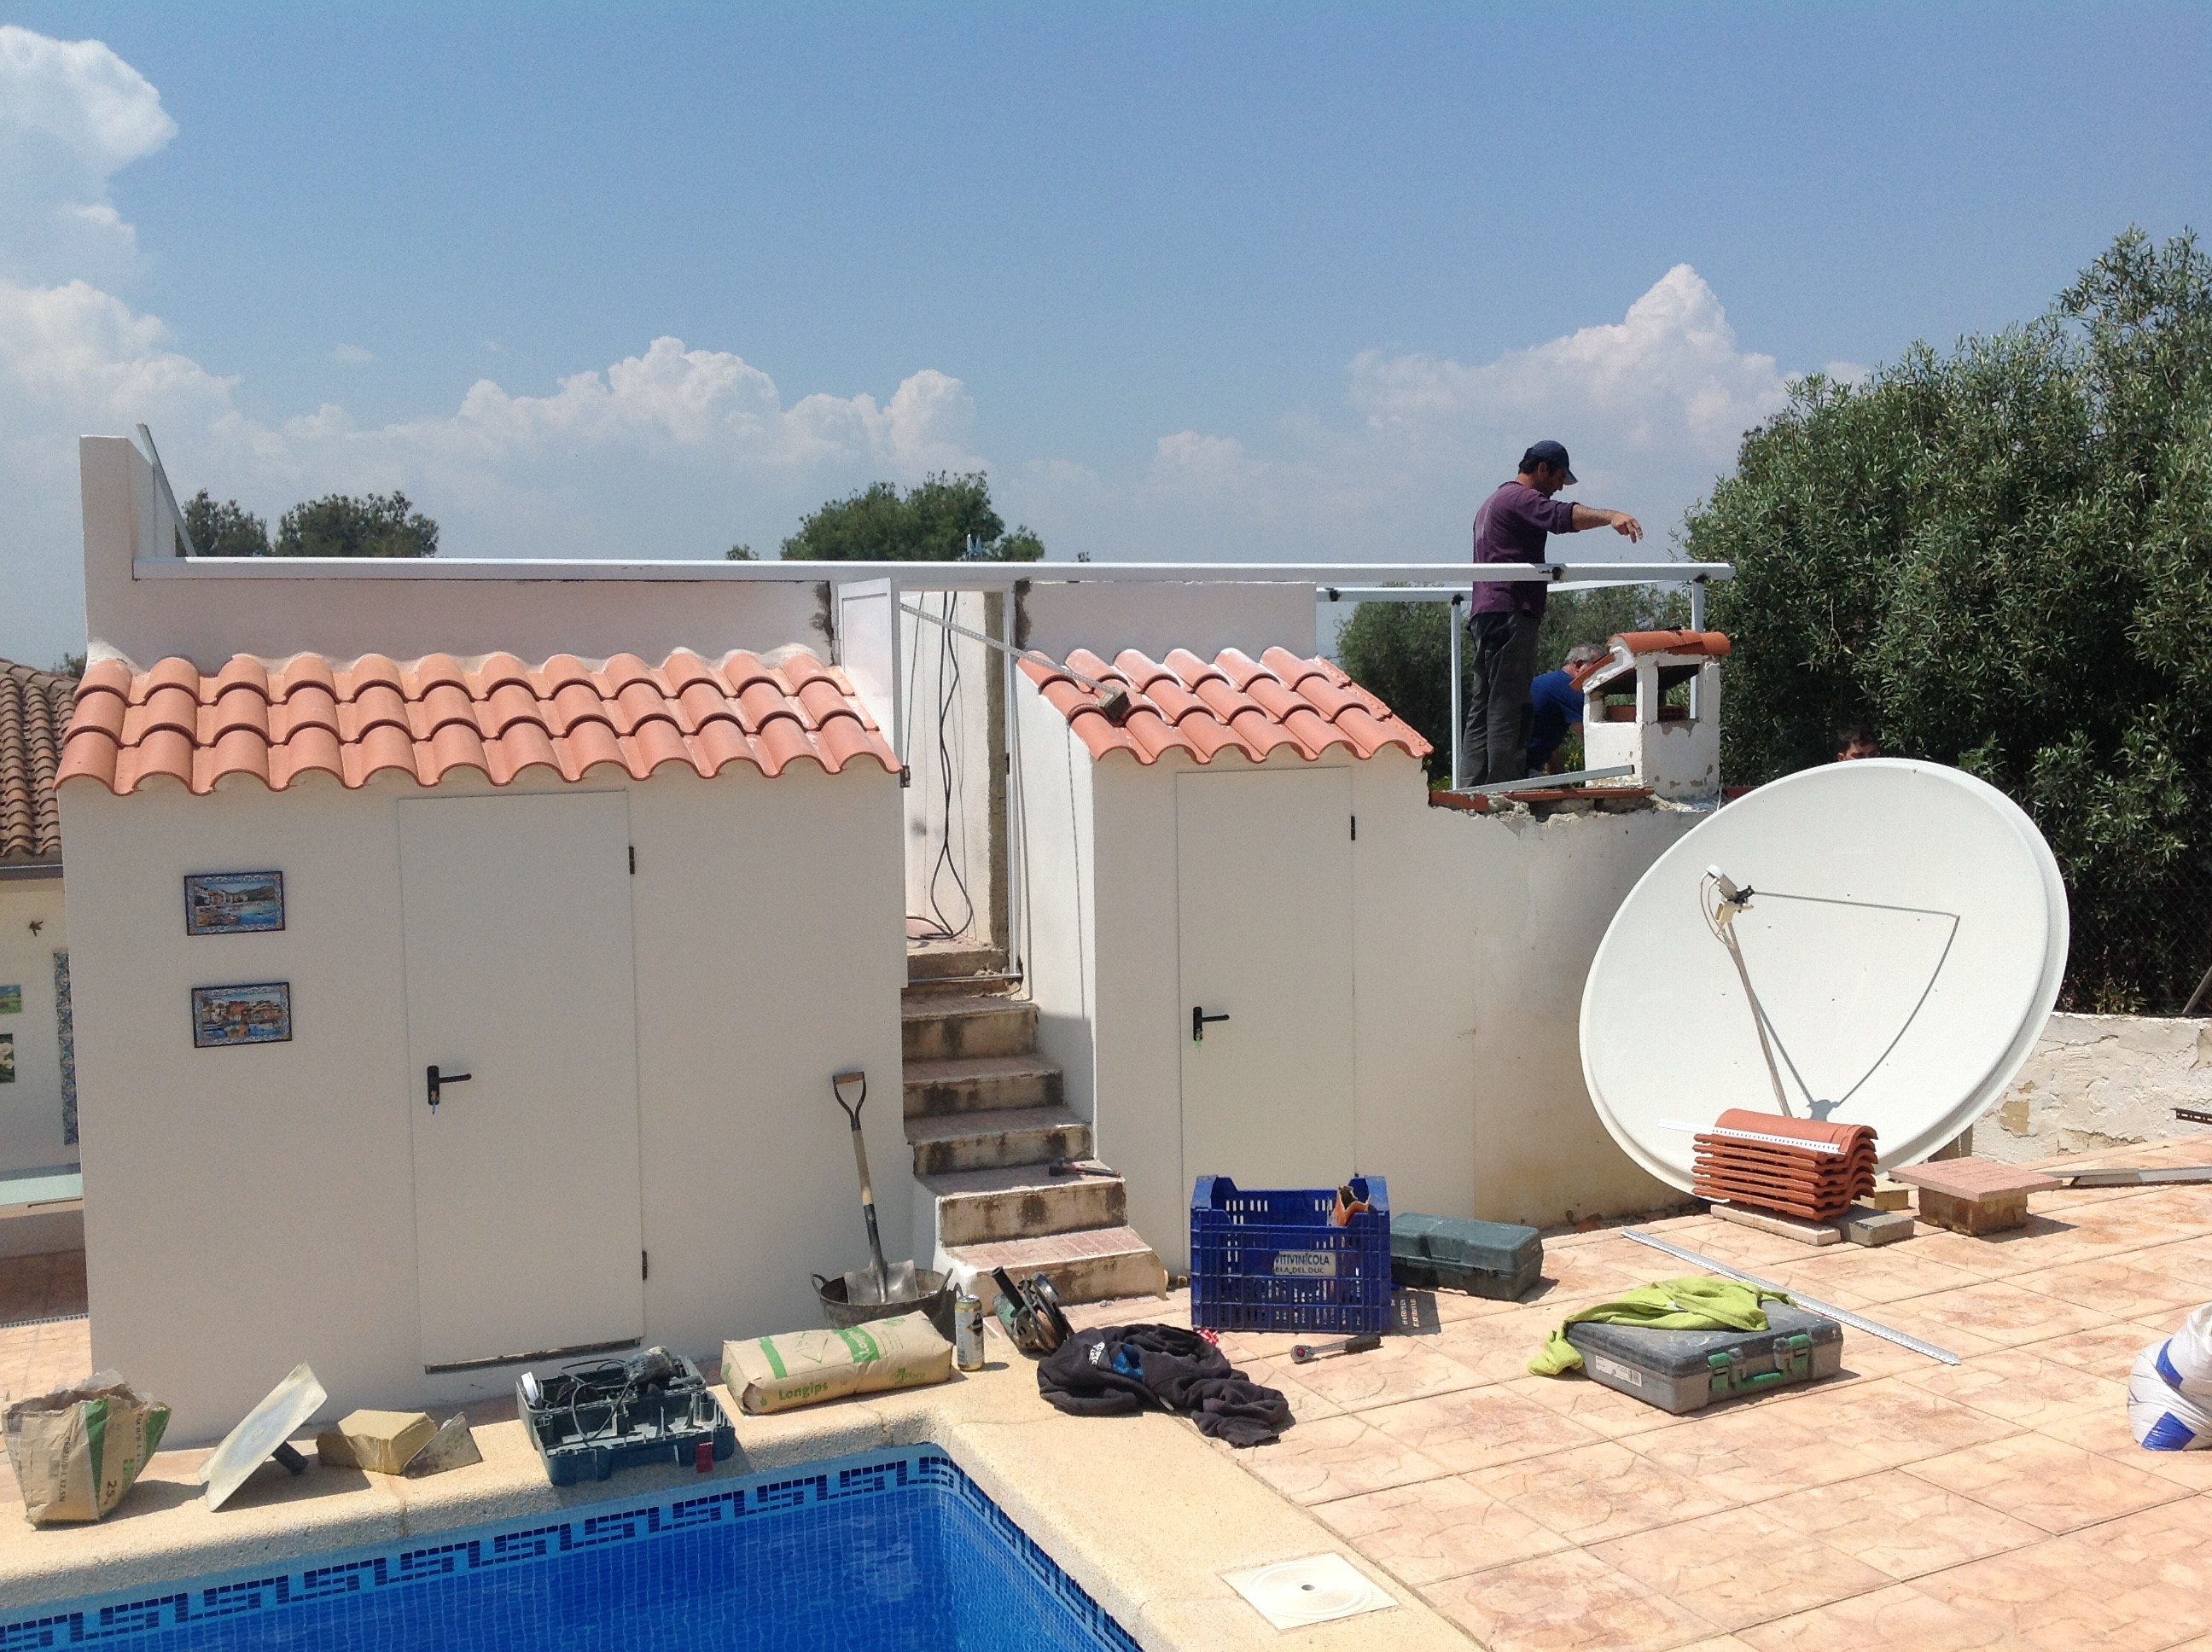
A few days have passed, but here we are, essentially on day 7 of the build. The metal man has been and put up the metal rails for the roll off roof. You can now see where the roof is going to roll...... the end of the observatory (and roof) is directly at the right of the steps..... not at the end of the small right hand wall above the shed. This is asthetic not part of the observatory walls.... there is room for the roof to roll off!!!
The rails are bolted to the roof at the bottom with a bracing length of metal. The door has been made and fitted now. It's a nice strong door that has the frame on the outside of the door to increase the security. |
|

The last day of building ........
The building work is completed and the builder wont be back!!! The observatory is built and the roofing rails have been put on. The gaps between them and the walls have been filled. It's been something of a finishing day which has been slow going. The Observatory door was all tidied up and the brick work and render around it. The roof to the right of the picture (underneath the rails) has been finished and tidied up.
|
|

|
This is where most of the work was done today..... at the front of the build. The roof on the left of the observatory has all been re-tiled and everything has been tidied. The door to the room under the observatory has also been changed as it was previously an old corrugated door.
Now we have some tidying up to do and some painting that is long overdue! |
|

|
The roof on the left of the picture above the wooden door has all been replaced. and the door has been finished off and tidied up. This building project is complete!
Now the roof needs to be constructed for the observatory and then the fun will begin moving back in again! |

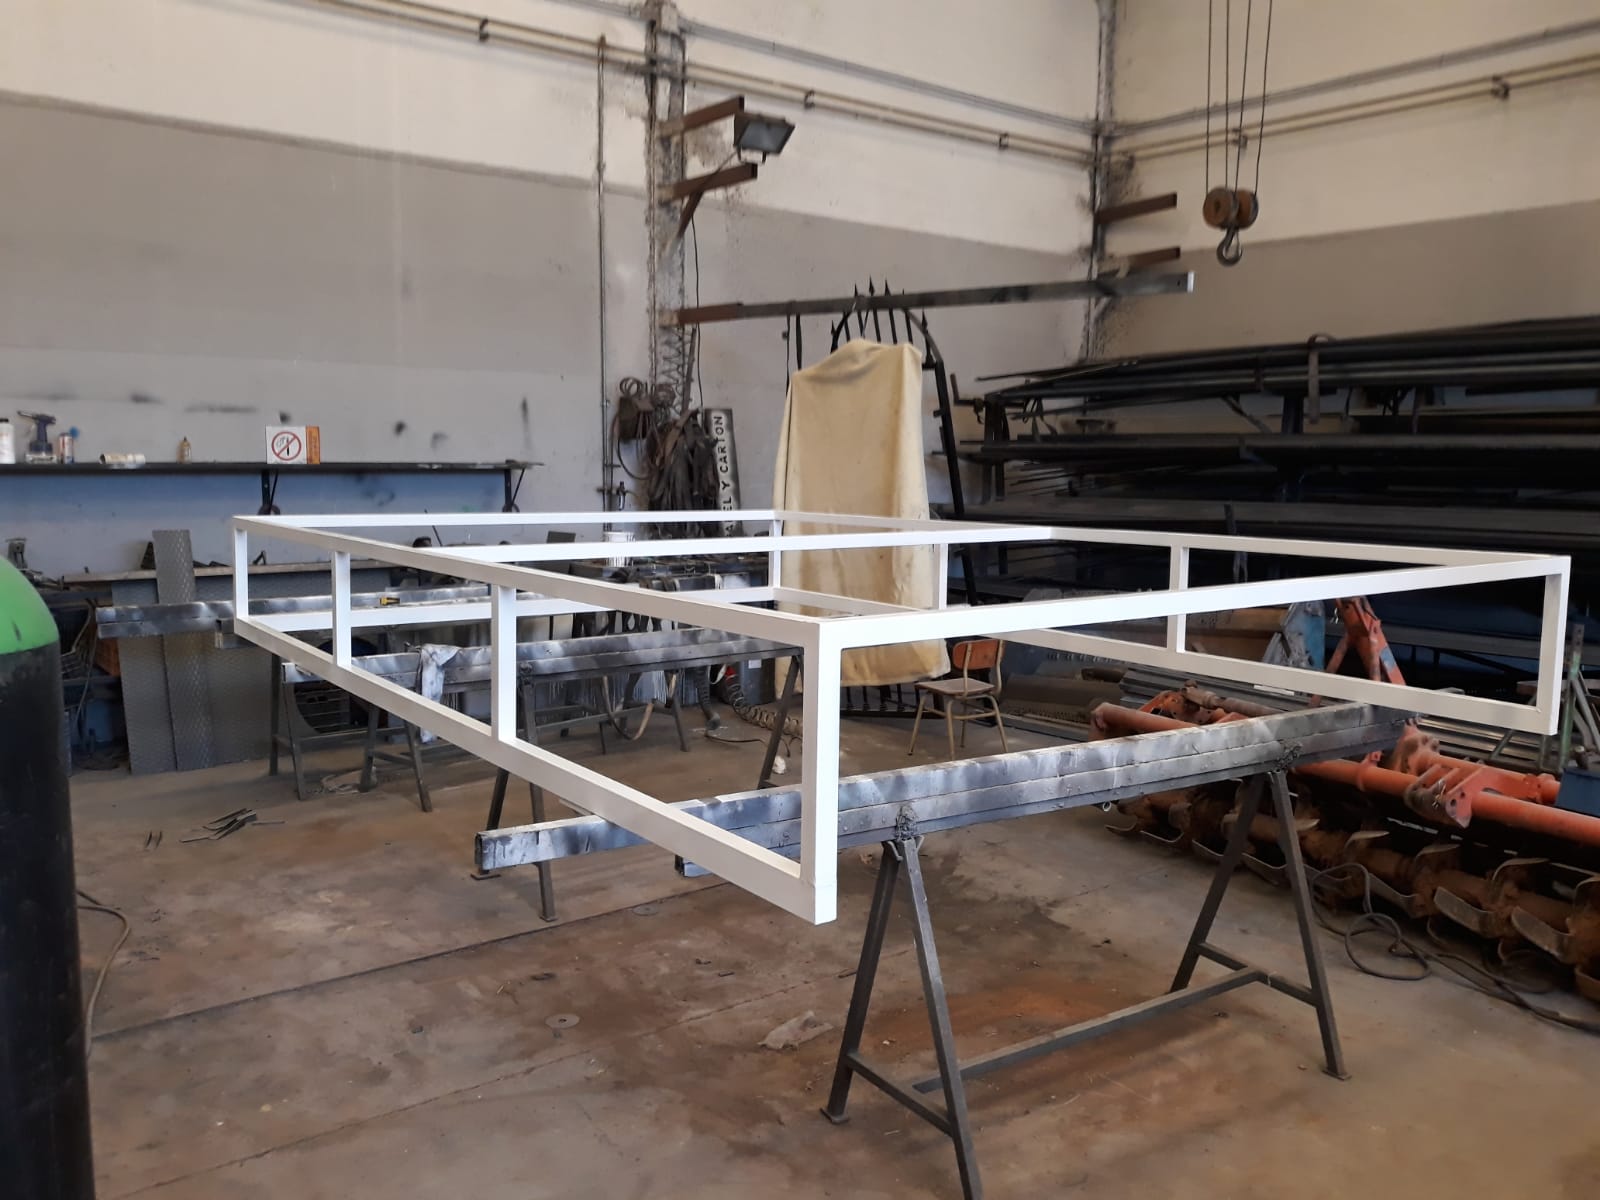
The roof construction
The metal framework of the roof was constructed in the workshop and then bought here to fit and put the sandwich. The fit was perfect!! Here you can see the framework made and the design without the sandwich roof panels on it.

|
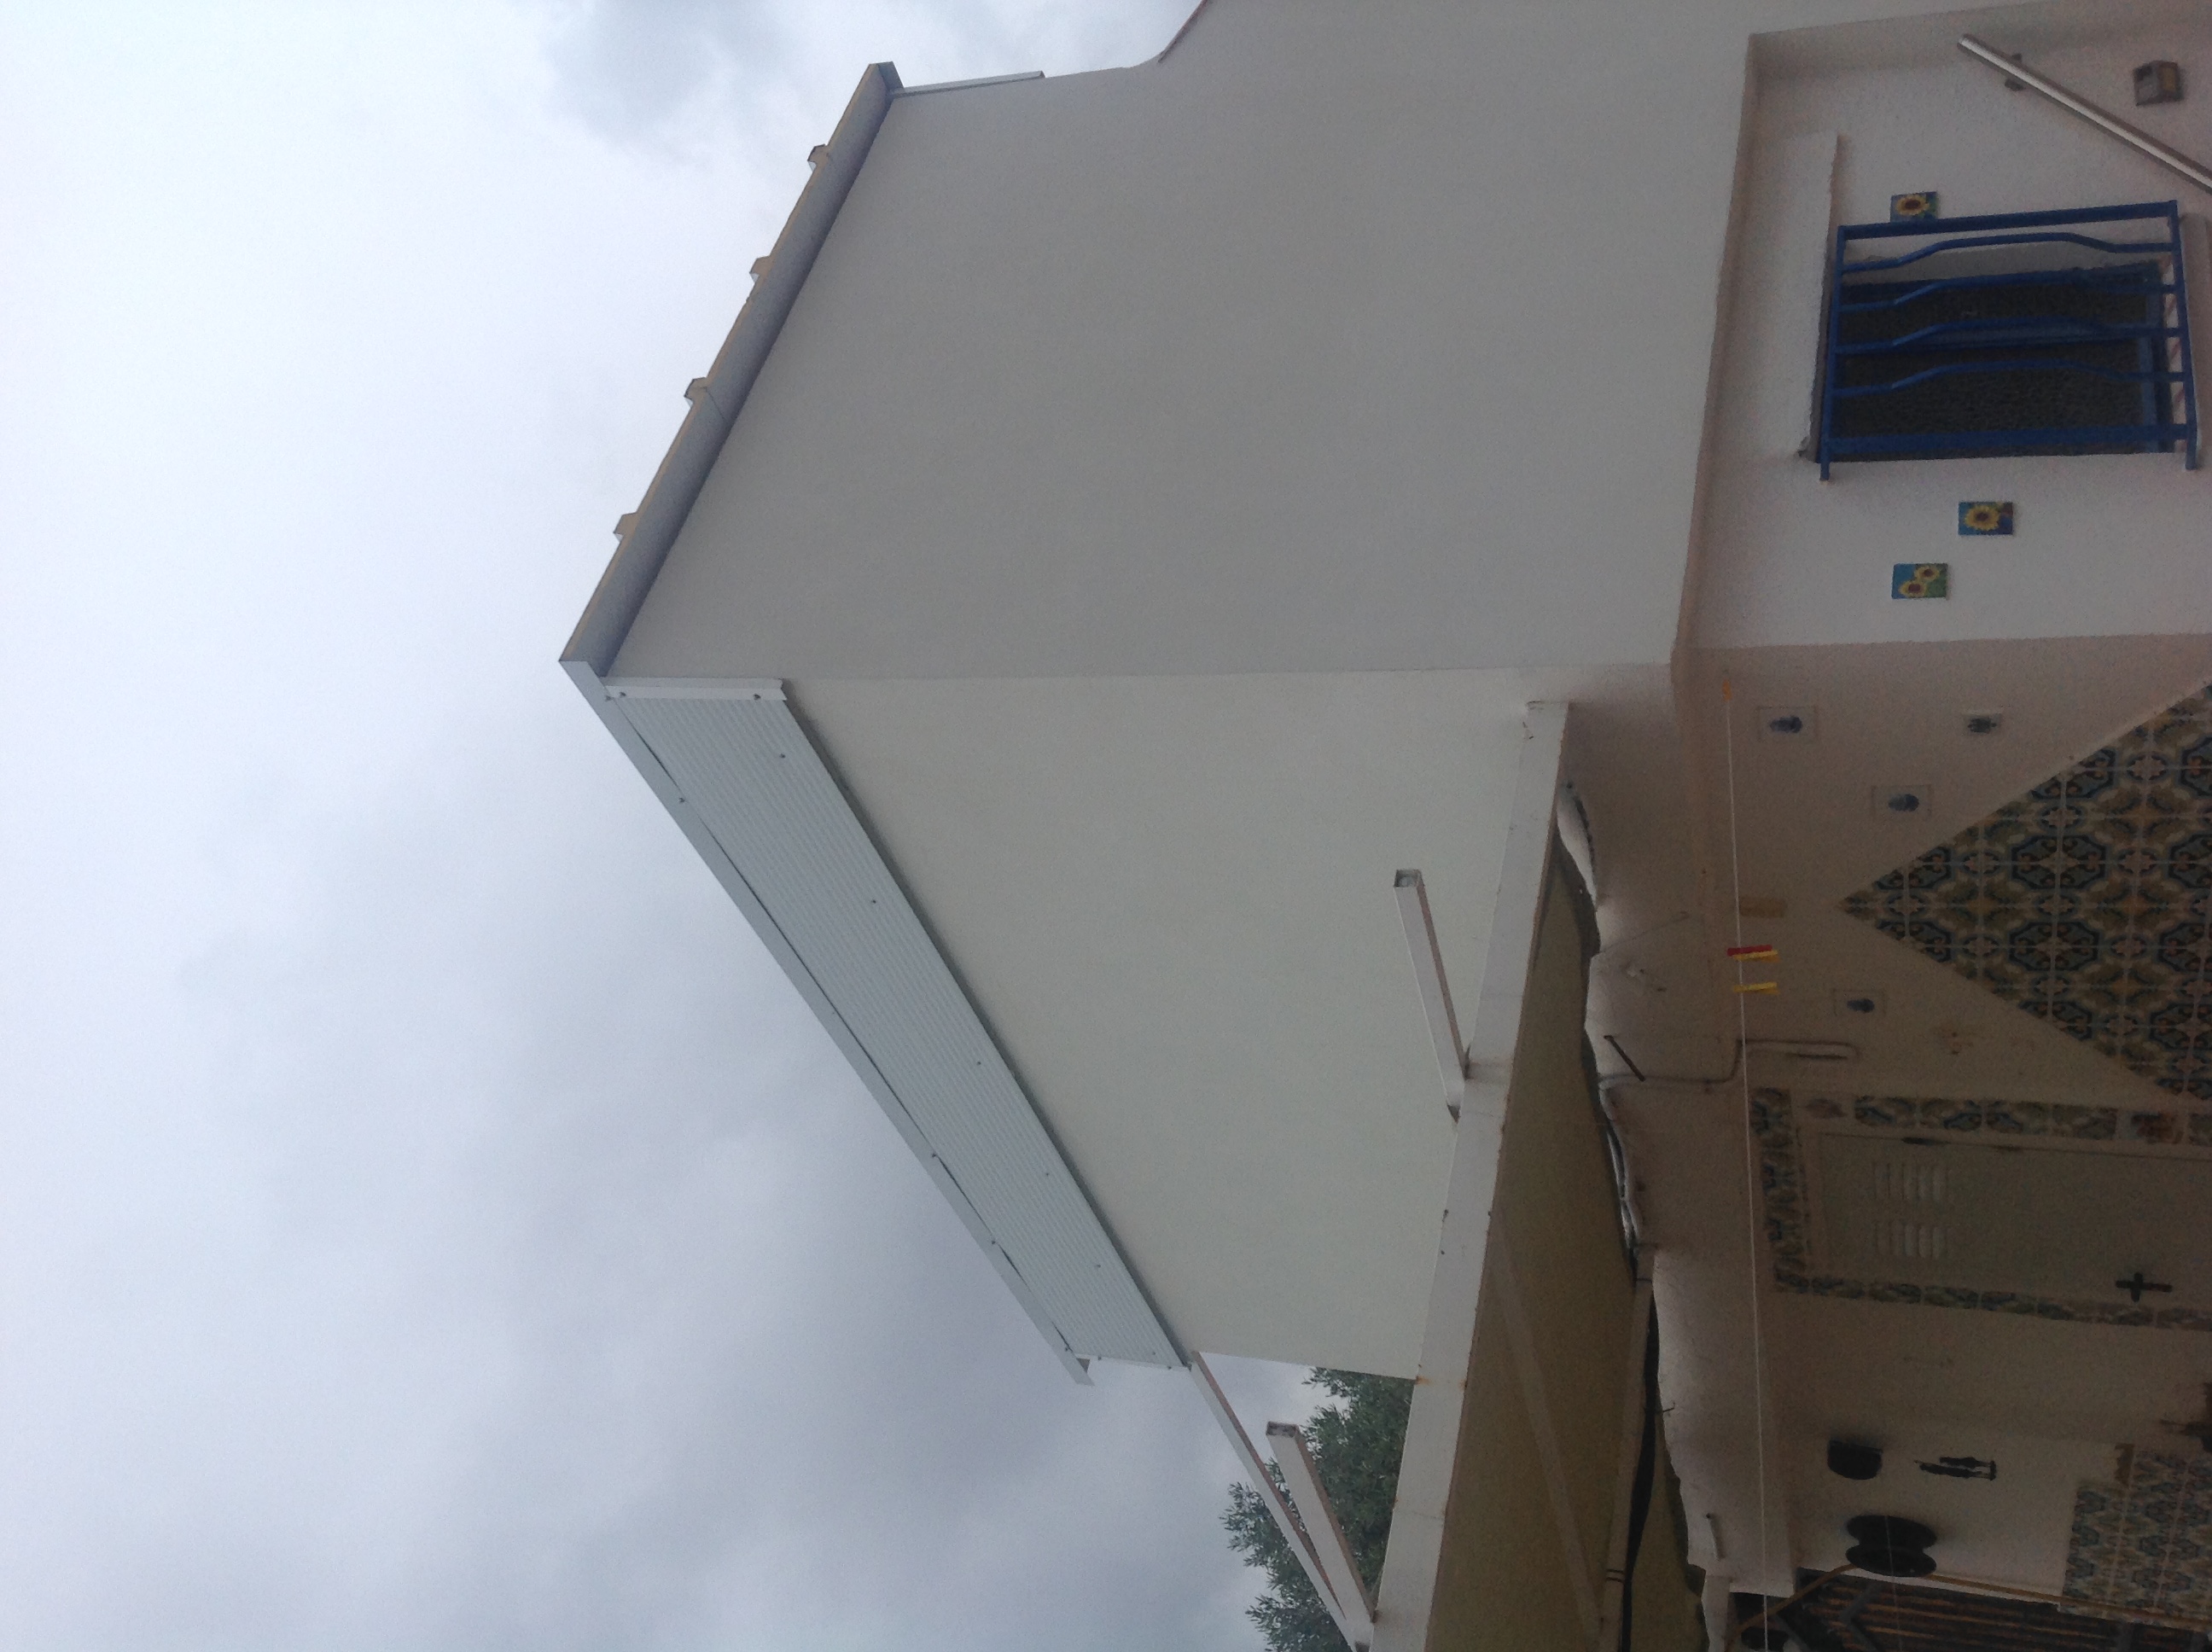
Here you can see here the roof from the house....... It has a slight overlap on the high end to prevent the ingress of rain and the sides also are longer than the rails and wheels so that all is water tight.
|
|


|
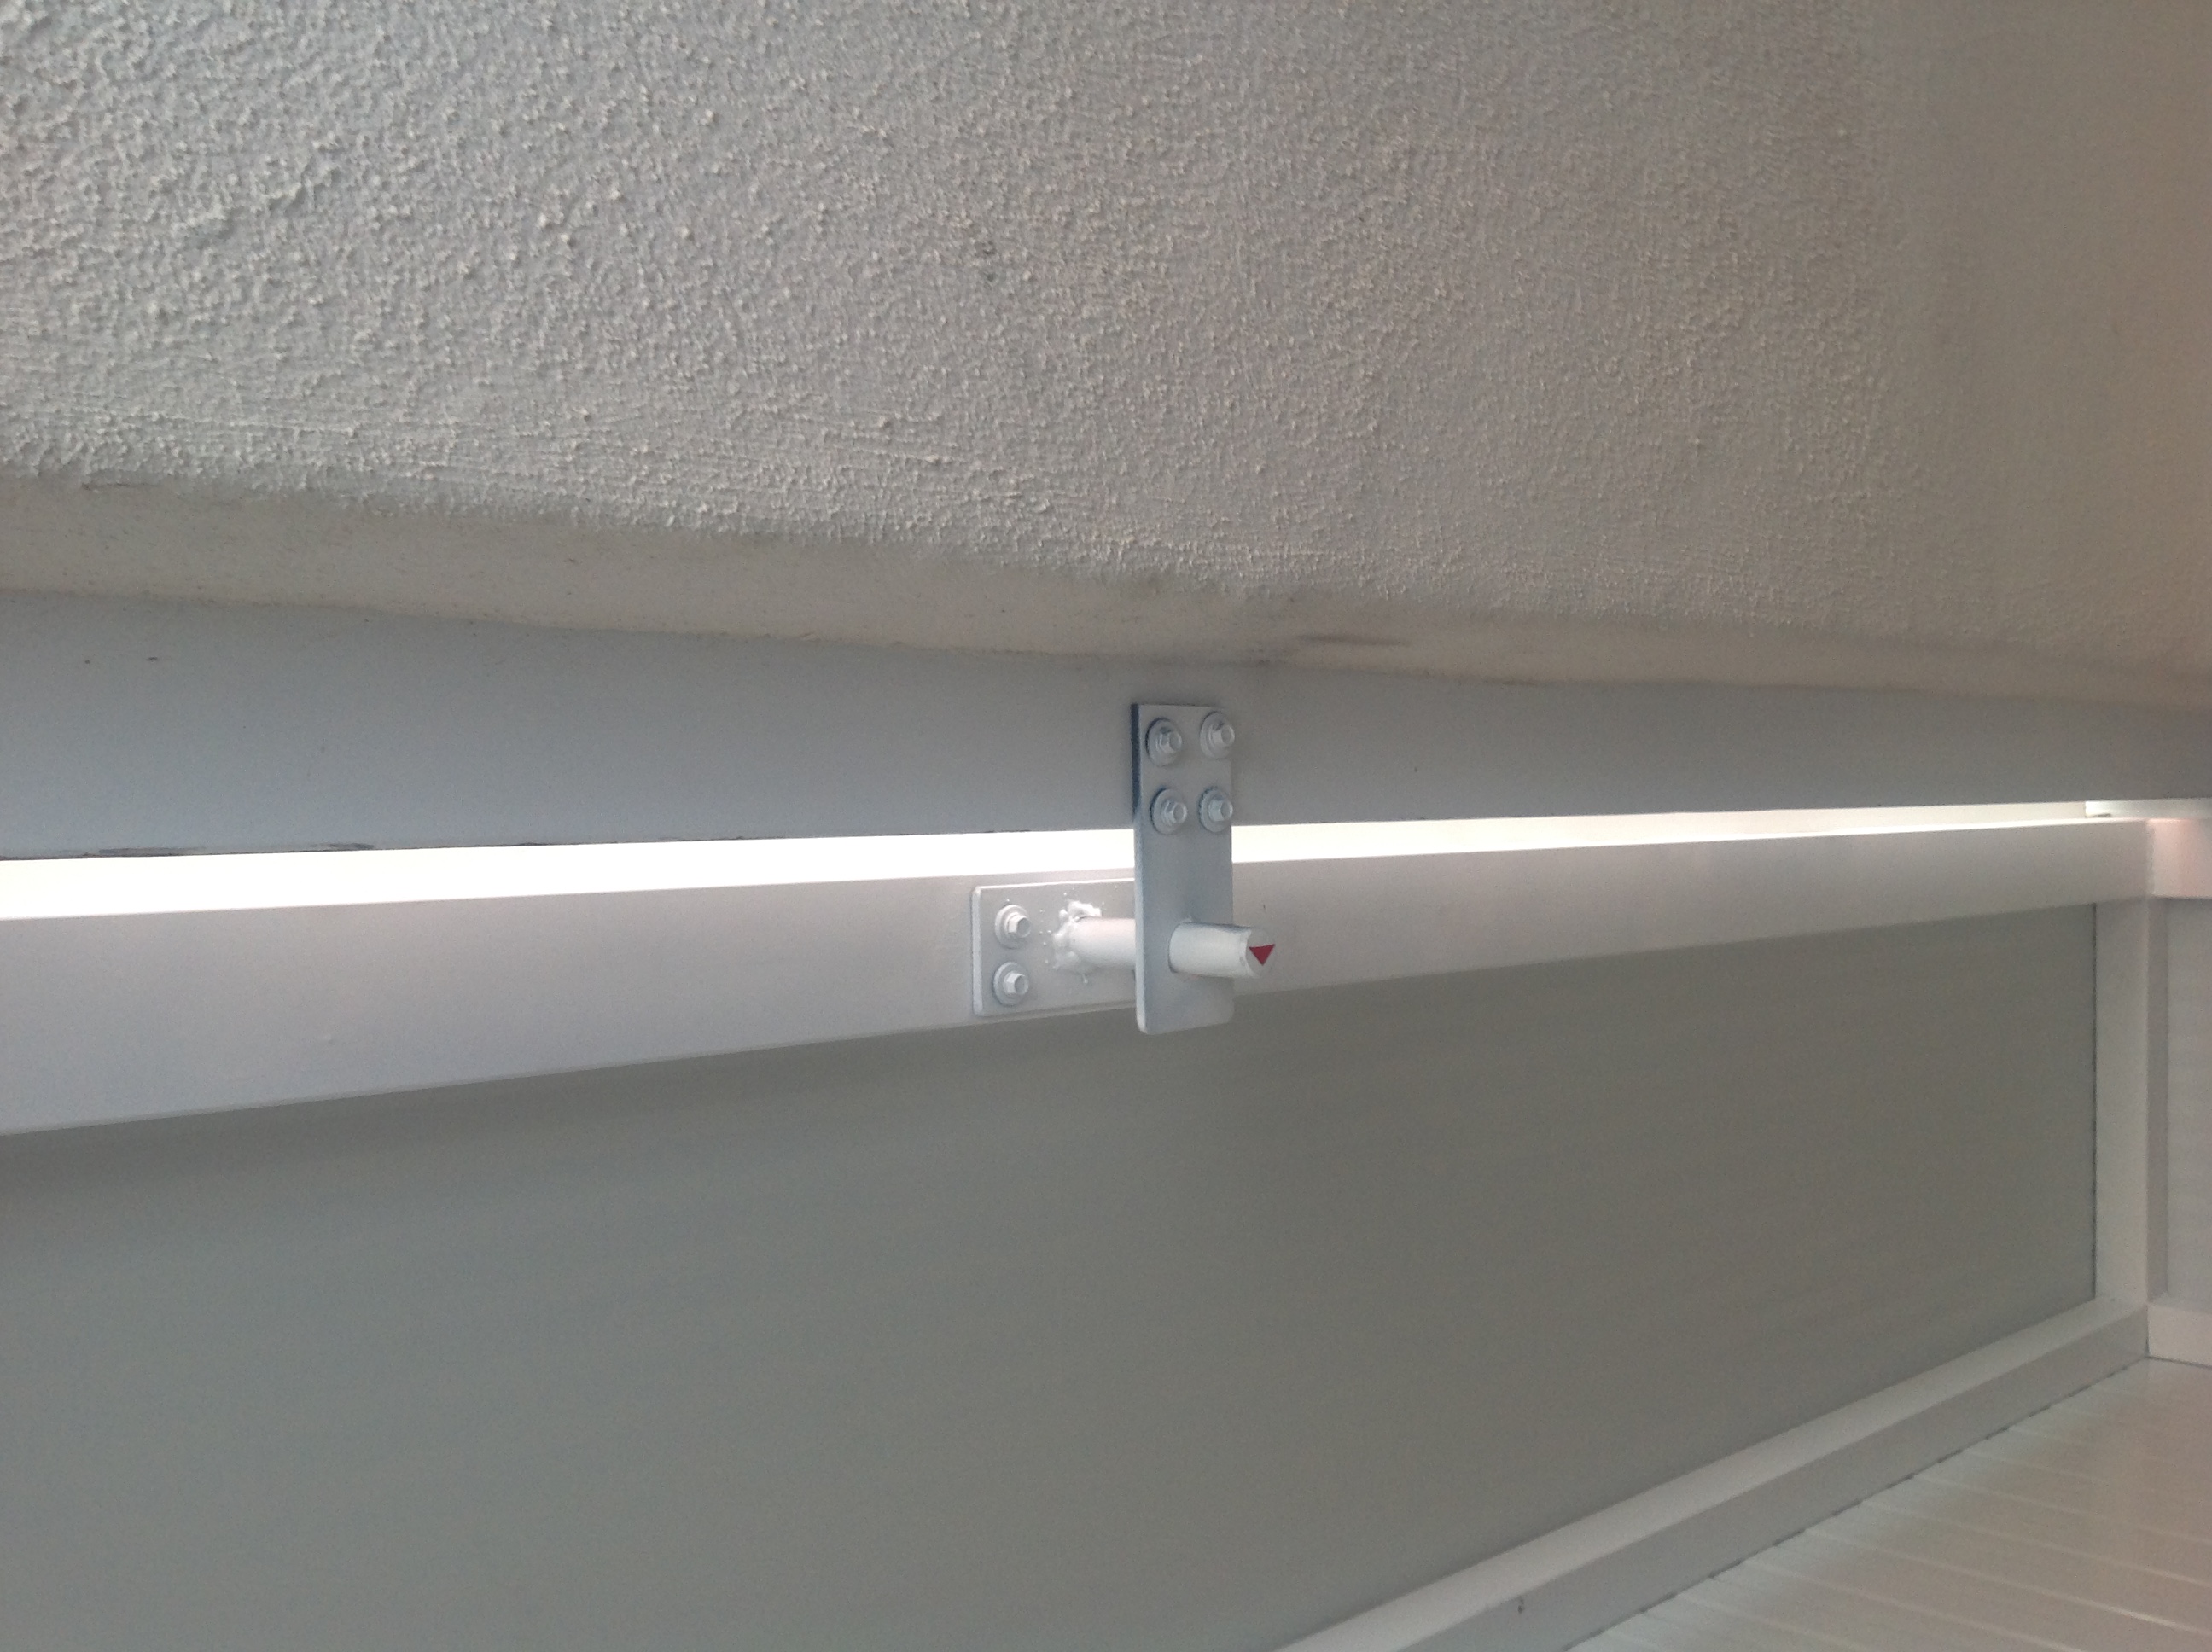
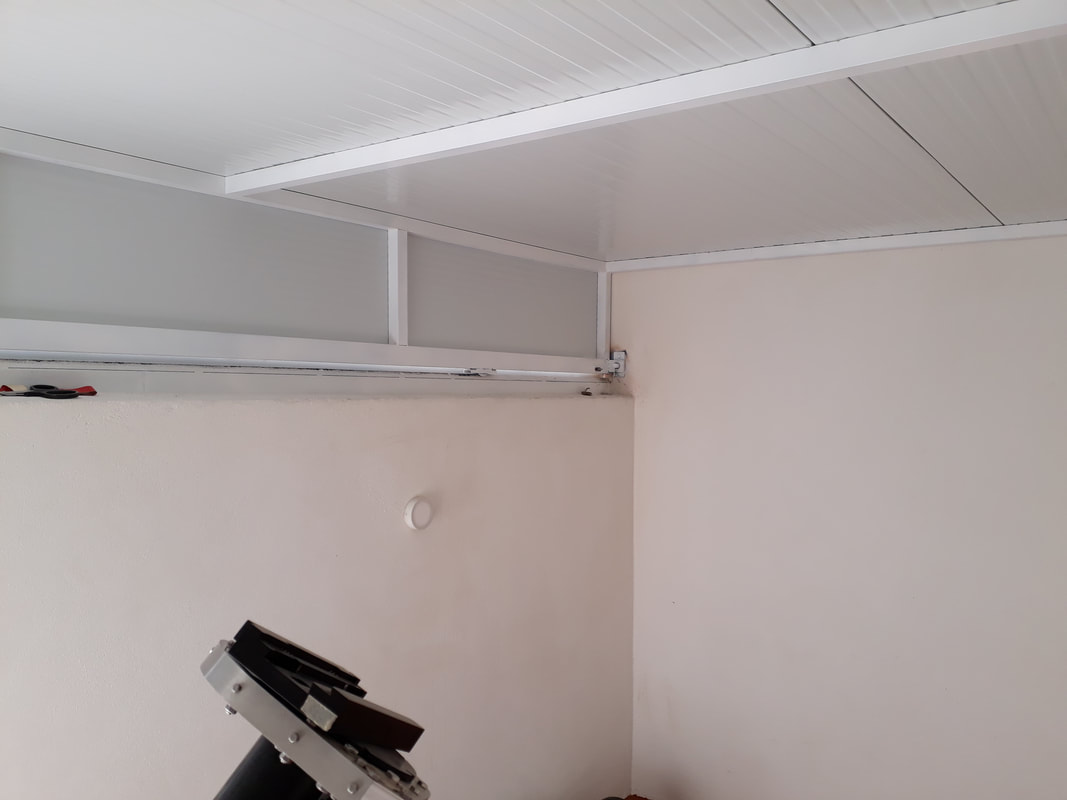
This is taken from the inside of the observatory, looking towards the end with the high wall. Here you can see the way that the roof is secured with a metal stud fitting into a bracket. This ensures that the roof cannot be lifted off (there is one at either end) and it will also keep it secure in the winds.
The string is a temporary measure as the roof fully opens so much that I need a way to be able to pull it back as it's longer than a 'stretch'. |

|
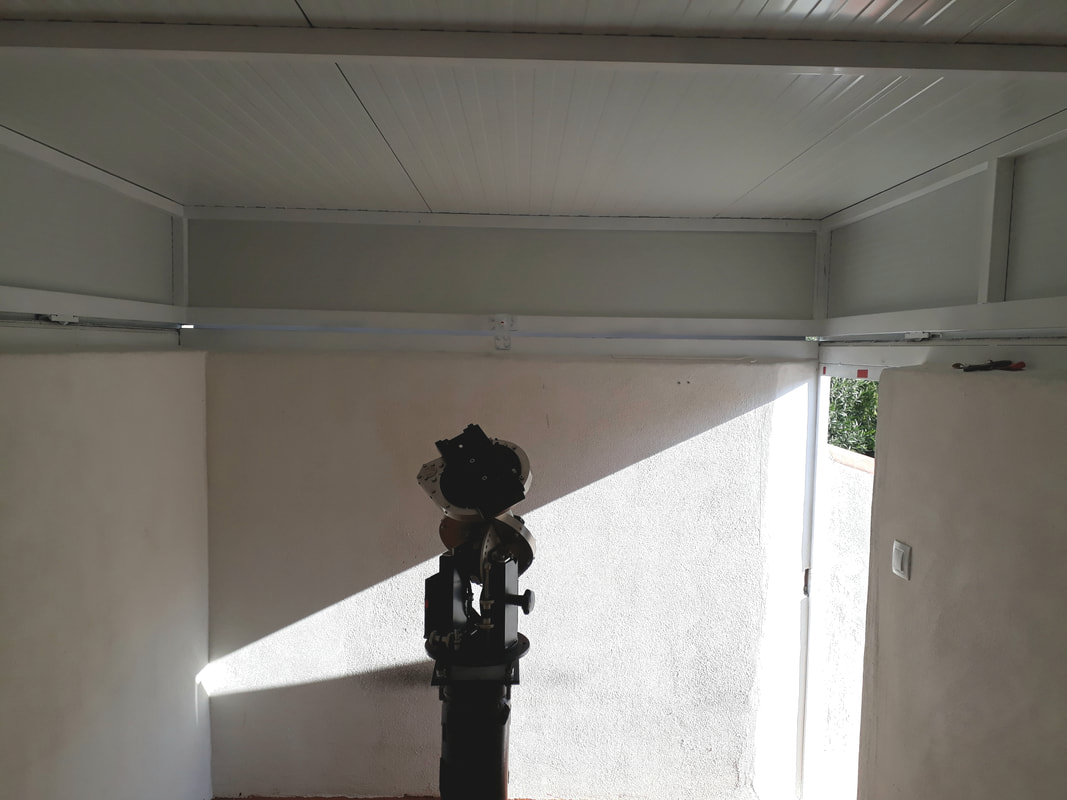
The front end of the observatory shows a similar metal construction to hold the roof secure.
|

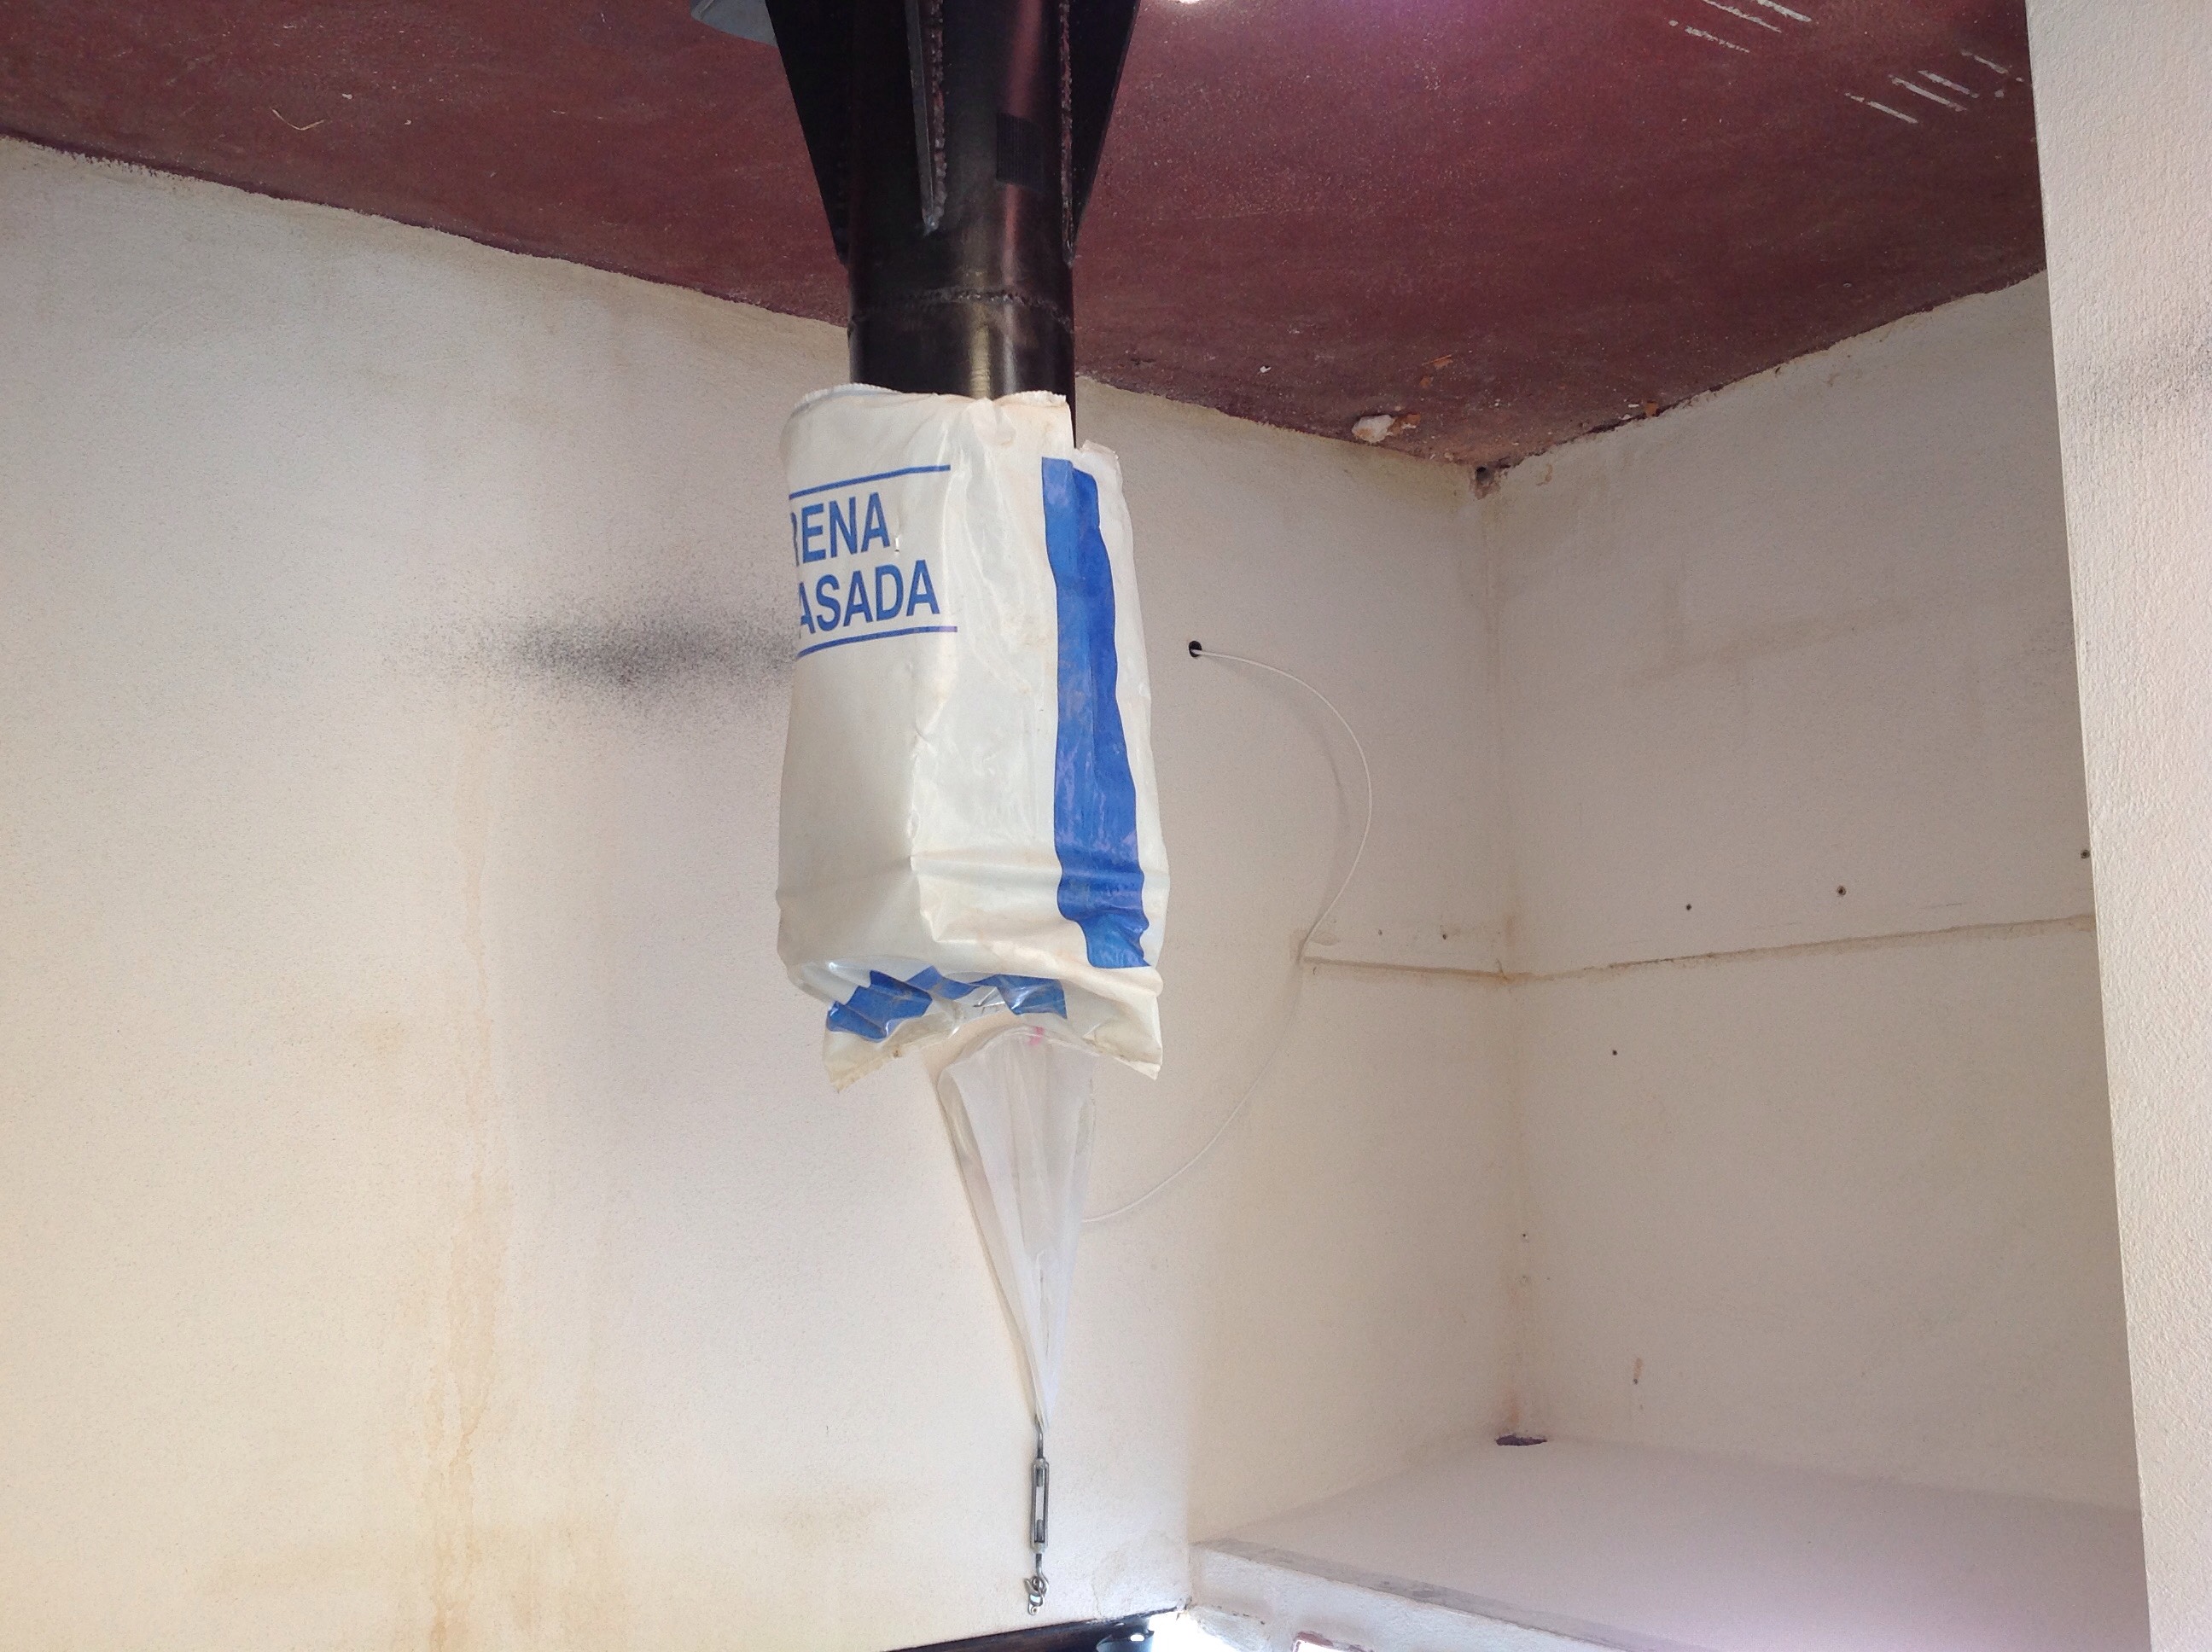
Inside a rather empty space!!


|
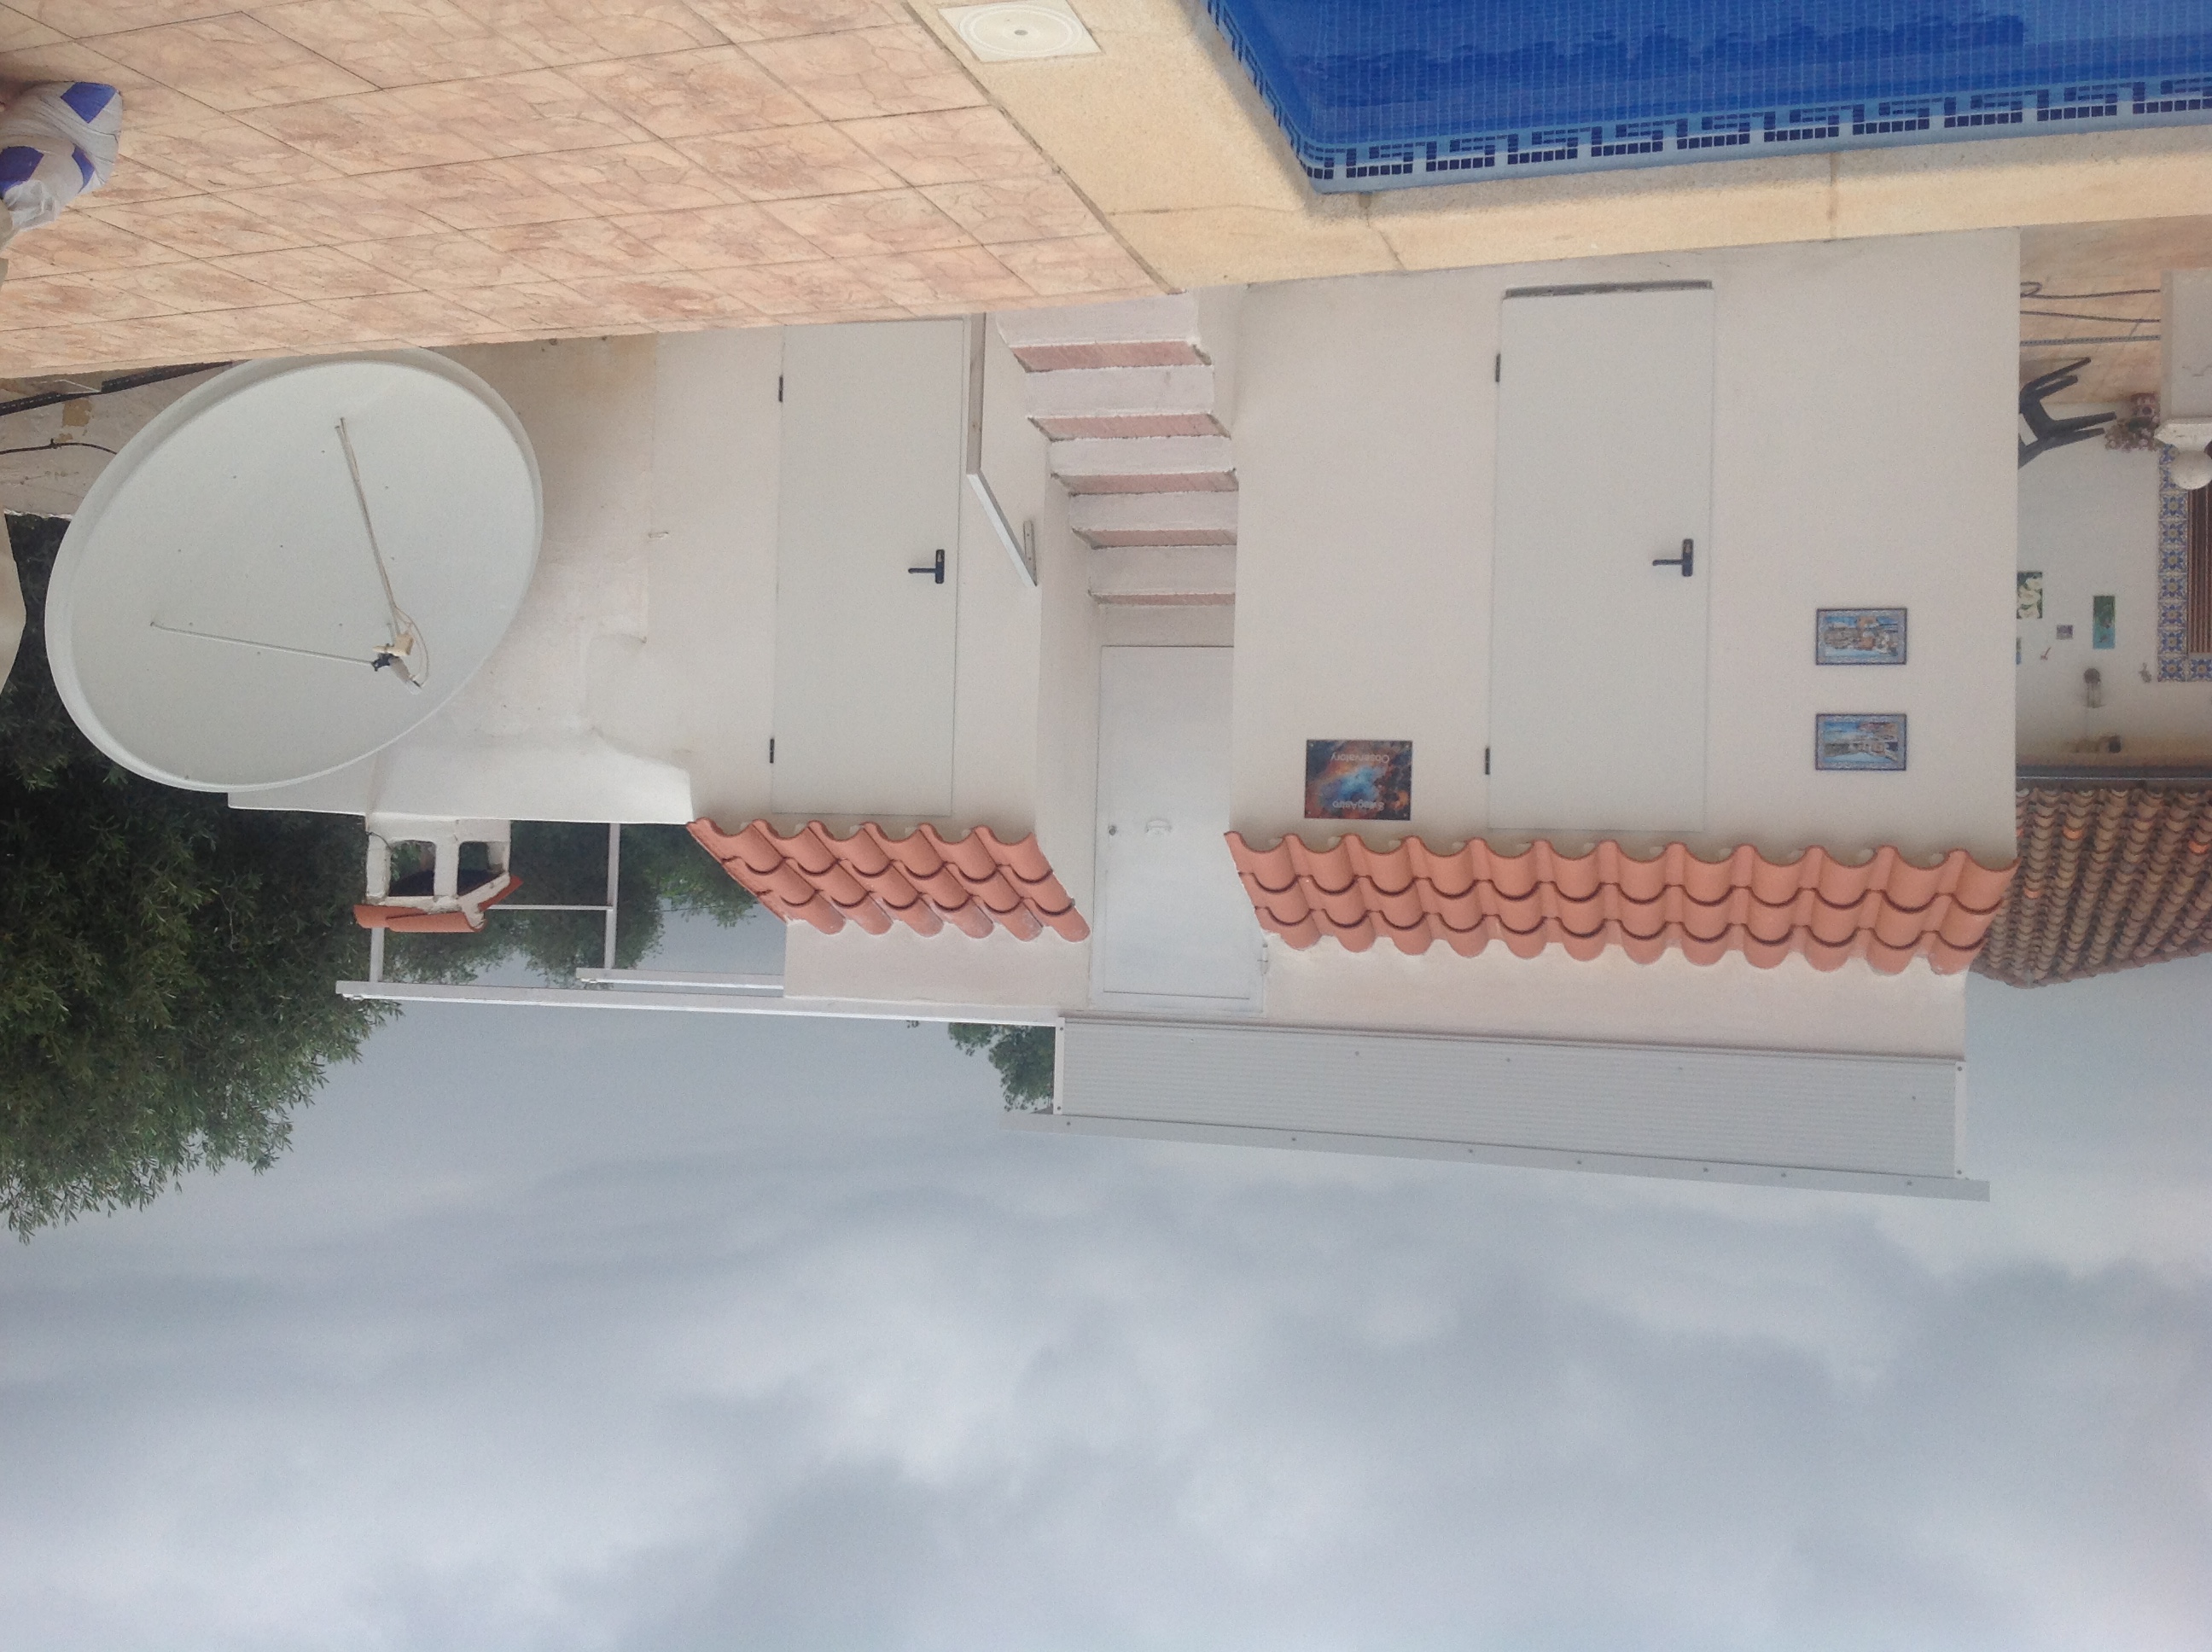
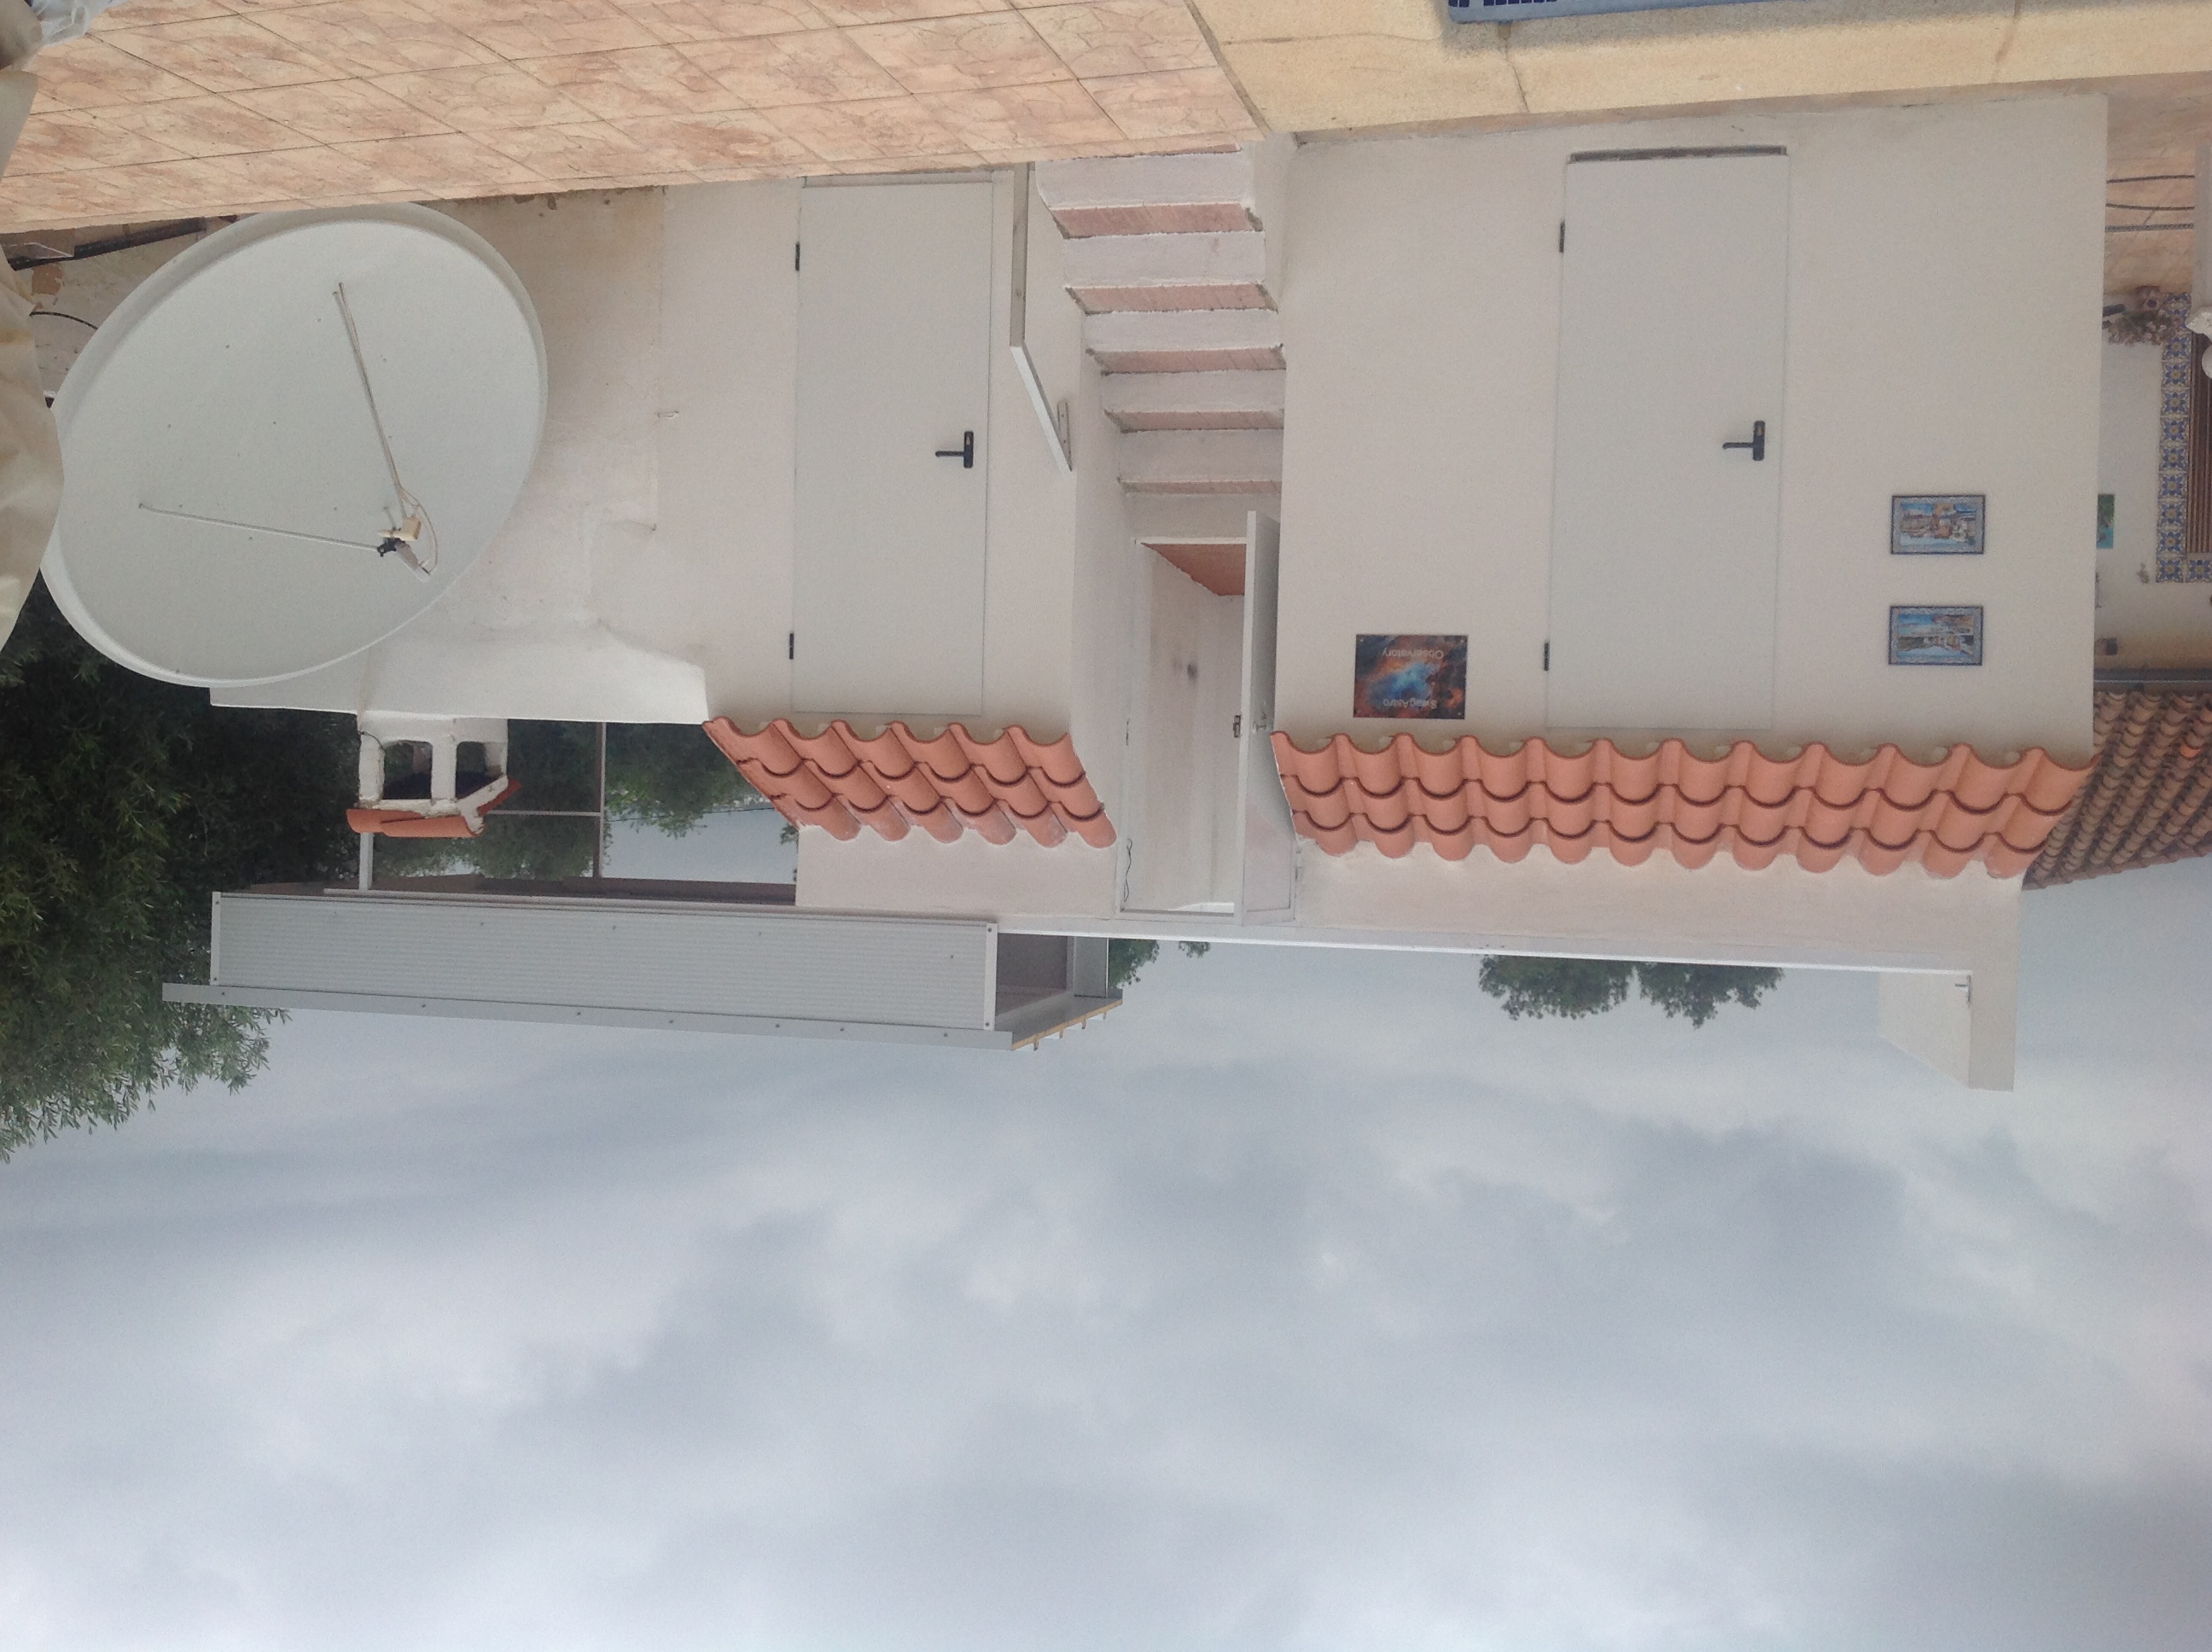
Closed
|
Open
|
|
|
A truly fantastic build...... This roof is excellent. The build quality is absolutely top notch and it works perfectly - I am really excited about using this new build observatory.

Inside - Putting it all back!
|
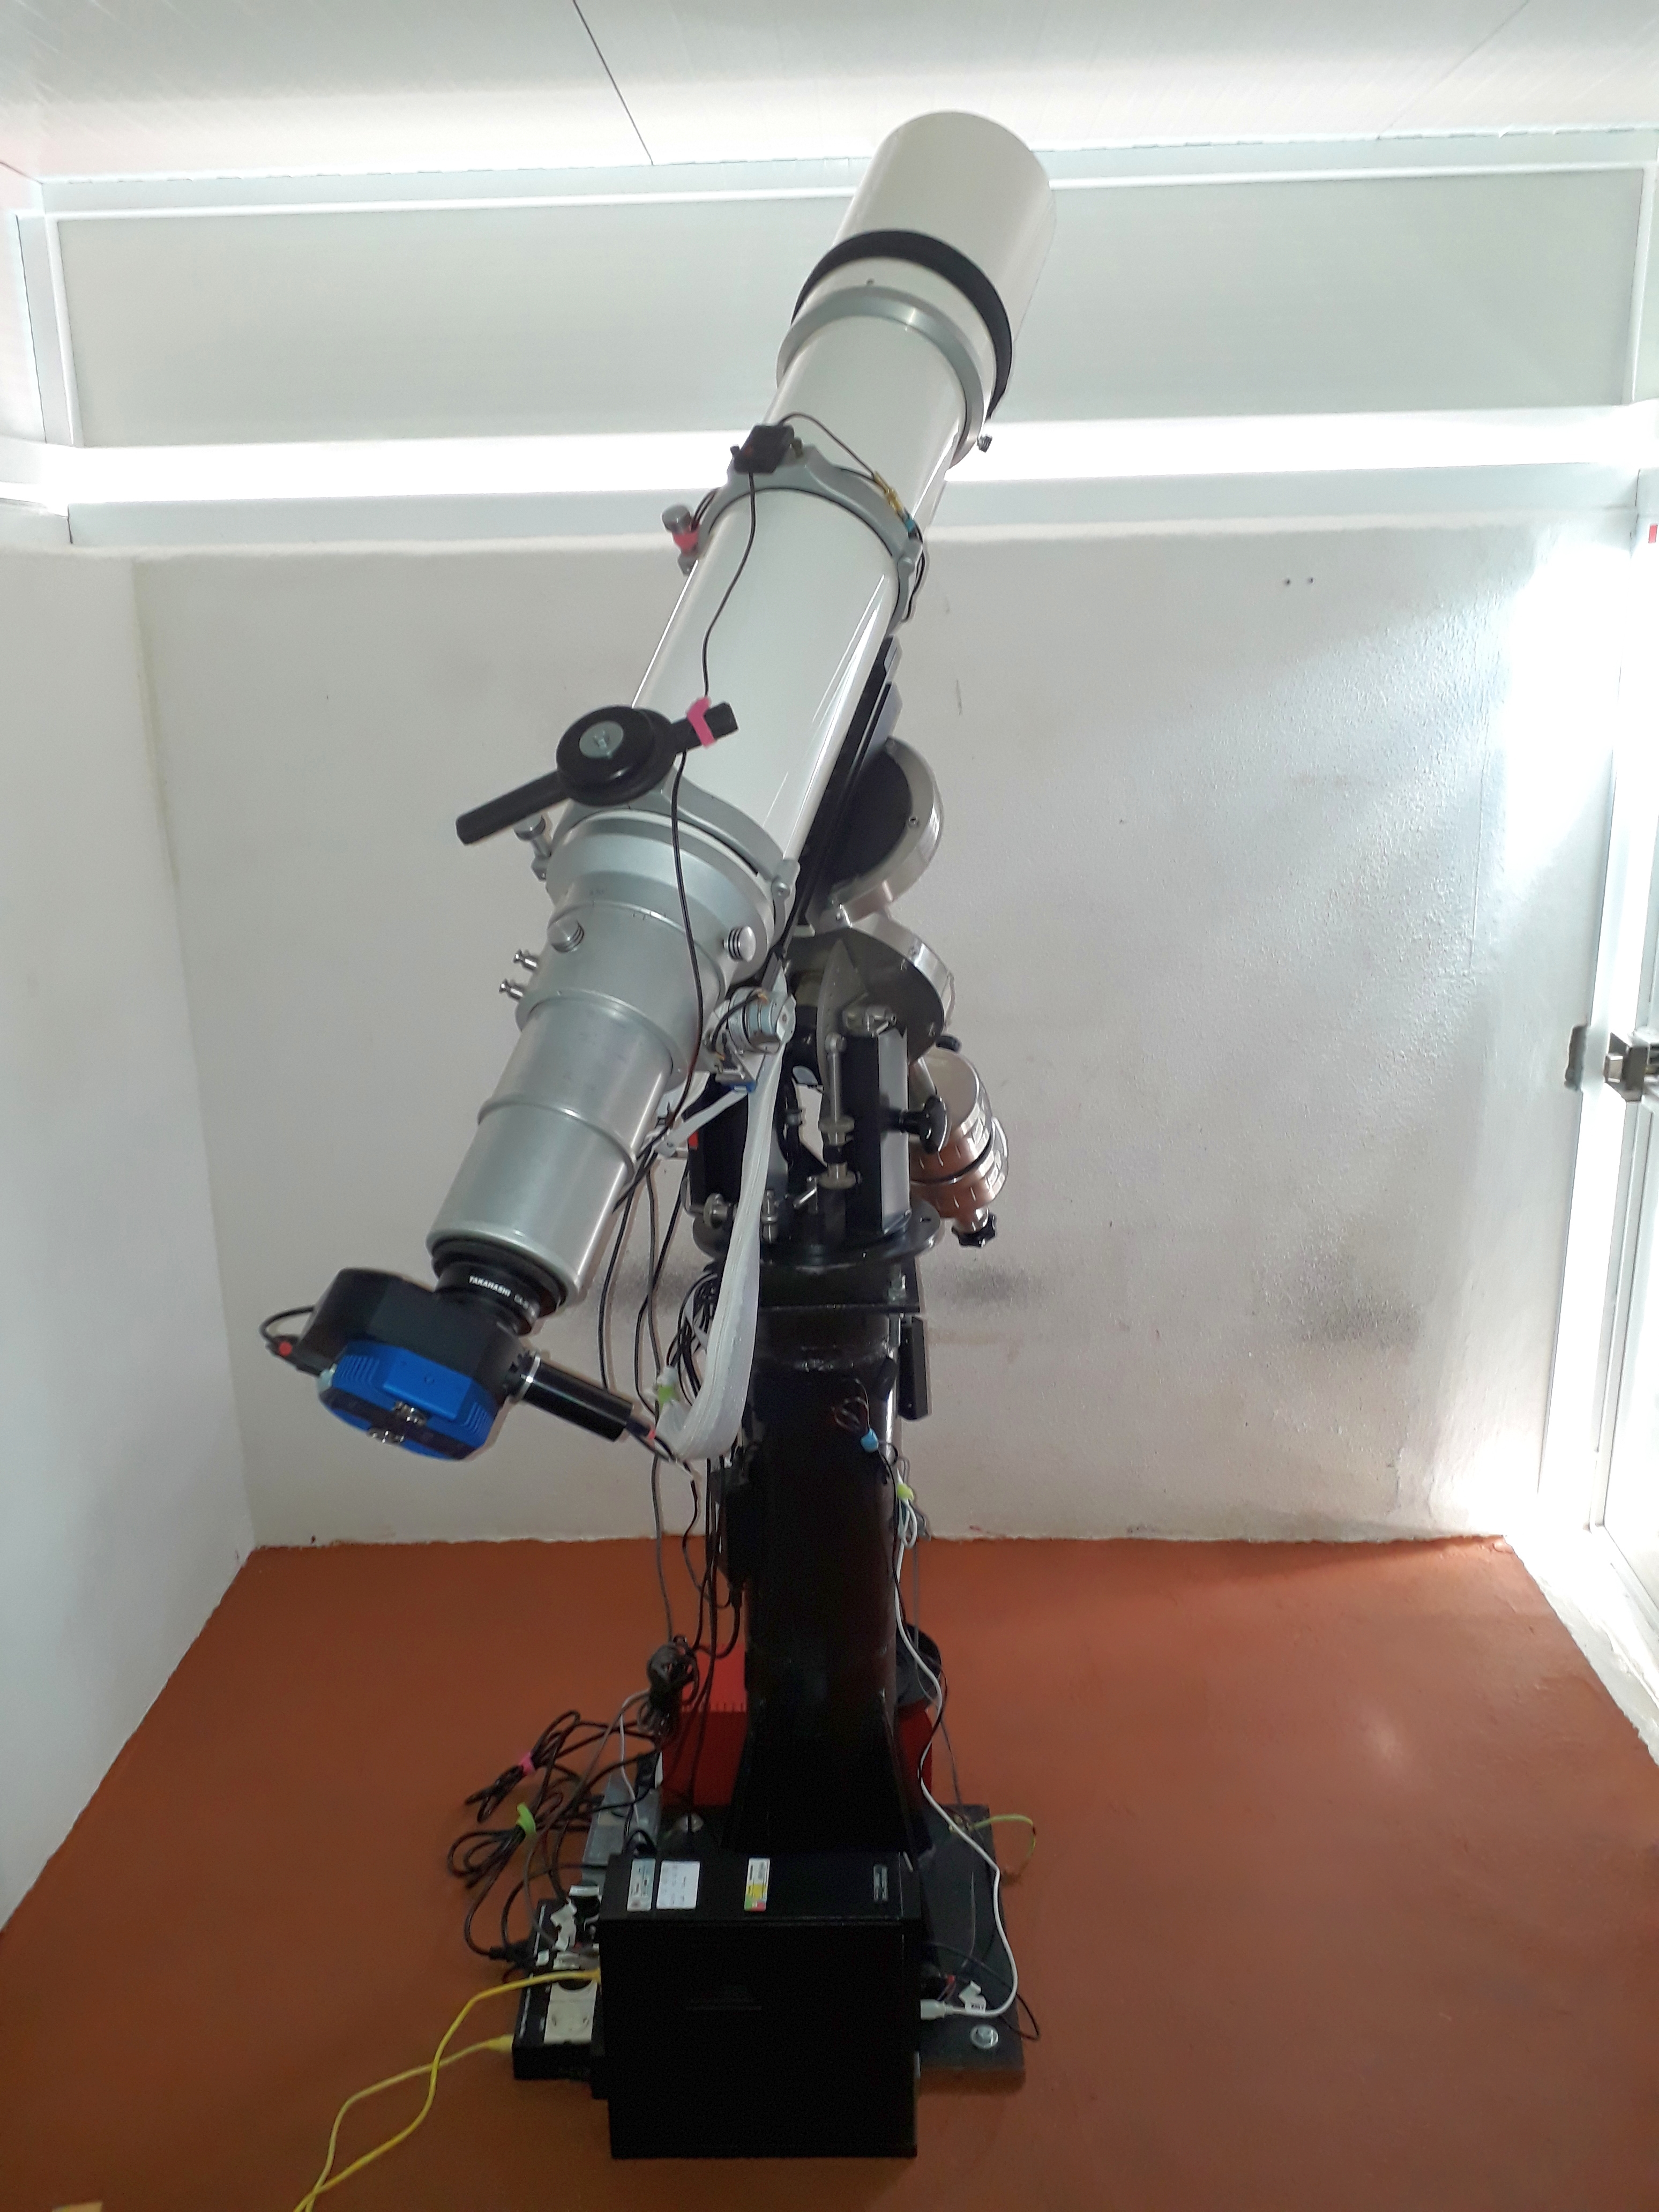
Finally putting it all back together..... The larger rig at the front of the observatory is all in place and connects etc. I just need a clear night to polar align. There's ample space at a roof level and also when we were taking the obs apart we moved the pier back by about 2 inches.... now there's no potential for front wall collisions even with the dew shield fully extended.
|
|
|
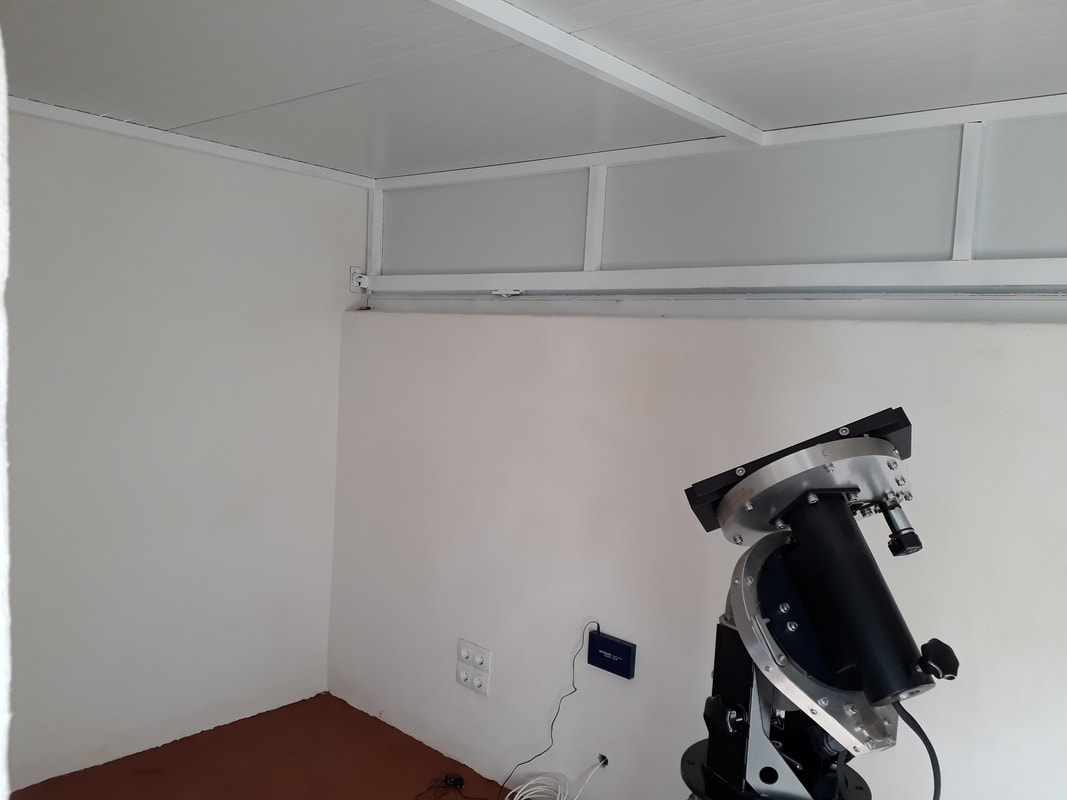
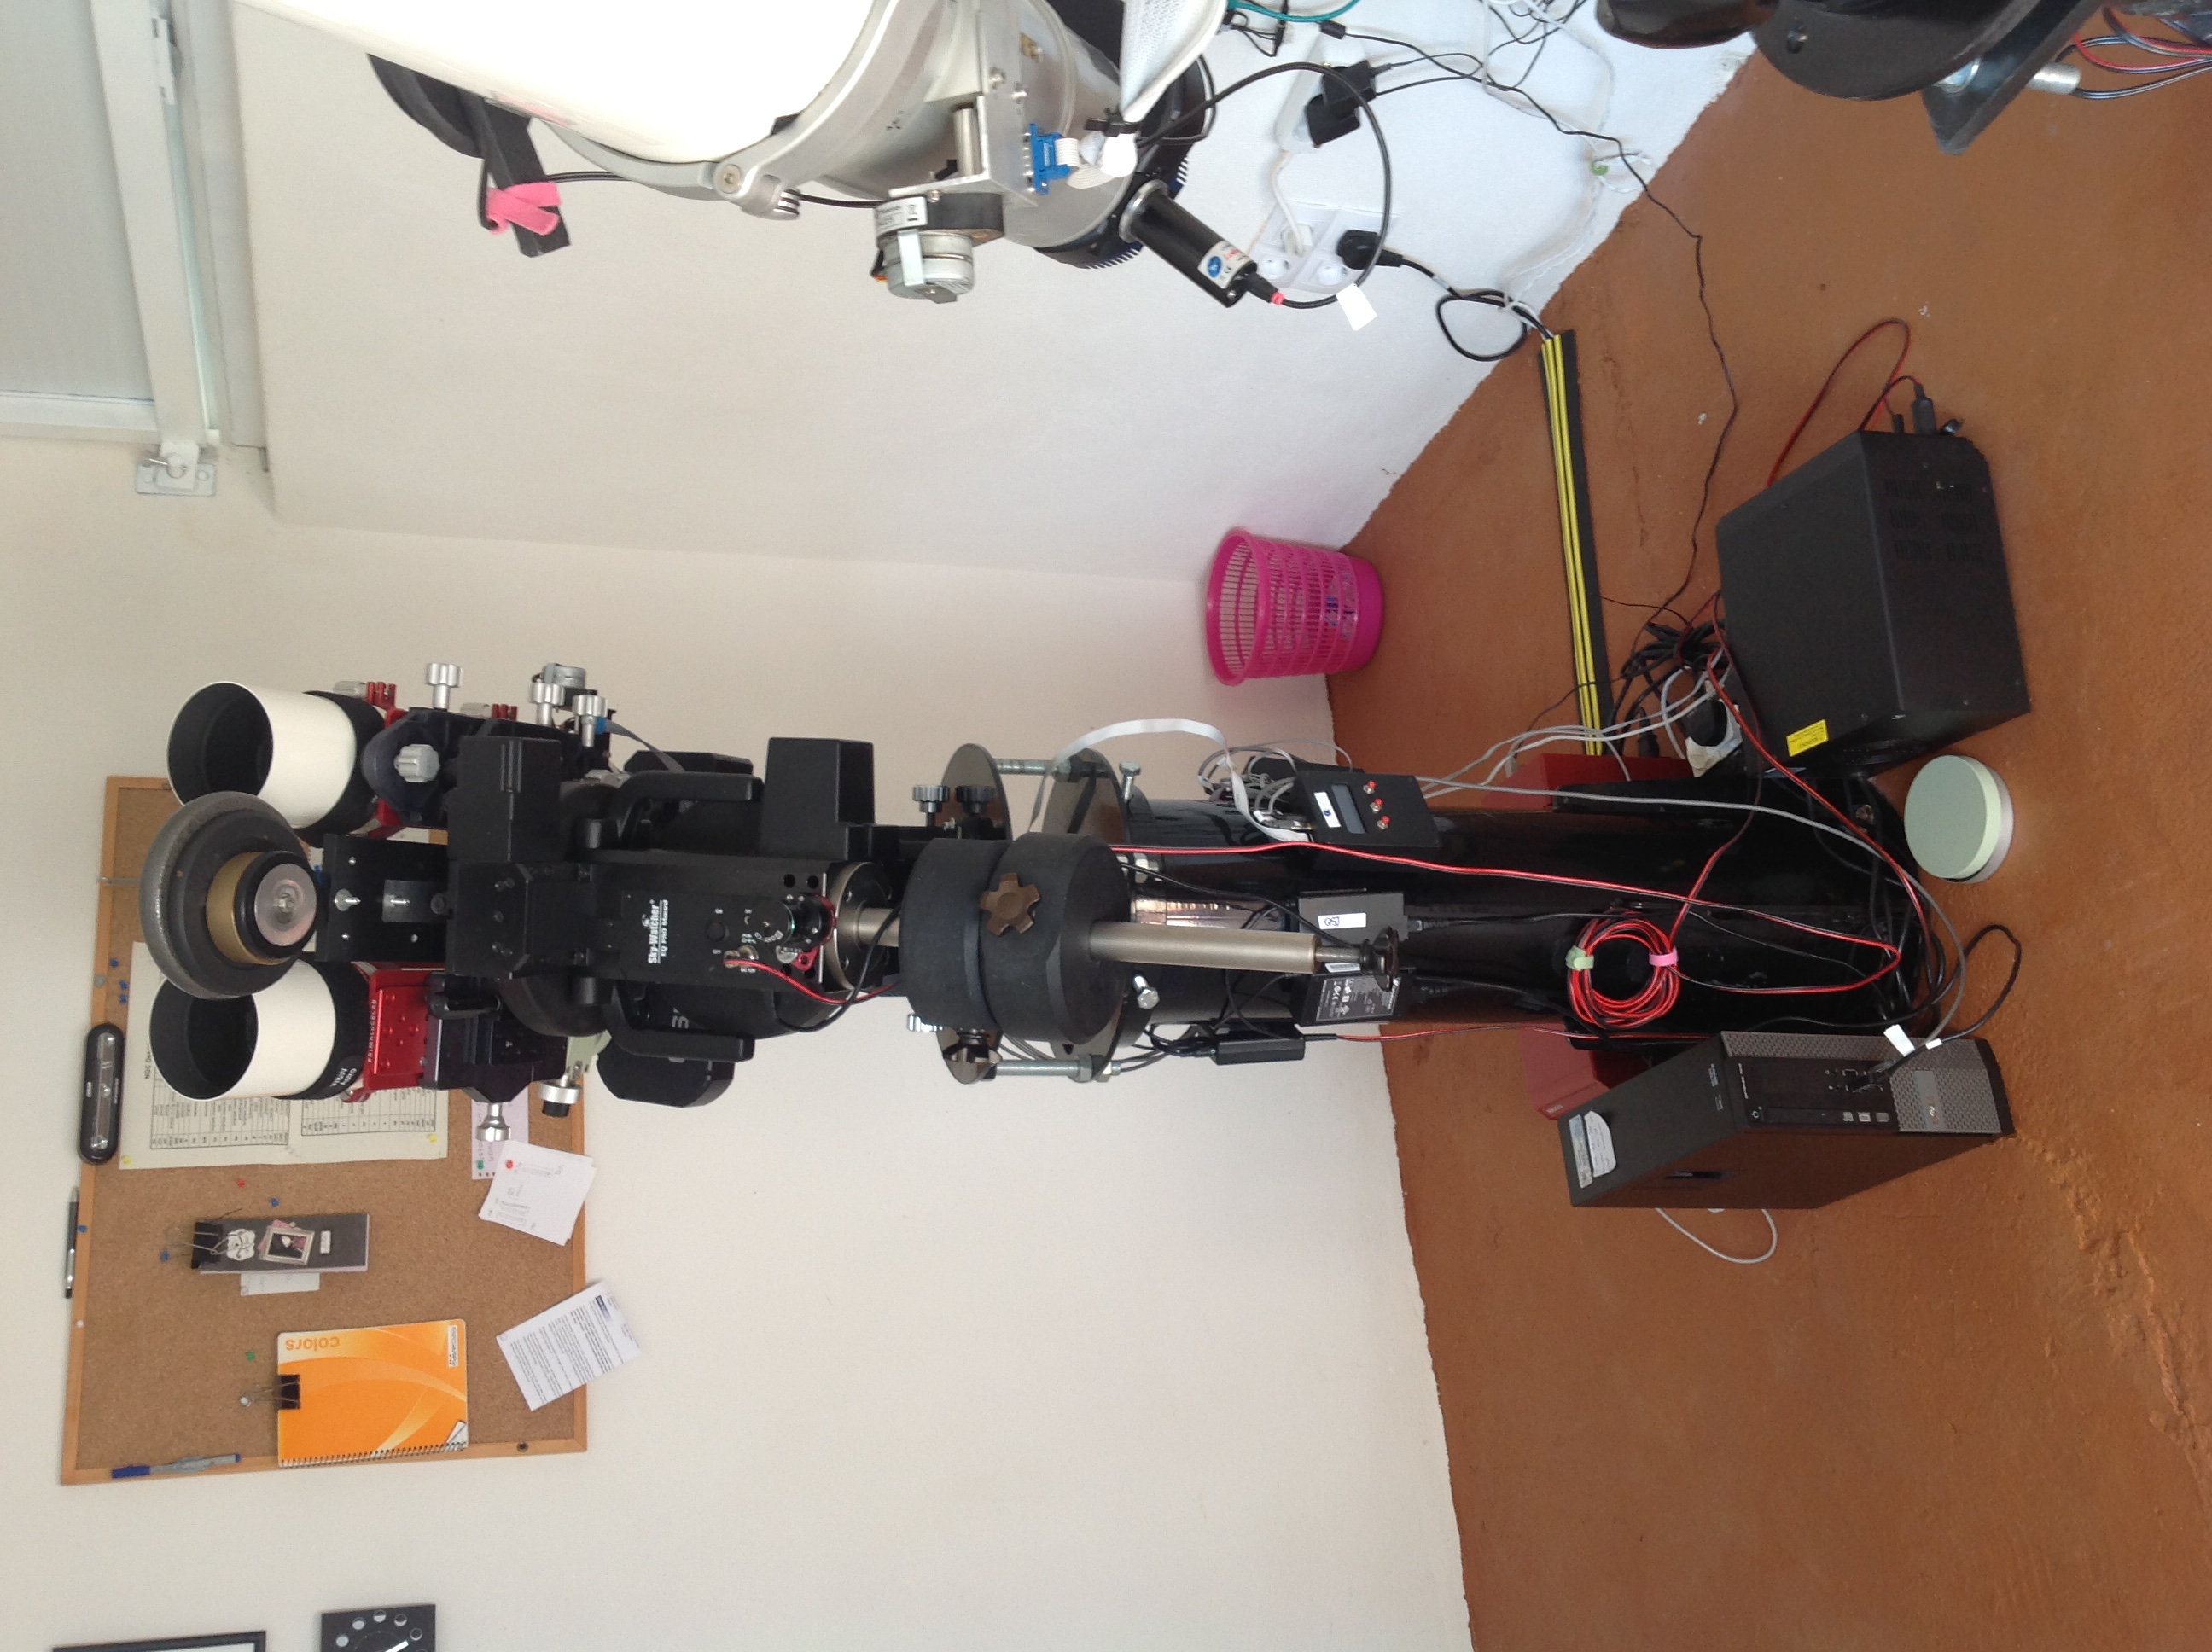
Looking to the opposite end of the observatory is the dual Tak rig. This was initially put in on the lovely Berlebach tripod, but it really took up so much room..... a pier was the natural option. It's amazing the extra room that it feels is there with the compact pier.
This is an Altair Astro pier. All in all, a fantastic build and now that it s finally finished and the kit is all in and not likely to be moved / changed any time soon, it's time to start collecting those images!!! |
|
