As you will see in the following pictures, the views I get are pretty good. Very little obstructions apart from some power cables to the south. I do have some light pollution from the city of Valencia to the South, but this doesn't affect me too much as I generally image eastwards over the Sierra Calderona National Park. I can make out the lightness of the Milky Way and Andromeda faintly. I think that is probably classed as a rural sky on the Bortle Scale


My observatory is located on a flat roof of some outbuildings. Far from ideal, but the only location we had. It is surrounded by concrete and slabbed terraces - I was concerned about many things when this was in the planning stage.
- It was brick built and there was potential for thermal currents to interfere with the stillness of the surrounding air. This could affect focusing.
- The pier base was concrete and rebar laid on an existing roof, ranging from 2-6 inches in depth
- The newly laid floor was a concern that it would transmit vibrations from inside the observatory as well as movement in the surrounding area.

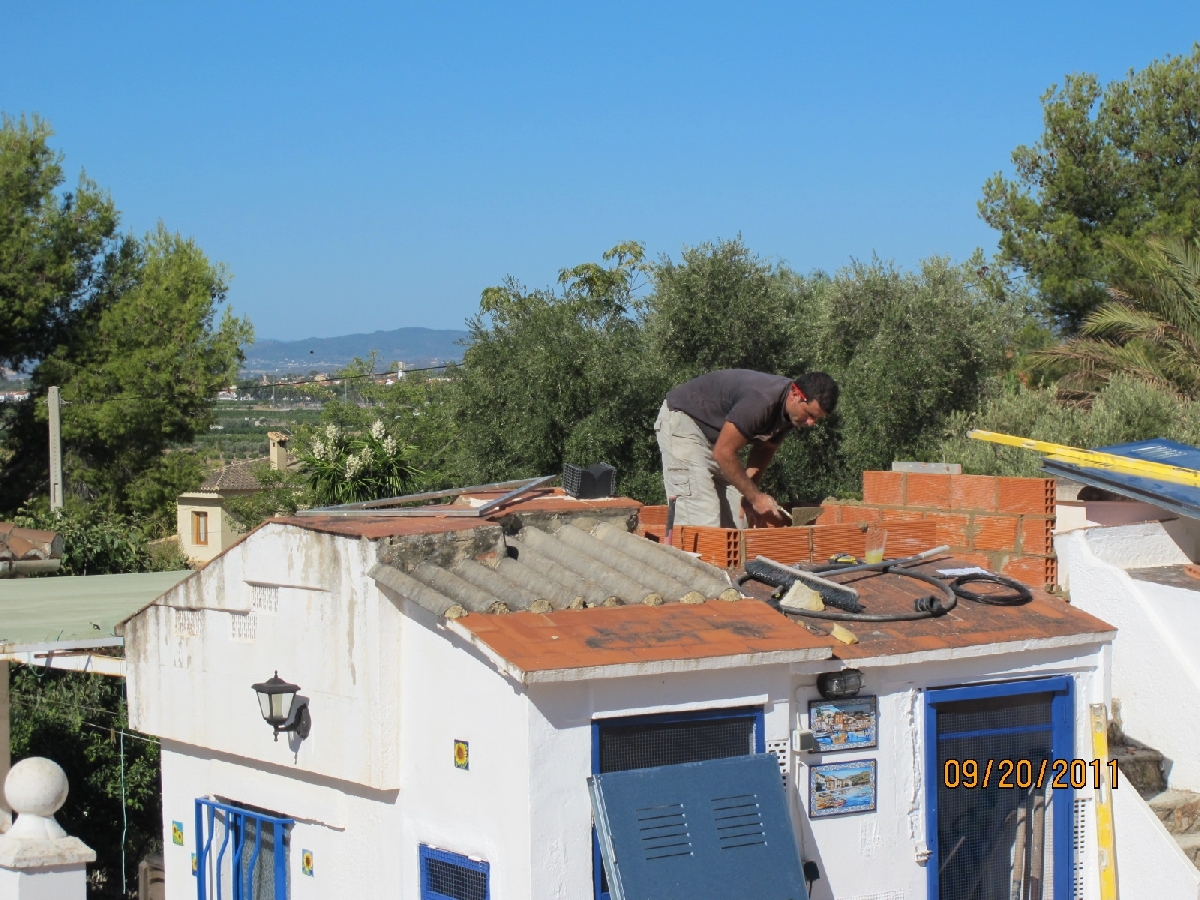
Here are the walls being built. There was no leeway on the size of the observatory and neither the shape.

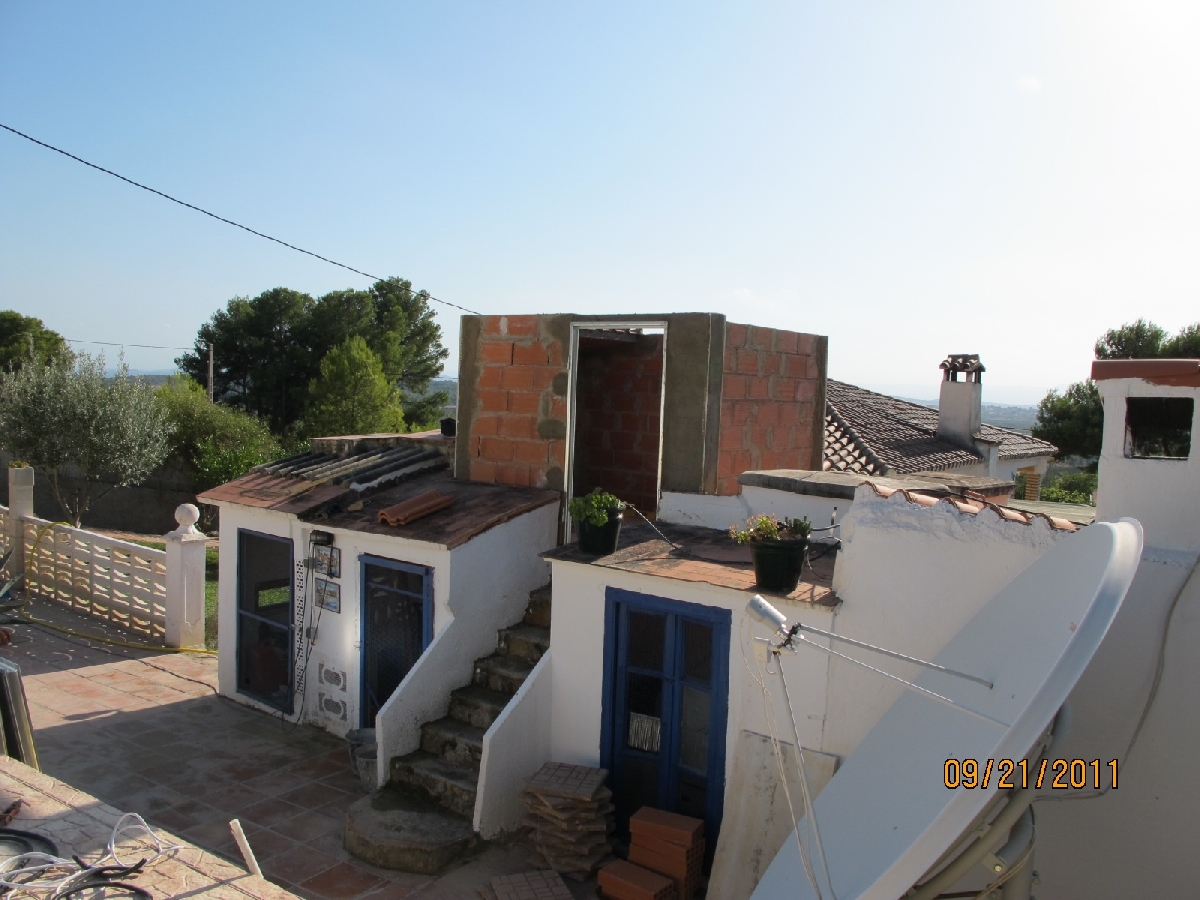
The walls and door frame are built. The metal door is double locked for security and is made from 2 sheets of metal with a foam sandwich to help insulate the observatory.
I was aware that I would be battling with the heat in the summer.
I was aware that I would be battling with the heat in the summer.


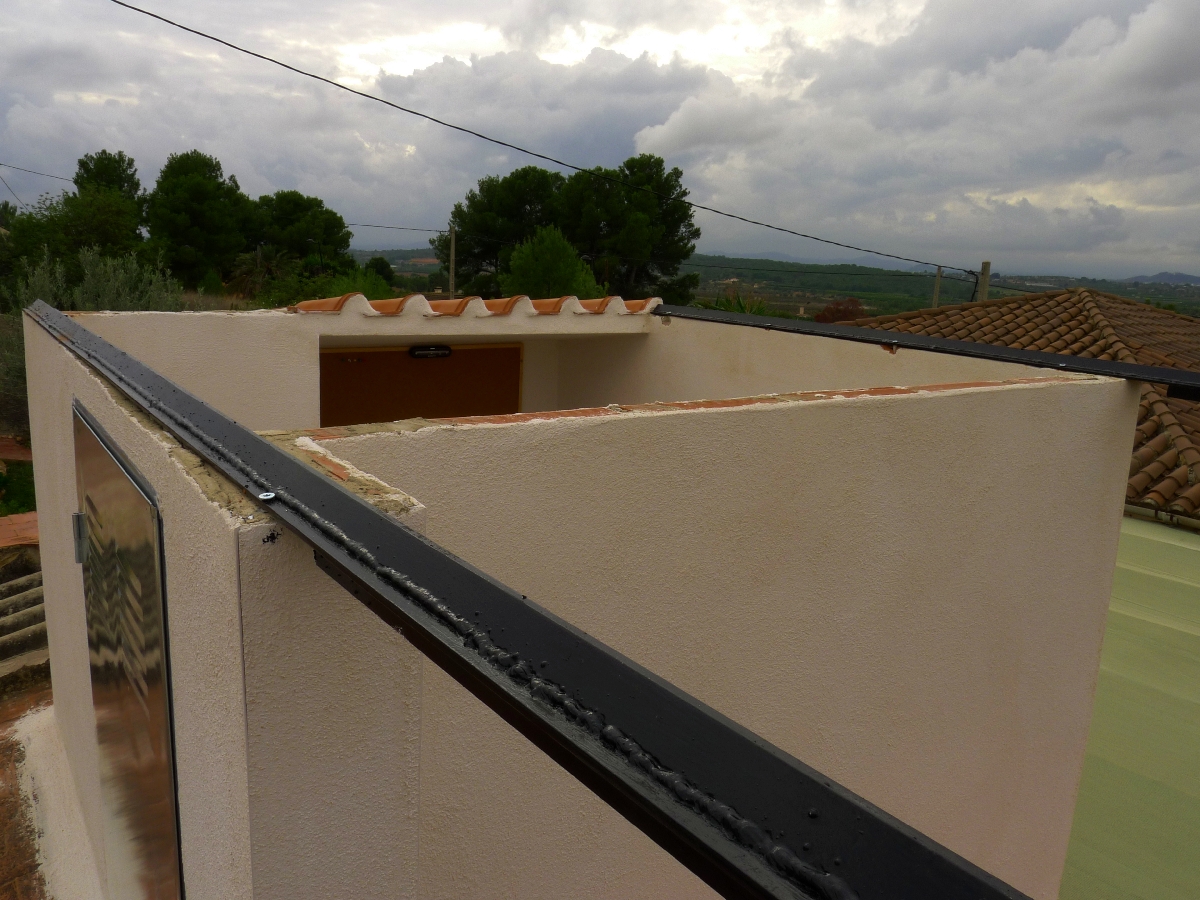
This is the inside of the observatory. Here you can see the small area under a tiled roof. Without this, the roll off roof would not have been square. It turned out to be a good compromise on use of space. The conduit for the electrics was put in at the concrete floor stage.

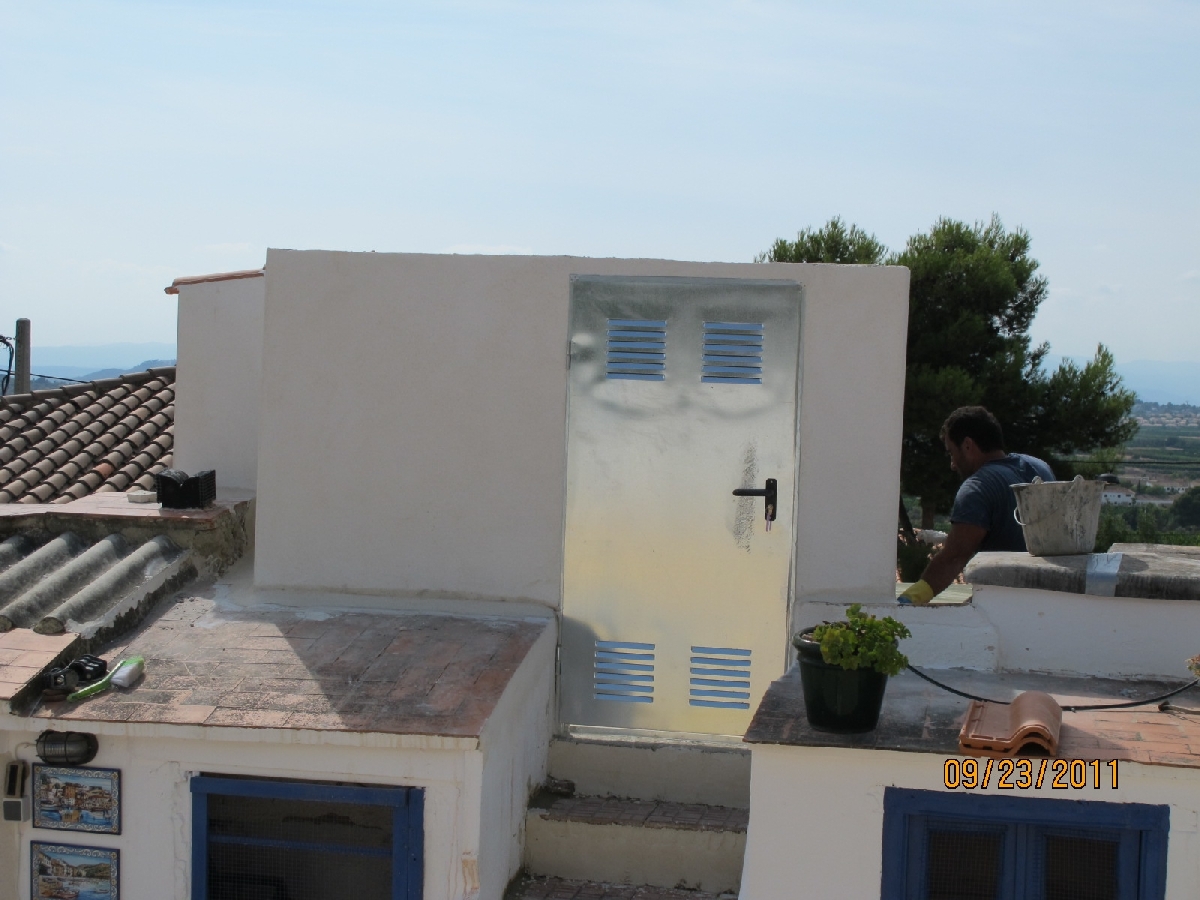
This is the outside of the observatory rendered, the metal door put in and safer steps up to the observatory. They were a little hazardous prior to this change.

The roll off structure was designed by my husband. We use 4 metal castors on painted angle iron to roll the roof to one side. It's a noisy process, although light to move.


The roll off structure is shown and is long enough to roll the roof off fully to one side. A bracing strut was fixed to stop the rails splaying and to stop the roof from traveling too far along the rail.

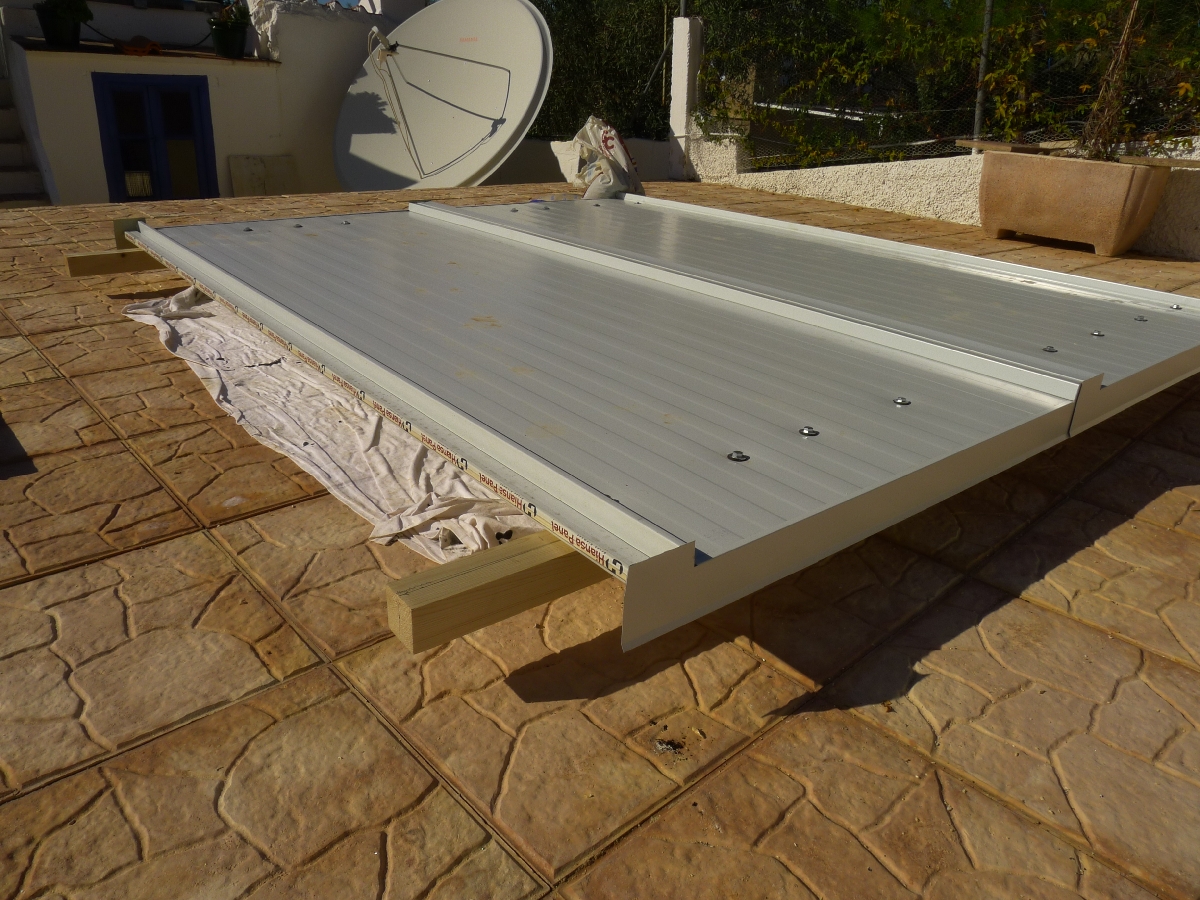
The roof was tricky. We eventually settled on an insulated sandwich design. It came in 2 parts with a middle join and end plates. It was light and insulated to assist in keeping the temperatures reasonable inside the observatory. It was then bolted onto 4x2 with metal castors secured on the underside. Once side of the roof was slightly lower than the other to allow water to run off.

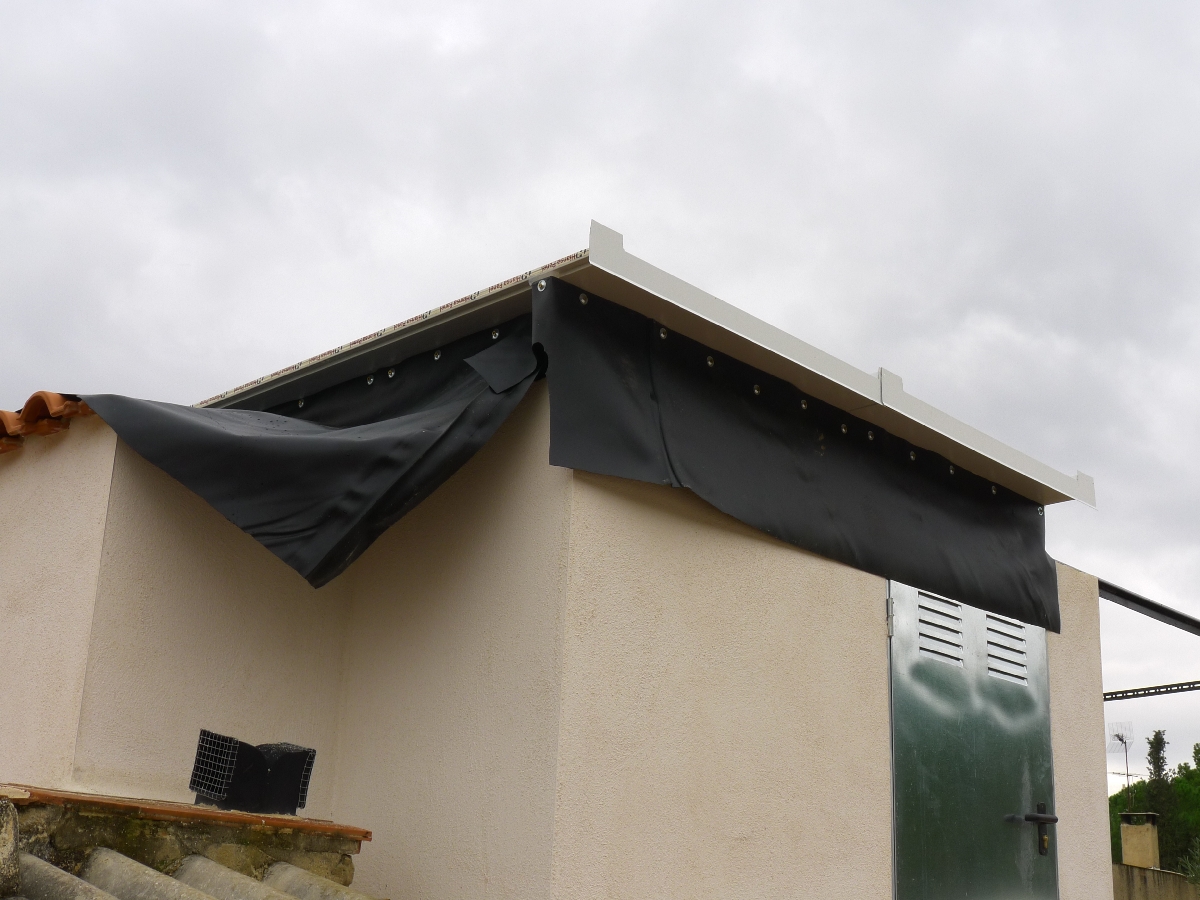
We weren't sure how to deal with the gap between the roof and the walls. Eventually we settled on pond liner cut to size secured to the 4x2 with an adequate hang down. It's durable, waterproof and easy to replace if it needs a repair. The pond liner prevents any rain from entering the gap between the castors and the roof. The observatory has stayed dry despite torrential rain and very high winds.

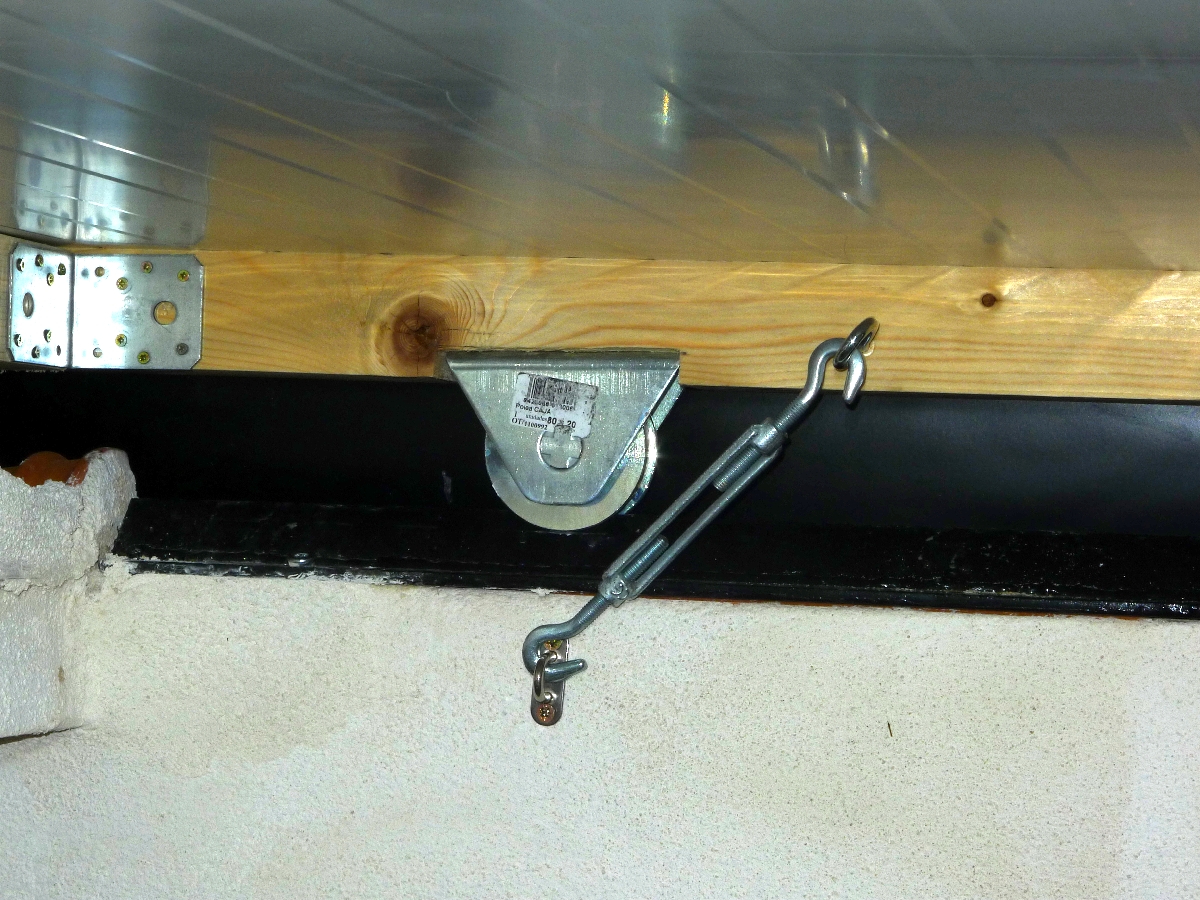
The roof is secured from the inside using a turnbuckle on each corner. There is an additional security method to prevent the turnbuckles being unscrewed from the outside should anyone reach under the 'skirt'

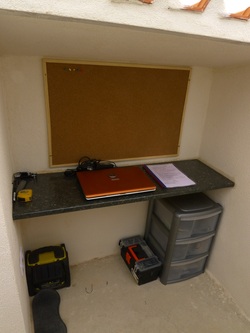
This is the area underneath the small tiled roof area. It gets me out of the way of the pier ..... just .... and gives me a useful space. Of course it's a little more cluttered now, but you get the idea.
The floor has now been covered with soft gym jigsaw matting to minimise vibrations and damage to dropped equipment.
The floor has now been covered with soft gym jigsaw matting to minimise vibrations and damage to dropped equipment.


Heavy duty metal pier with a large base plate to distribute the weight. This was designed by my husband and made by local metal fabricators.
The pier top adapter has been modified in order to use the Avalon mount.
The pier top adapter has been modified in order to use the Avalon mount.


Here is the observatory open to the sky.
