Latest Dual rig adventures.......
I have already covered the setting up of my dual rig and the issues and pitfalls I came across within my website.... you can read about here here. From this link you can read all about why the dual rig works, why I decided to run one and many other useful bits of information that then later the basis for an Astronomy Now magazine article.
What has changed since the original page?
When I wrote about the dual imaging rig before it was only talking about the scopes / camera combinations on top of the Dovetail bar....... what it didn't consider was the base of the rig. That was because at that time it was placed on my existing Mesu 200 mount.
Since then I have got a long focal length refractor that is too cumbersome to put on and take off the mount and so I've decided to run with 2 separate rigs. Yes...... I will be running one complete rig with the TMB / QSI690 combination and then another dual rig! I must be mad!!
Since then I have got a long focal length refractor that is too cumbersome to put on and take off the mount and so I've decided to run with 2 separate rigs. Yes...... I will be running one complete rig with the TMB / QSI690 combination and then another dual rig! I must be mad!!
Deciding on the tripod............
I made the decision that eventually I will be getting an observatory extension built so that I can have both rigs in the observatory. But until then I need the rig to be movable and it will be placed on my terrace. As it was going on the terrace initially there was no possibility of a pier and so I did some extensive homework about what to actually put the mount on.
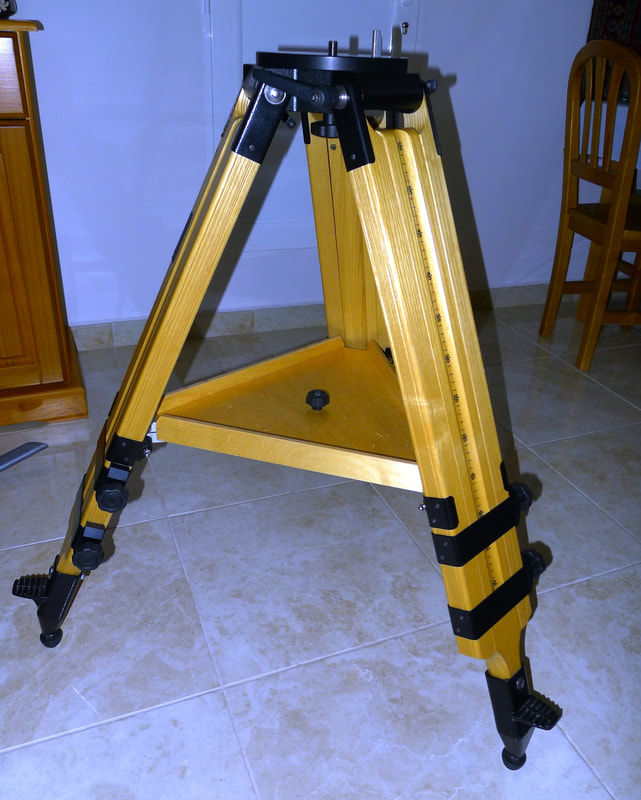
In the end I settled on a Berlebach Planet wooden tripod. These are rated for 160 kg's of capacity and so I knew that I'd not use all of that. I had to buy the pier top separately for the mount I was going to use...... I bought this from First Light Optics who ordered it in especially from Germany.
I have decided that the rig will continue to use this tripod even when I get the observatory extended... it really is a great product - Very sturdy, well made and beautiful as well.
How to decide what mount ...........
My other mount is a Mesu 200 and I have been pleased with how it has coped with the scopes that I have put on it. It links in with SGP (my capture software) well. But I decided that I didn't want another Mesu....... There are some things that I don't really like overall (despite it working VERY well) and so I wanted to look elsewhere.
Firstly I'd got the dual rig more or less set up on the dovetail bar and it weighed in excess of 20 kgs. For me that then ruled out any of the Skywatcher EQ6 type mounts and also sadly the Avalon Linear Reverse, which had an imaging capacity of 25kgs. I was into premium mount territory.
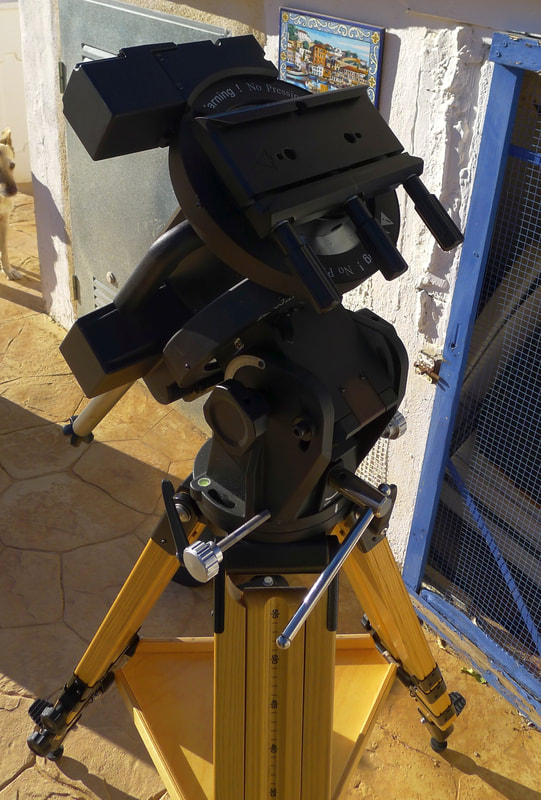
In the end I decided on a second hand EQ8... I knew it's history and that it had been well looked after. I also knew that it had no issues related to backlash and rust, things that had been spoken about since the EQ8 came to the market. The EQ8 had a capacity of 50kgs so it suited me in that regard. I'd have to use EQMOD withi t, but I'd used that extensively with the HEQ5 and the Avalon Linear I'd used, so that wasn't an issue.
Finally it was really two things that made be take a chance on the EQ8...... firstly the price. For the weight capacity it was offering, it was a good price for a mount and also, as I was using it for my Taks, with an imaging scale of 3.37" per pixel, it didn't matter if the guiding wasn't as accurate as the Mesu as I'd not notice it and it wouldn't affect my images.
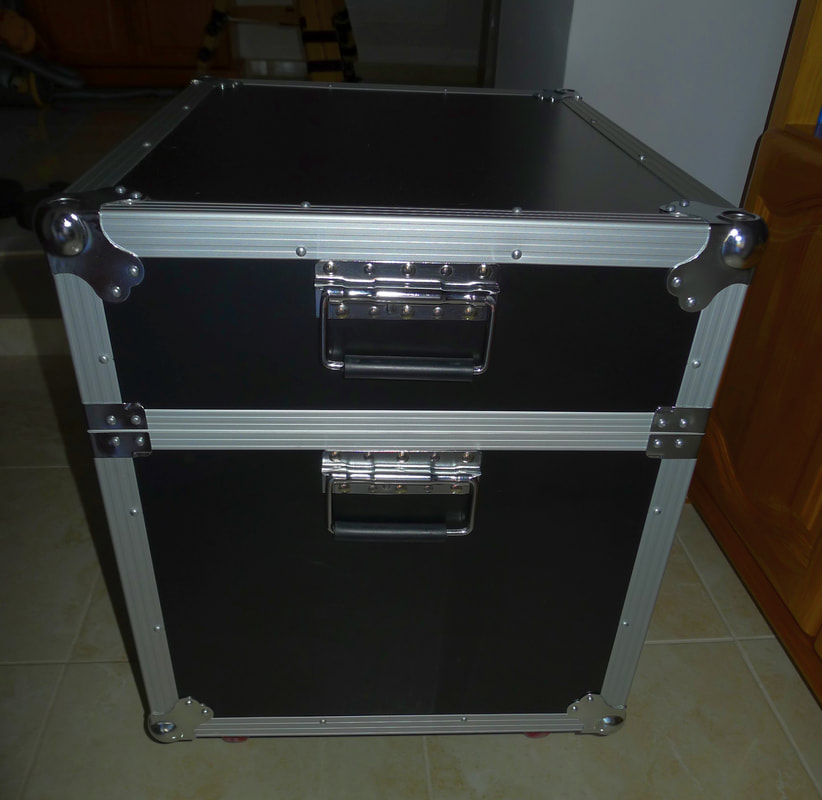
Then there's the box...... How can I get excited about a box with wheels on it? Well the Mesu didn't come with a box, so to me it's just another little well thought out addition.
Th saddle is a Losmandy and the EQ8 comes with encoders so that it knows where it is pointing. This was a concern of mine as I was going to have to move the saddle round by 90 degrees to mount the dual bar, but I need not have worried.... more about that in a bit!
The mount came with the Synscan handset (which I've not used at all) and 3x 10kg weights. The polar alignment adjustment bars and knobs are solid and gave me real confidence for later. I used a Lynx EQMOD cable which installed the drivers straight away onto my W10 computer and also connected to EQMOD straight away. This was a relief as I knew that some cables for working EQMOD can have problematic drivers and connections.
Adding the scopes and camera's
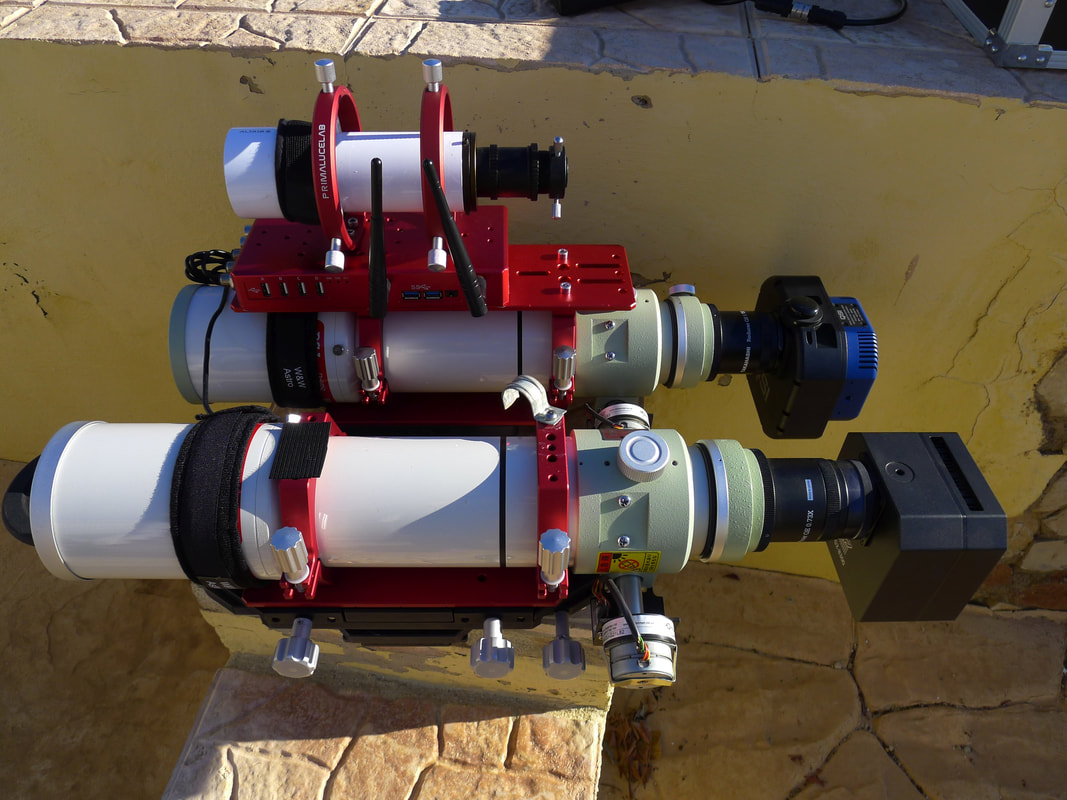
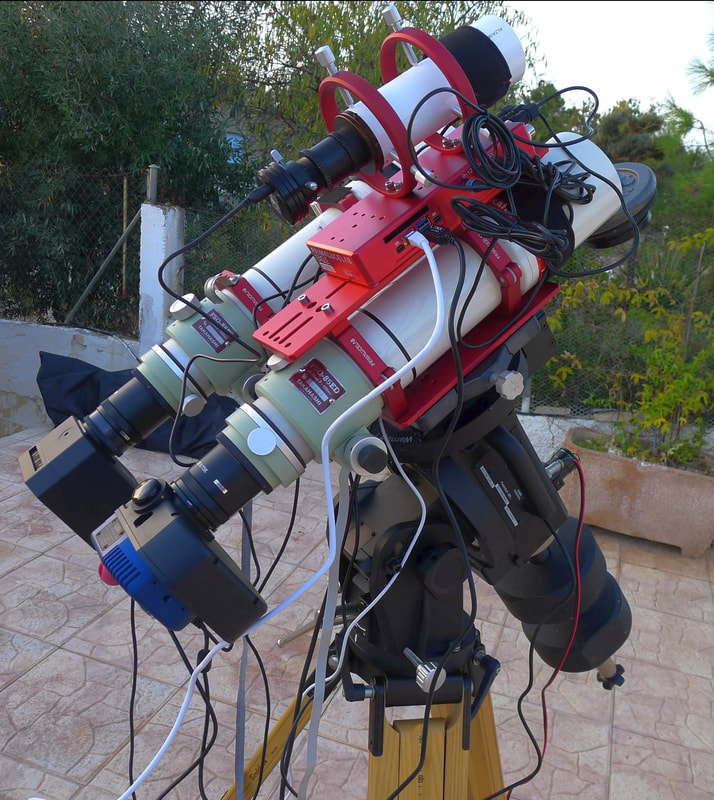
This is everything that is going onto the mount - Less the cables. Everything is as follows:
Scopes: 2x Takahashi FSQ85 with dew straps and Lakeside auto focusers.
Camera: QSI 683 with integrated filter wheel and a full set of LRGB and HA, OIII and SII filters (Astrodon 3nm)
Moravian G2-8300 with an internal filter wheel with a luminance, Ha and OIII filter.
Guiding: An Altair Astro 10x60 finder guider and an Atik GP camera is to be used for guiding.
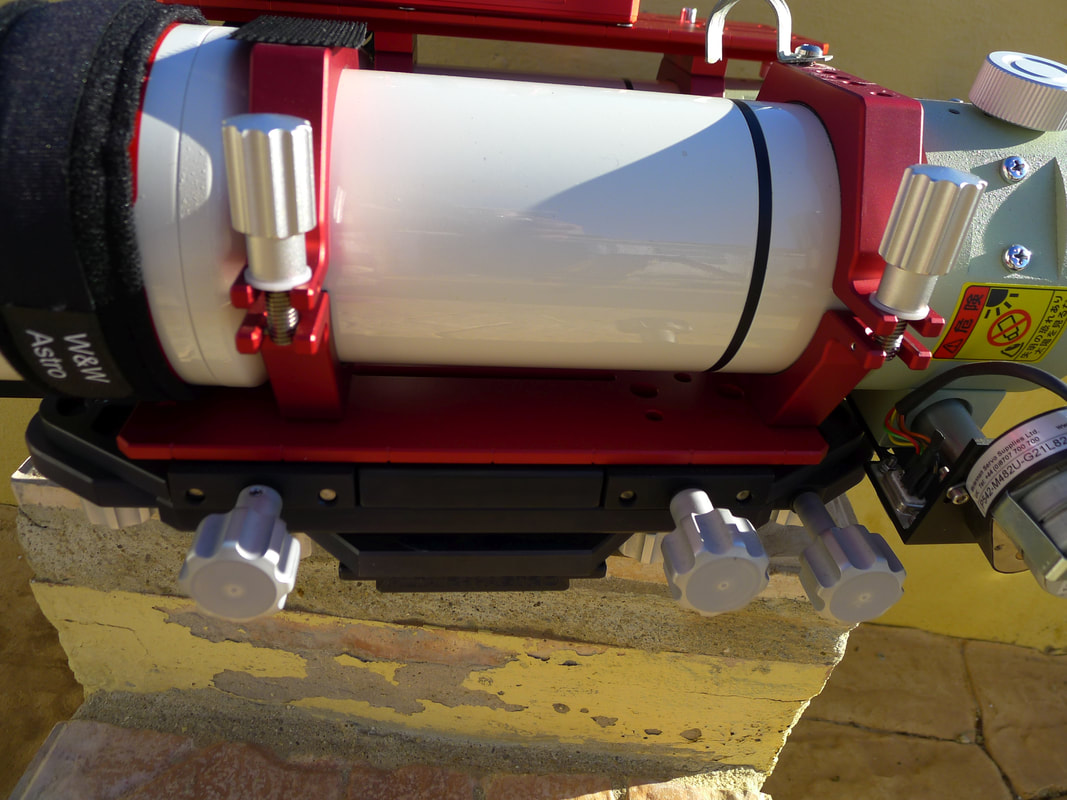
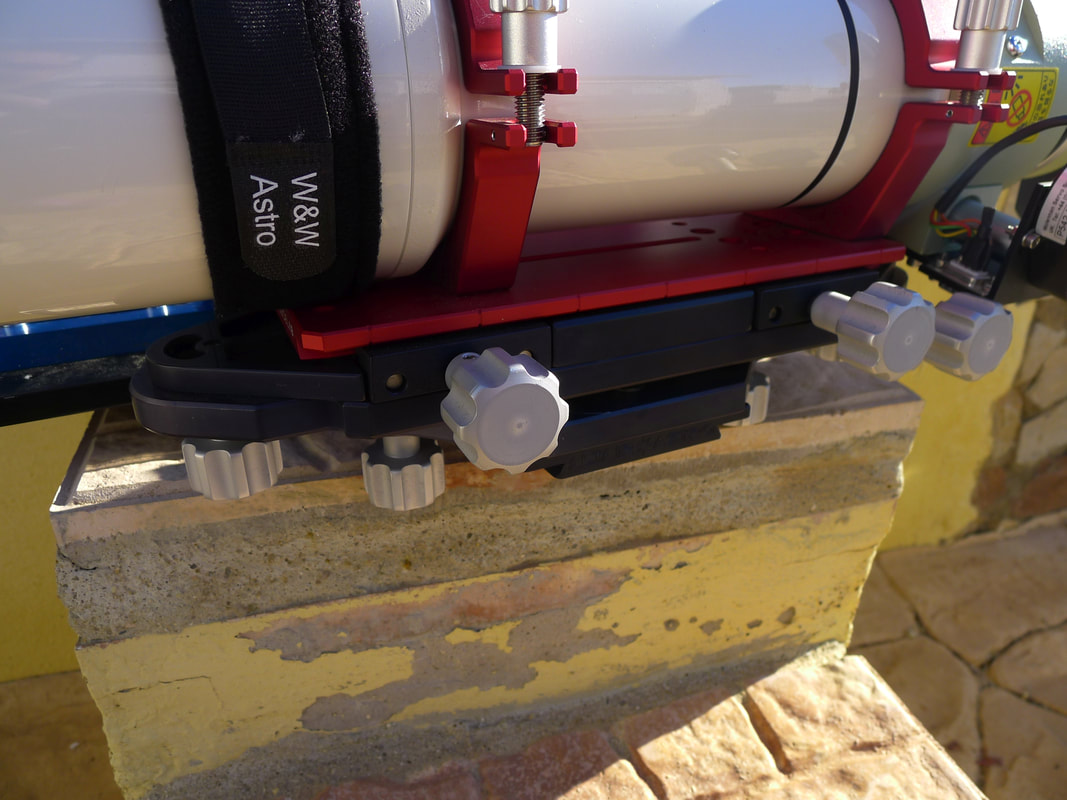
Mounting and rings: All from PrimaLuceLab, there are dovetails on the bottom of each scope, scope rings and on the one scope there's an additional dovetail with the Eagle2 PC and the guider rings on top. Under the nearest scope in the picture is the JTD adjustment saddle from First Light Optics. This is a brilliant piece of kit that is required in order to accurately align the two scopes so that they are able to point in the exact same place.
Computer: The Eagle2 from PrimaLuceLabs is the the small PC that will be running the complete rig. It has power outputs so that the two camera's and two focusers are powered directly from the PC. It also has three dew controller points and 8 USB ports, some of which are able to be switched on and off.
Weight wise this is between 20-25 kgs, so that forced the choice of mounts into the premium kind of territory.
All connected and ready to start ......
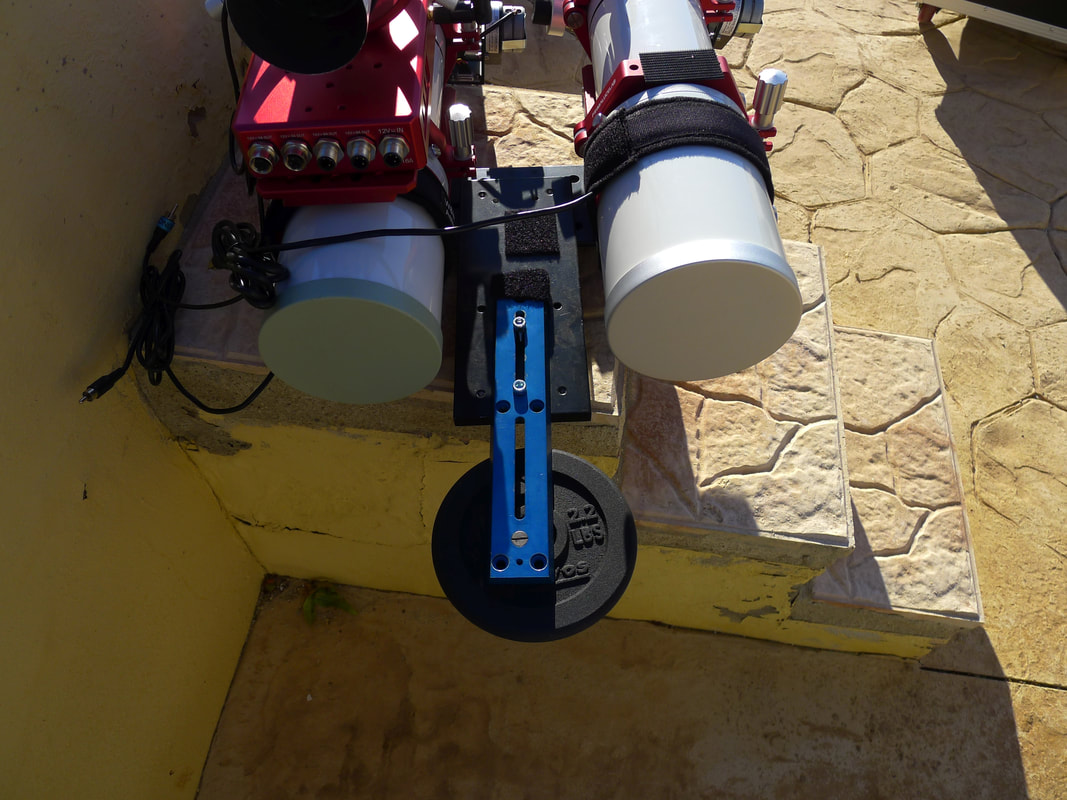
The cables here have not yet been tidied! You can see at the front of the scopes some weights.... these were needed in order to balance the scopes as they were very back heavy.
Things to do .......
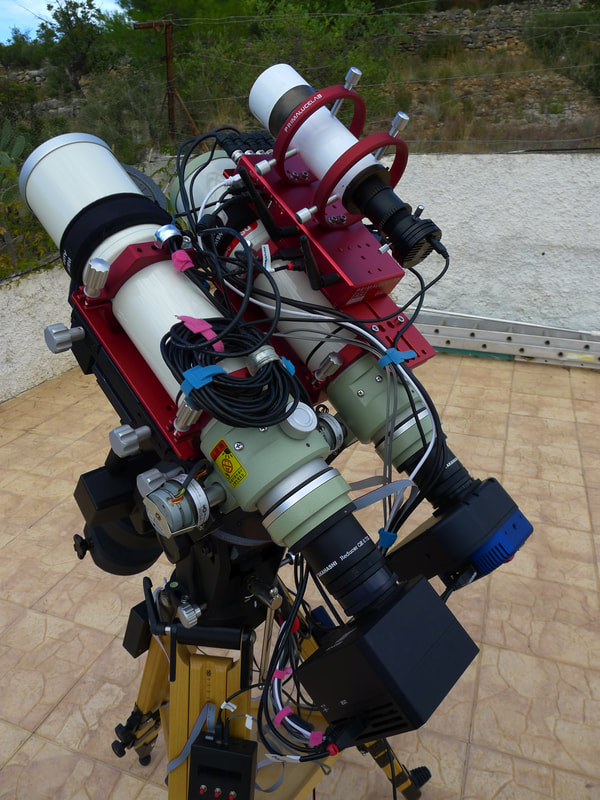
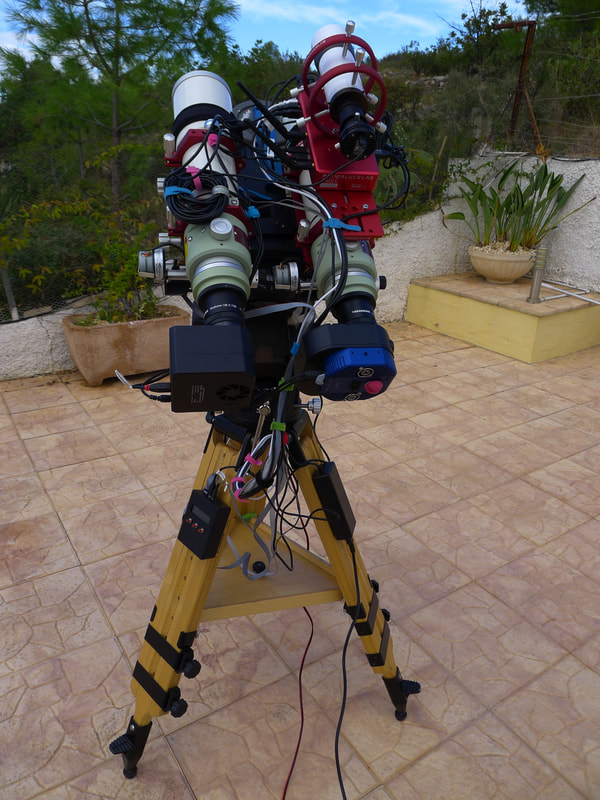
Cables : Of course tidy those cables!!! Once they were tidies it was just a simple case of slewing the scope around to make sure that they would not snag anywhere or that they were long enough. I use velcro scraps to loop around them all. In that way they are tidy as well as not being too difficult to remove or change cables if needed.
You can see that there are some long cables which I will probably change at some time, that I have just looped and tidied and fixed to the scope rings.
You can see that there are some long cables which I will probably change at some time, that I have just looped and tidied and fixed to the scope rings.
Balance : Now that the cables are all sorted, balance is required. There is no point tryng to get accurate balance until the cables are all added and routed as its surprising how they can actually change the overall balance.
Firstly it's necessary to check the general RA balance and adjust the counterweights. Then put the counterweight shaft parallel to the ground and lock the RA clutch. Then with the DEC clutch loose and the scopes pointing vertically upwards it's possible to move the scopes around and balance them side by side - Perhaps the dovetail bar needs to be moved along the mount saddle slightly. Then move the scopes horizontally and you can balance the front and back balance, moving the scopes along their rings, or the dovetail bar... this was why I needed weights at the front of the scopes as I had no more adjustment left! Finally you can lock the DEC clutch and then accurately adjust the counterweights on the counterweight shaft to get the RA balanced.
Polar alignment : Although you can't see it in these pictures I have a Polemaster attached to the scope so that I can easily get a decent polar alignment. It has screwed into the holes that are on the mount for the polar scope bracket. The PA adjustment for the Altitude and the Azimuth was easy and the whole process was easy and superb...... 100x better than the Mesu. The adjustments were smooth and precise. It was so easy to do.
Alignment : As I am using this rig to take images of the same part of the sky then I need to make sure that the scopes are aligned. This is where the JTD alignment saddle comes into it's own.
Using this saddle it is possible to align the two scopes perfectly. The steps needed to take are....
1) Put a bright star in the centre of your field on the scope that cannot be adjusted. Using your keypad (or handset) move the scope so that the bright star runs horizontally along the middle of the field of view. Rotate the camera to get this horizontal. I use the cross hairs in the SGP frame and focus screen to get this right. Once the bright star is running along the line, then put the bright star back into the middle of the frame.
2) Open the frame and focus screen for the scope that needs to be adjusted. Firstly you need to ensure that your camera is aligned the same as the other..... so you need to run the star horizontally across the screen and rotate the camera until it is running horizontally. Now you know that the two camera's are aligned.
3) Go back to the screen of the scope that cannot be moved and put the bright star back in the middle of the screen, Now you know that both camera's are aligned and now it is necessary to align the scope.
4) Open the adjustable scope screen and using the adjustments on the saddle put the bright star into the centre of the screen.
You will now have both scopes aligned and so each one will be pointing at the same target and you can collect the same data with each one that can be combined.
The Eagle 2 computer
The Eagle2 PC from PrimaLuceLab is the second generation of their Eagle control PC. The whole theory underpinning the computer is that it makes astro imaging as easy as possible. It sits on top of the imagig equipment and so should make cables easier to control. To help this the Eagle2 has
4 x power outputs
3 x Dew strap connectors
8 x USB
The 4 power cables, dew heater controllers and 4 of the USB ports can be independently switched on and off.
I control all of the Eagle2 hardwired from my observatory. It can be used wirelessly but I just feel happier with a hard wired network Saying that I have used an iPad, monile phone and laptop via Microsoft RD client to connect wirelessly to the Eagle. It has worked well.
I have connected the QSI and Moravain camera's as well as both Lakeside focusers to the power outputs. This means that I do not have power cables from the camera's running down to the mains........ it works very well. Of course there is no way to fully prevent cables running to and from....... The data cables for the Lakesides both need to go into the boxes that are on the tripod legs. The power cable for the Eagle2 itself needs to run from the mains up to the PC and also the mount EQMOD cable needs to run to the PC....... so while there may appear to be many cables running up and down, there's less than there would be without using the Eagle2.
Time to run it all ..........
I have spoken about this before .... I use 2 instances of SGP to run the dual rig. One instance has the complete setup installed and running, so it guides on that instance, flips, changes targets etc. The other instance in effect just runs as a slave and I use it to take images all night and refocus as required. It points in the same place as the main scope and so while I may lose a sub based on when the meridian flip takes place or when the target changes, that is the only loss. The 'slave' just carries on taking pictures through the night and then in the morning I just need to get rid of the one that was probably in the middle of an exposure during the flip or target change!
As a result, if I get 20 30 minute subs in the main camera, then I will probably get 19 usable subs in the slave. Sounds like a win win situation to me.
