All Sky Camera
You can get information about the Mallincam All Sky camera on the Mallincam website.
The Instruction manual is available here - You will need to read the settings pages in order to get the MallinCam to work!
The Instruction manual is available here - You will need to read the settings pages in order to get the MallinCam to work!
Why an All Sky camera?
As my imaging has progressed I have things set up so that I hardly have to go outside. I do physically have to open the roof and that is all - From there everything else is done from the sofa. I've had to get a few things in order to make this possible, one of them being an All Sky Camera.
I want to be able to check the cloud from inside and not rely on the guiding package suggesting to me that there is cloud. Of course I can go and look myself, but I have found that the camera's are actually much more sensitive to high haze and clouds and give me a much more accurate sky picture.
I want to be able to check the cloud from inside and not rely on the guiding package suggesting to me that there is cloud. Of course I can go and look myself, but I have found that the camera's are actually much more sensitive to high haze and clouds and give me a much more accurate sky picture.
Why MallinCam?
There's an easy answer to this - Price!! The other one I was looking at was the SX Oculus, but this was retailing for over £700 in the UK. I didn't feel that this was a justifiable amount of money to spend.
I bought the camera from the US. The retailer was helpful and answered all questions that I had. I was able to specify an EU 2 pin power plug for the MallinCam. It was sent via courier and arrived in a timely fashion. I have no issues with the purchase of the camera.
I bought the camera from the US. The retailer was helpful and answered all questions that I had. I was able to specify an EU 2 pin power plug for the MallinCam. It was sent via courier and arrived in a timely fashion. I have no issues with the purchase of the camera.
What did the camera come with and how to make it work .......
In the box was the following
I did need an adapter to get the output to a USB connection and for that I used the following
This allowed me to convert to USB so that I could view the camera via my observatory PC
- camera body
- 120VAC to 12VDC regulated power supply (with a specified 2 pin EU plug)
- BNC to RCA adapter
- 10m (32') combined video/power cable
I did need an adapter to get the output to a USB connection and for that I used the following
This allowed me to convert to USB so that I could view the camera via my observatory PC
The camera mounted
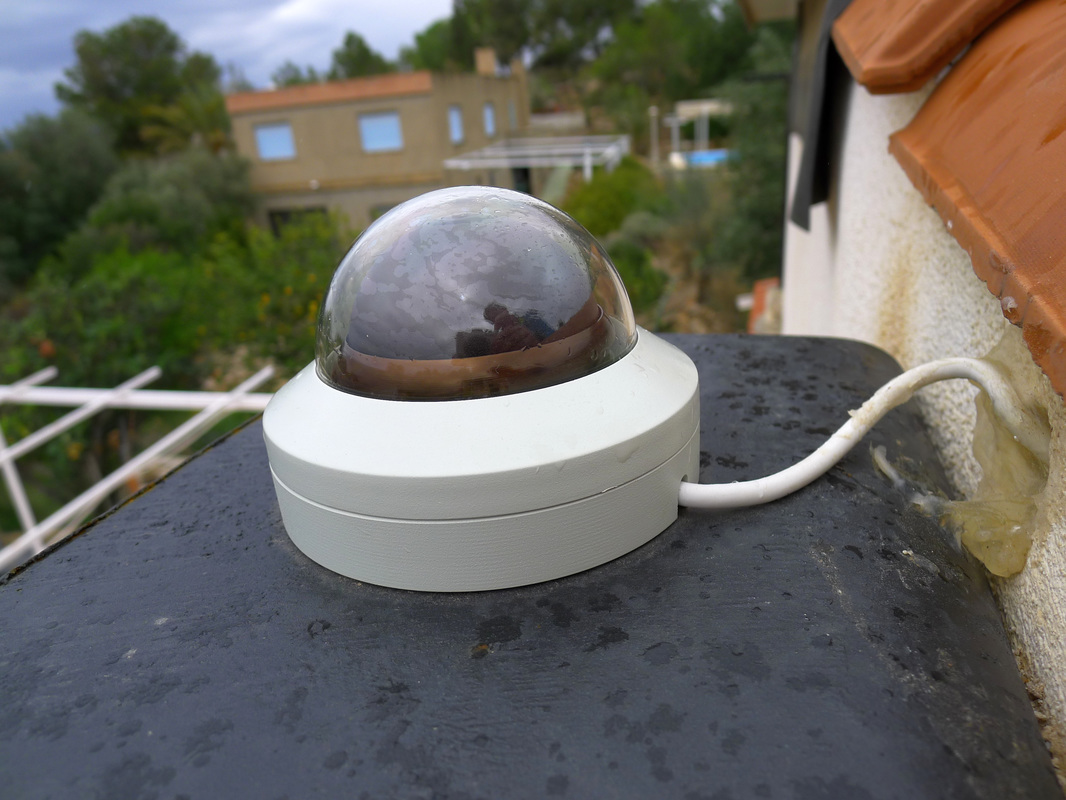
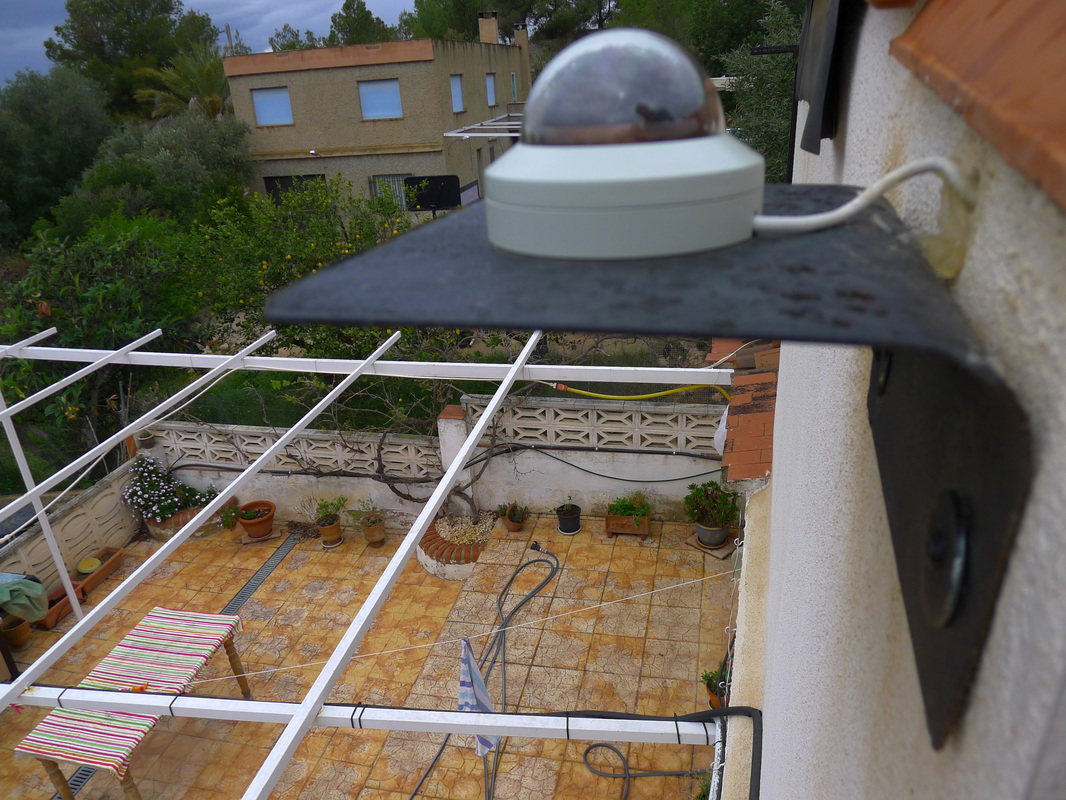
We found a large piece of 90 degree metal plate that we used to mount the MallinCam to. It then screwed to the wall of the observatory so that it has an unobstructed view. The MallinCam fitted to the plate easy enough - The bottom screwed off and you could screw directly onto the plate. As you can see, we then drilled directly into the observatory so that I could get the power and cables connected.
That is everything outside sorted - Now to the inside!
Getting the camera to work
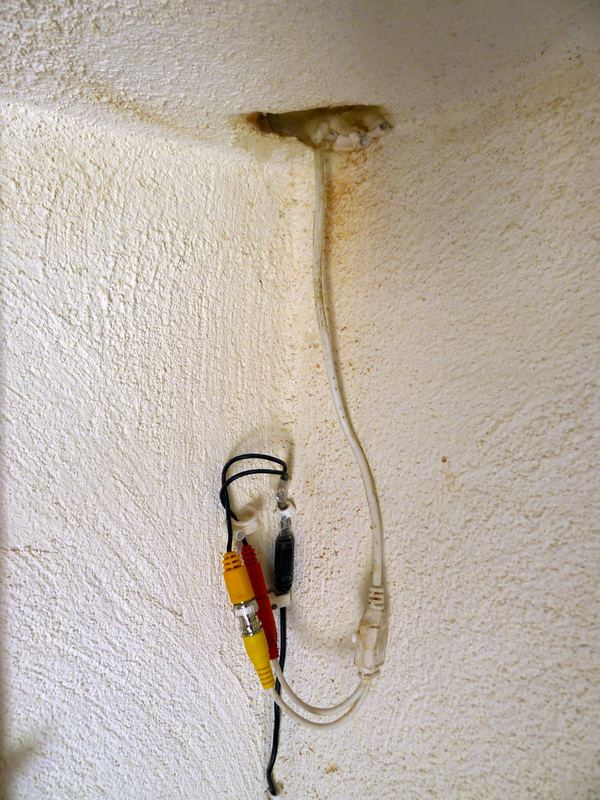
Here was where it originally went wrong....... at the end of the Mallincam cable that goes into the wall in this image is a small joystick built into the cable. What I didn't realise at the time was that this was needed to be access to sort out settings - We buried it in the wall, then had to dig it out later when nothing seemed to work!
You MUST have access to the joystick as this is the way to adjust the settings so that the MallinCam works, The default settings can be found in the pdf link at the top of the page.I found that the default settings worked well.
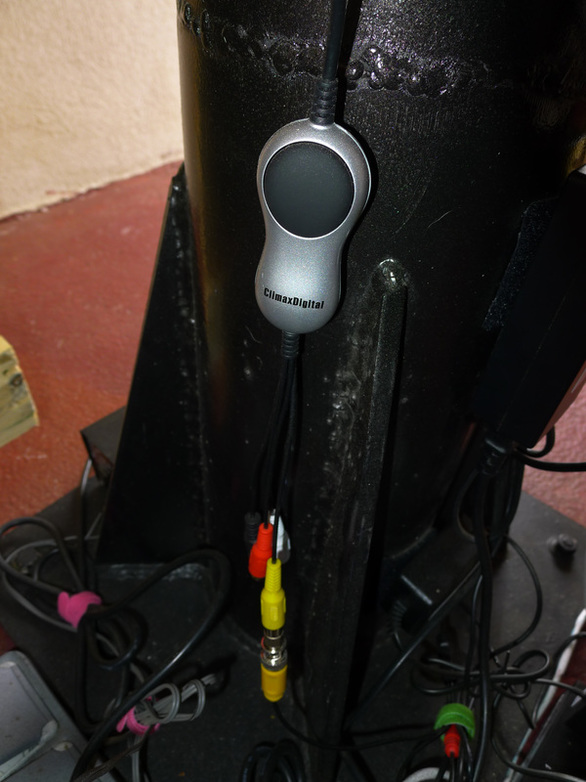
Here the cables connectors are those that came with the camera, giving a number of metres of cable. It is at the end of this black cable shown that you will need to connect the Climax Digital USB converter so that you can connect to the USB of the computer and get a picture.
The cable end from the Mallincam connects directly into the Climax digital converter - This then plugs directly into a USB socket on the PC. It is USB powered and doesn't require a separate power cable. Here I have stuck the converter on the pier and out of the way.
Software needed
I didn't buy any software to work with this as I chose to use SharpCap - I found that this was perfect for what I wanted. The software and the Camera fired up with no issues and it will record time-lapse as well so I can watch back how the clouds / haze are moving.
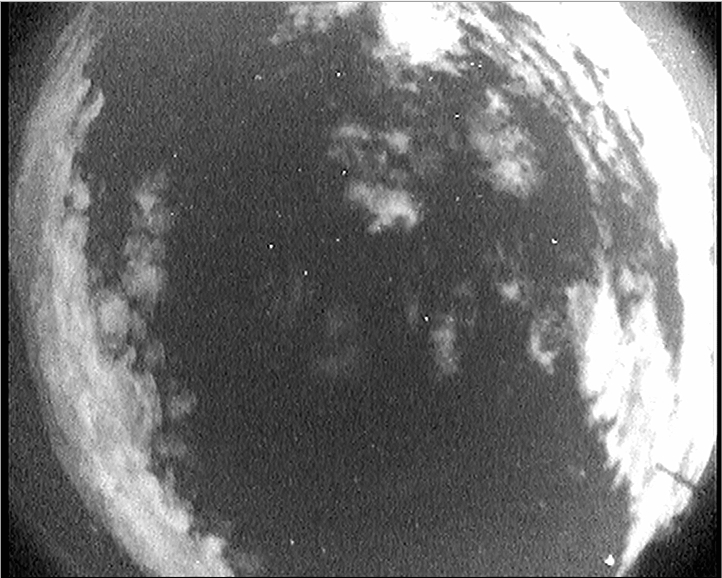
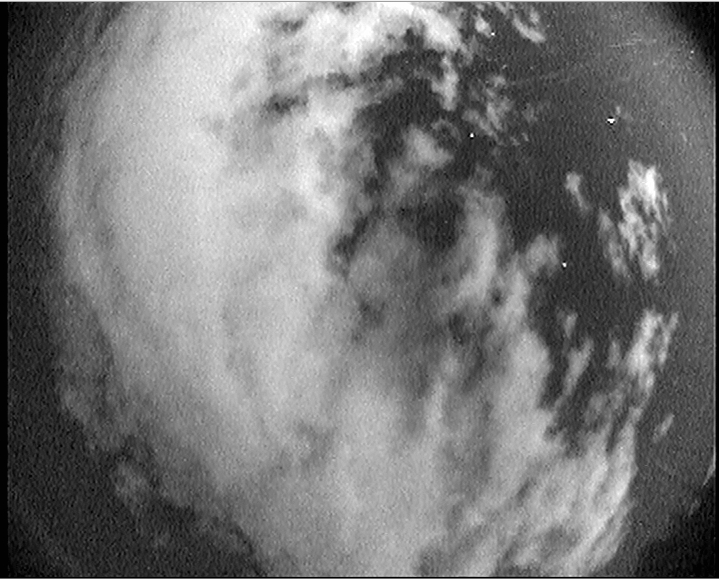
Here's a couple of screen grabs in Sharpcap showing the view that the MallinCam gives. The camera is colour and during the day the sky looks nice and blue - Night time it looks mono, but I don't see this as an issue at all.
The PDF manual does suggest a couple of different software applications that you can use with the MallinCam.
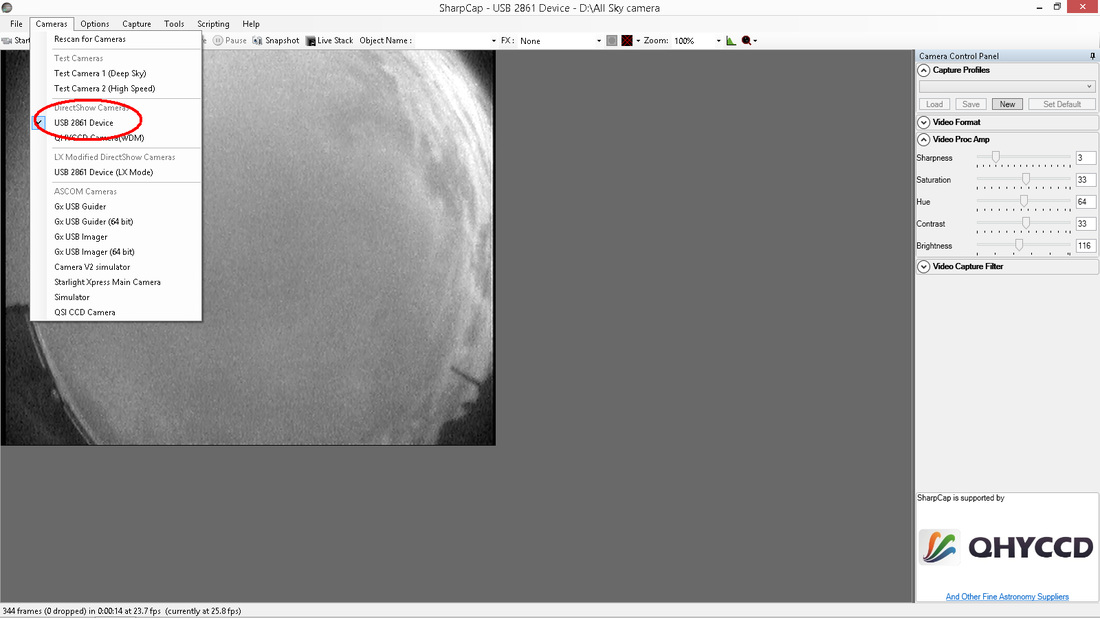
The MallinCam connects easily in SharpCap and can be found under the camera tab,,,,,,,,,USB2861 device as circled in the screen grab below
Other thoughts
There was more than enough cable for me to get from the joystick to the USB converter. My location of the Mallincam is possibly closer than many people would use, so it's worth checking the cable length out.
The AllSky is well made and hopefully will give me many years of use. I am using it in the hot summers of Spain so it will be interesting to see how the dome lasts. The camera sensitivity is ample and allows me to gauge cloud and haze accurately.
All in all, I am really pleased with this unit. It will do video at a fast frame rate as well and this can be recorded via the Sharpcap software. I know of people who have used this camera to send roof close commands to sensor etc, but I have not used it for this, so will not comment on the accuracy and ease with which this can be accomplished.
A great camera, easy to use and setup and for me does exactly as I want.

